Mount MacBook Pro Underdesk

I’ve had my macbook mounted under my desk for a while. I original had it on some U-shaped aluminium extrusion brackets. If I was doing something taxing it would overheat a little, so I drilled some holes where the fan is, but that didn’t really make that much difference. I was looking for something else, and eventually decided on a cheap IKEA wooden shelf mounted with u-shaped brackets. I just made my own out of the same aluminium I used before, but I’m sure there are other brackets around like these robot servo brackets.

Here are some pics of the original mount, new shelf, and all the other things I have mounted under my desk:

There are a few other good ideas I’ve seen floating around. There’s the IKEA napkin holder which I tried for a while, as well as this basket idea.

Best Solid State Guitar Amps 2015

I’ve recently been interested to see if the recent band of analog solid state guitar amps are starting to catch up on tube ones. I understand that digital is getting close in terms of tone, but I’m thinking more about feel, and I still think you need analog for perfect feel. Still even if you like modelling, you still need an analog power amp to hear it, and it does seem that a consensus is emerging that power amp and its interaction with the speaker that effects the feel the most, but more on that later.

Update:
It seems that most of the more recent Quilter amps are class D, but according to this patent and forum post, may still have some form of current feedback applied:
http://www.google.co.uk/patents/WO2013082166A1
http://www.ssguitar.com/index.php?topic=3098.0
http://www.google.co.uk/patents/US7924091

First the list.
It starts of with some boutique amps, the Award Session Blues Baby and Ethos Overdrive Amp. Most of the others on this list are all analog solid state amps with current feedback (Fender/Quilter/Tech 21), a few are hybrid tube preamp/ss power amp (Koch/Micro Terror) and some are Class D with no current feedback possible (PowerBlock/Magnum 44).

Current Feedback
The thing that seems to have improved solid state guitar amps since the ones I’ve tried that were made in the 80s/90s, seems to be current feedback, sometimes called current drive or constant current source (CCS). This places the speaker partly in the negative feedback loop of the amplifier causing it to sound/feel more like a tube amp. The following links, particularly the first one, are good for learning about what it means:
http://education.lenardaudio.com/en/13_guitar_amps_3.html
http://www.current-drive.info/9
http://sound.westhost.com/articles/guitar-amps.htm
http://www.award-session.com/bluesbaby2.html

The idea seems to have been around for a while. This thread seems to list some quite using it:
http://www.ssguitar.com/index.php?topic=2346.5

But it only seems to have become more mainstream as Fender started putting it in their solid state amps around 2003 like the “Dynatouch”, Frontman and Champion series, I believe in the early 2000s. You can see the resistor between the speaker and ground on schematics like the Fender Frontman 25R:
http://support.fender.com/schematics/guitar_amplifiers/Frontman_25R_schematic.pdf

A few companies like Award session mentioned above and Albion even use it in how the market their amps:
http://www.albionampsus.com/albion-ag-series/

The season of mainstream all analog current feedback amps maybe short lived though. Fender soon started adding DSP and modelling as they moved on from Frontman to Champion series and class D amplifiers seem to be becoming more popular for their size and efficiency, and I think even with the smaller manufacturers sticking with it, and even it is technically possible, it will be hard to get near a tube amp simply because there have been so many manufactures constantly working on trying to make great sounding tube amps, and there are far fewer solid state ones. It’s hard to imagine guitarists perceptions on tube vs. solid state changing too. The major manufacturers (Fender/Marshall) just want something cheap, and don’t try to produce anything that sounds close to their valve amps and I did notice it was quite hard to find that many demos on youtube of solid state amps, and often the ones there were by beginners with bad technique therefore tone. Still it was interesting on catching up on everything that has happened in the time after I’d decided tube amps were just “better” and now.

Update:
One final thought though. I’ve tried a lot more solid state amps since writing this. There still seems to be something wrong with feel and tone. Session say that we use solid state pedals for overdrive, so why not like a solid state amp, but there still seems to be something about a tube amp, and how pedals were designed to go into one. Tube amps are a whole system that produces what we expect as guitarists. There doesn’t seem to have been as much effort into replicating that entire system using solid state components.

Fender Blues Jr. Standby Mod – International 230V Models

I recently purchased a Standby switch for my Blues Jr. with Billm mods. The instructions only come for the US mode. The international model has different wire colours, and more transformer wires which use the clips on the circuit, so I had to work things out myself a little bit.

First off standard warnings: This will void your warranty, and tube amps contain potentially lethal voltages, so I’m not responsible for any damage to your amp, yourself or others.

The standard switch is just a two position switch (off-on) which connects both the live and the neutral wires to the transformer.

Before:

The new switch is a three position switch (off-on-on), in the middle position only one half of the switch is on, and in the full on, both are. The mod involves:

1) Connecting the live (brown) and board live (black) to the half that is on in both positions:

2) Connecting an additional red jumper lead from P11 to the other half of the switch and the red transformer wire (formerly in P11) to the switch.

3) Next the neutral (blue) wire needs to be permanently connected to the white/black transformer wire. The US version of the mod uses some of the onboard jumpers to connect them.

Unfortunately these are all used on the international model so I needed another way. I happened to have a spare power switch with an insulated case that I just use to connect them together. This is the switch on the far left of the after picture.

After:

Pedaltrain Mini Built In Jacks

I first added built in jack sockets using plastic cliff style sockets because I had some already and they keep the ground isolated from the Pedaltrain chassis. However these are less than ideal because the contacts are exposed and can short or get dusty. There is also no strain relief on the cables which could be unreliable for the solder connections. I found that flexing the cables would bend the contacts and stop them being in full contact with the jack that was plugged in.

Ideally I’d use Neutrik sockets with the protective strain relief covers. But the Neutrik sockets see too large for the rear panel of the Pedaltrain mini. My solution was to use the insulated plastic switchcraft style sockets which while square, still seem to fit the Neutrik strain relief covers. I was going to add a cable tie to keep it tight, but seems to be snug enough without it. Here’s some photos:

Cheap China Pedal Clone Comparison List

Its questionable how ethical some of the cheap china pedals are, being almost complete rip offs of US designs. But some (like Mooer) are doing unique work, and like JOYO most of the US manufacturers clone a tube screamer. Here’s a list mapping various clones to the original or comparable pedals. Some our just similar, not complete clones, and some, like the Fender Micro DI is an actually rebrand of a pedal original designed in China. The initial list was gathered from here Please enter corrections or additions in the comments and I’ll try update the list from time to time.

Michael Kelly Hybrid Special Mods

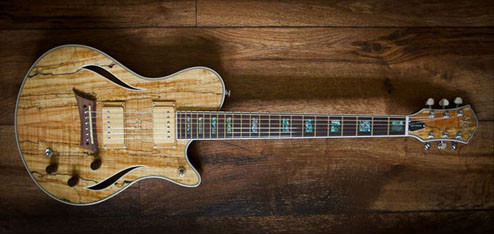
For a few years my main guitars has been a Michael Kelly Hybrid Special. These are fabulous looking guitars for the price, and an interesting setup with piezo bridge and electric pickups and stereo output. Being mid priced guitars though, there are some things that can be improved. Here is a list of what I’ve done to mine.
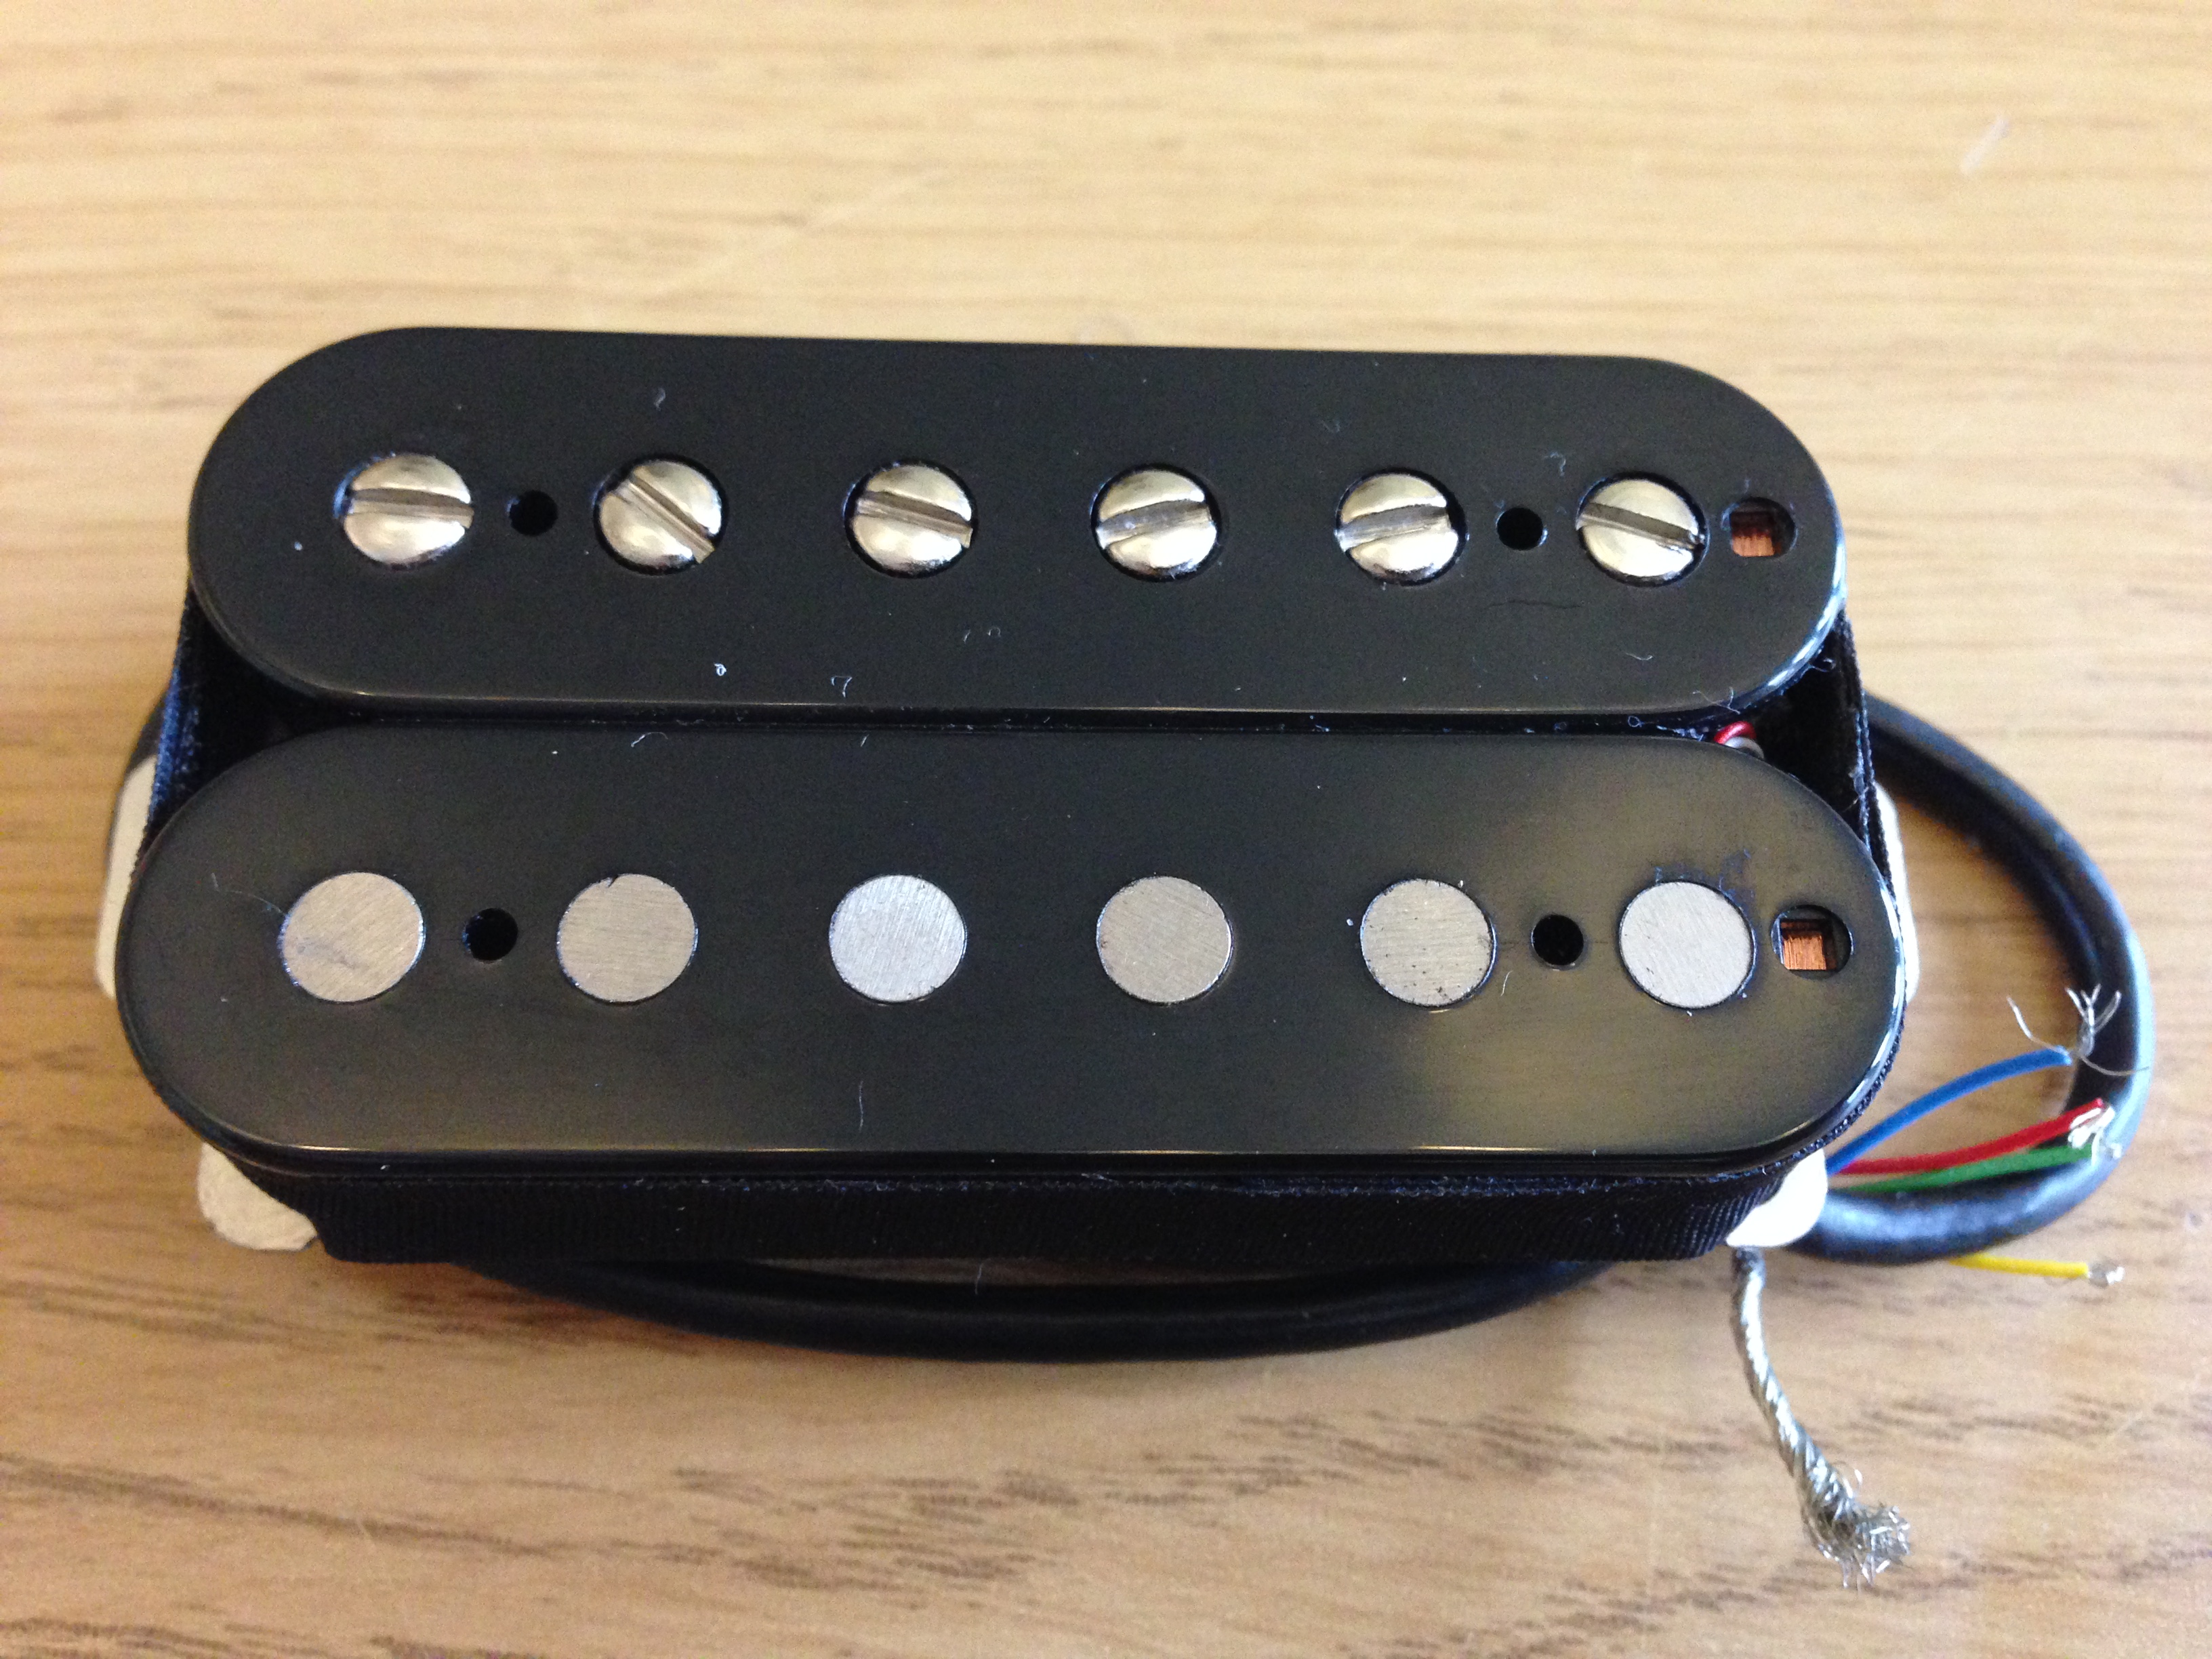
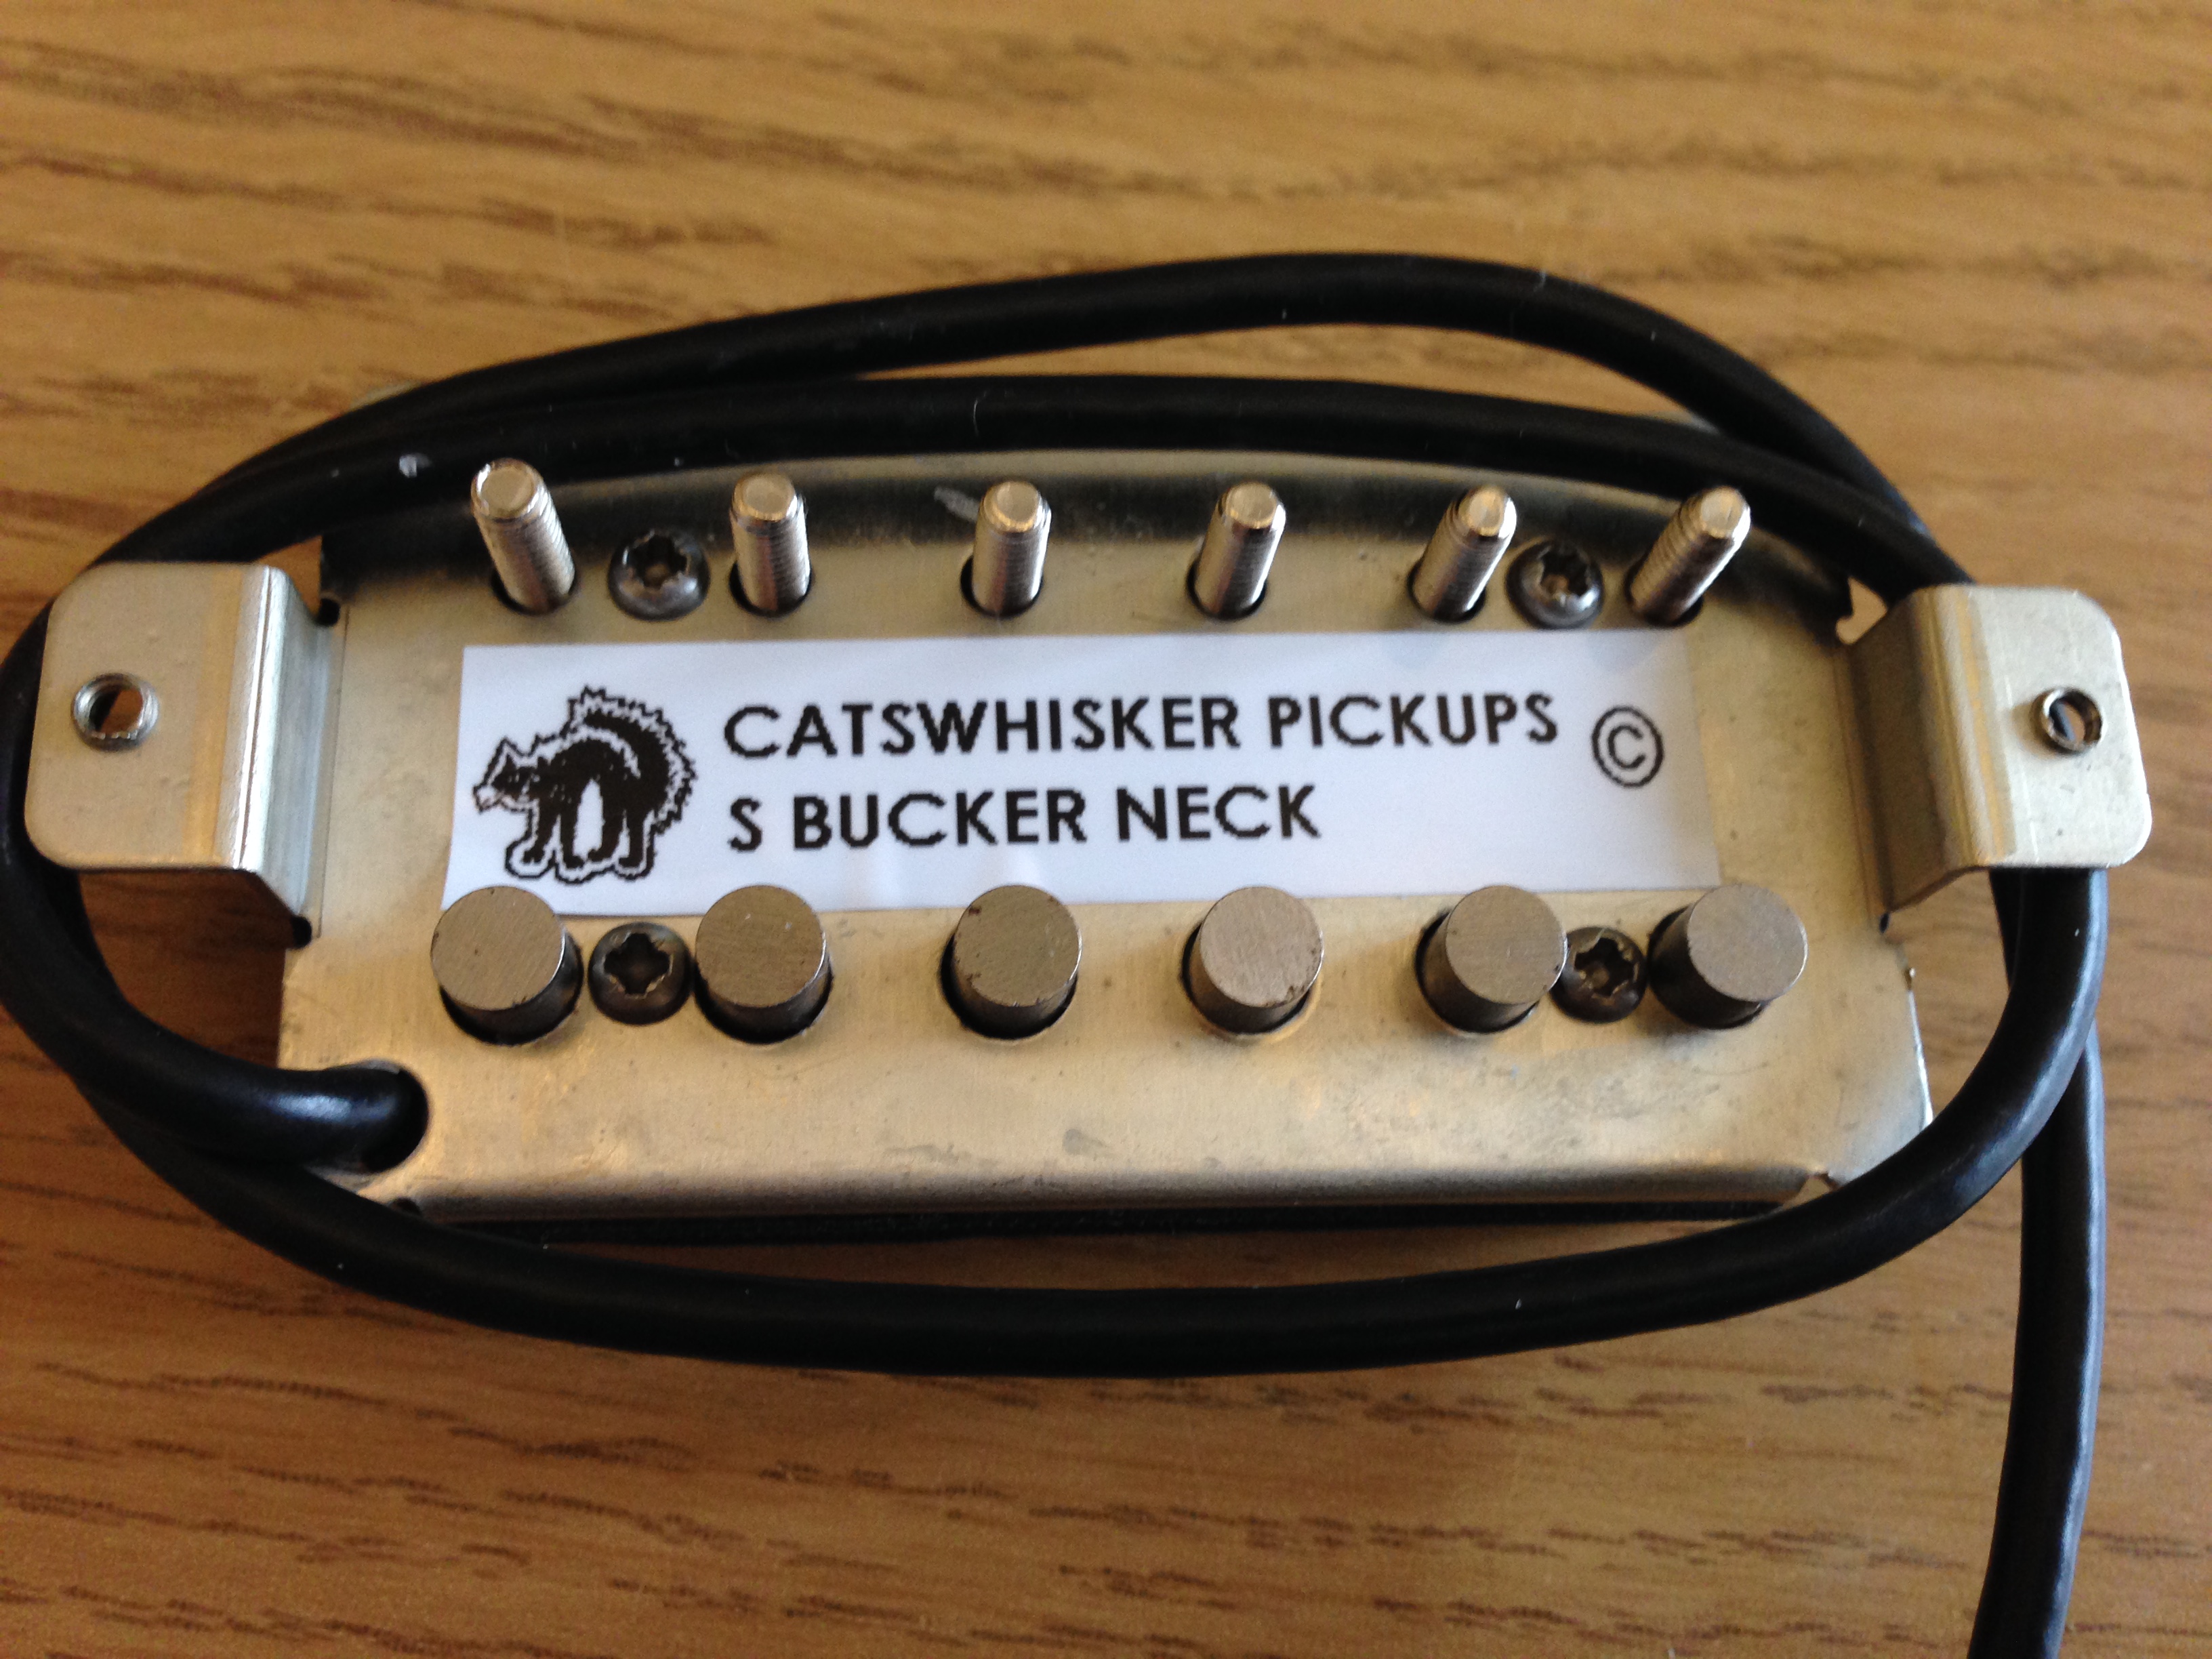
1. New pickups
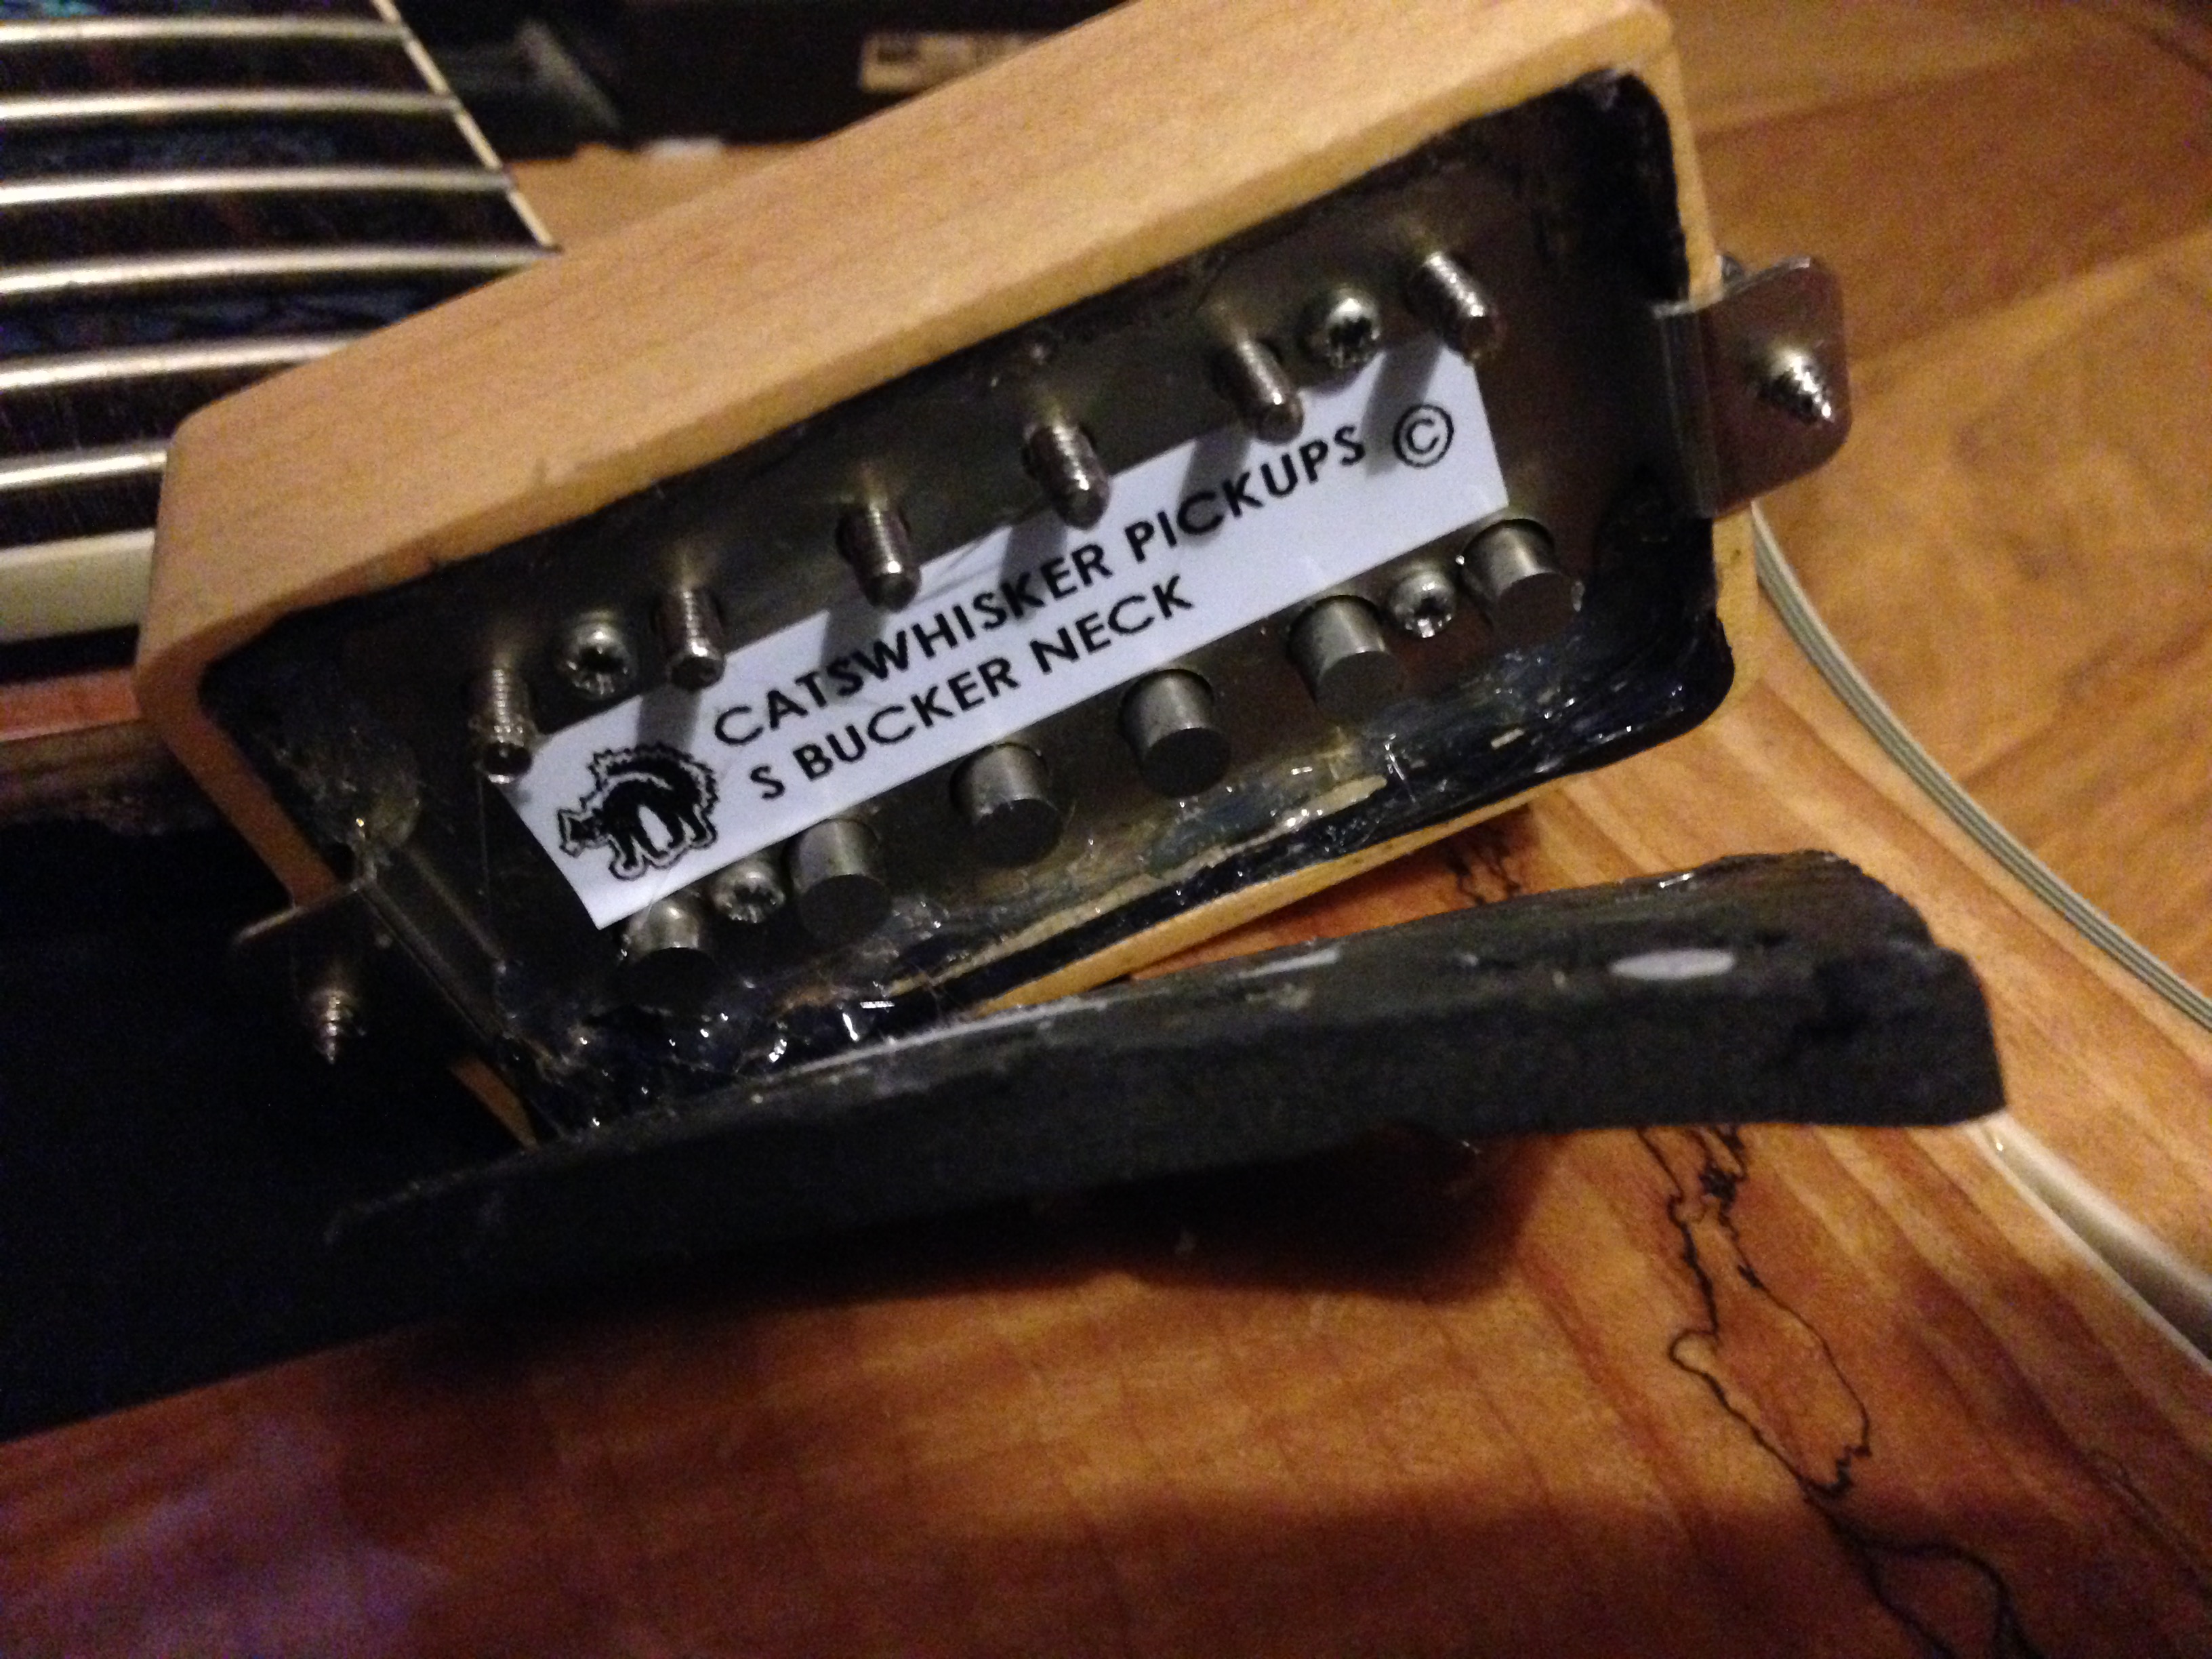
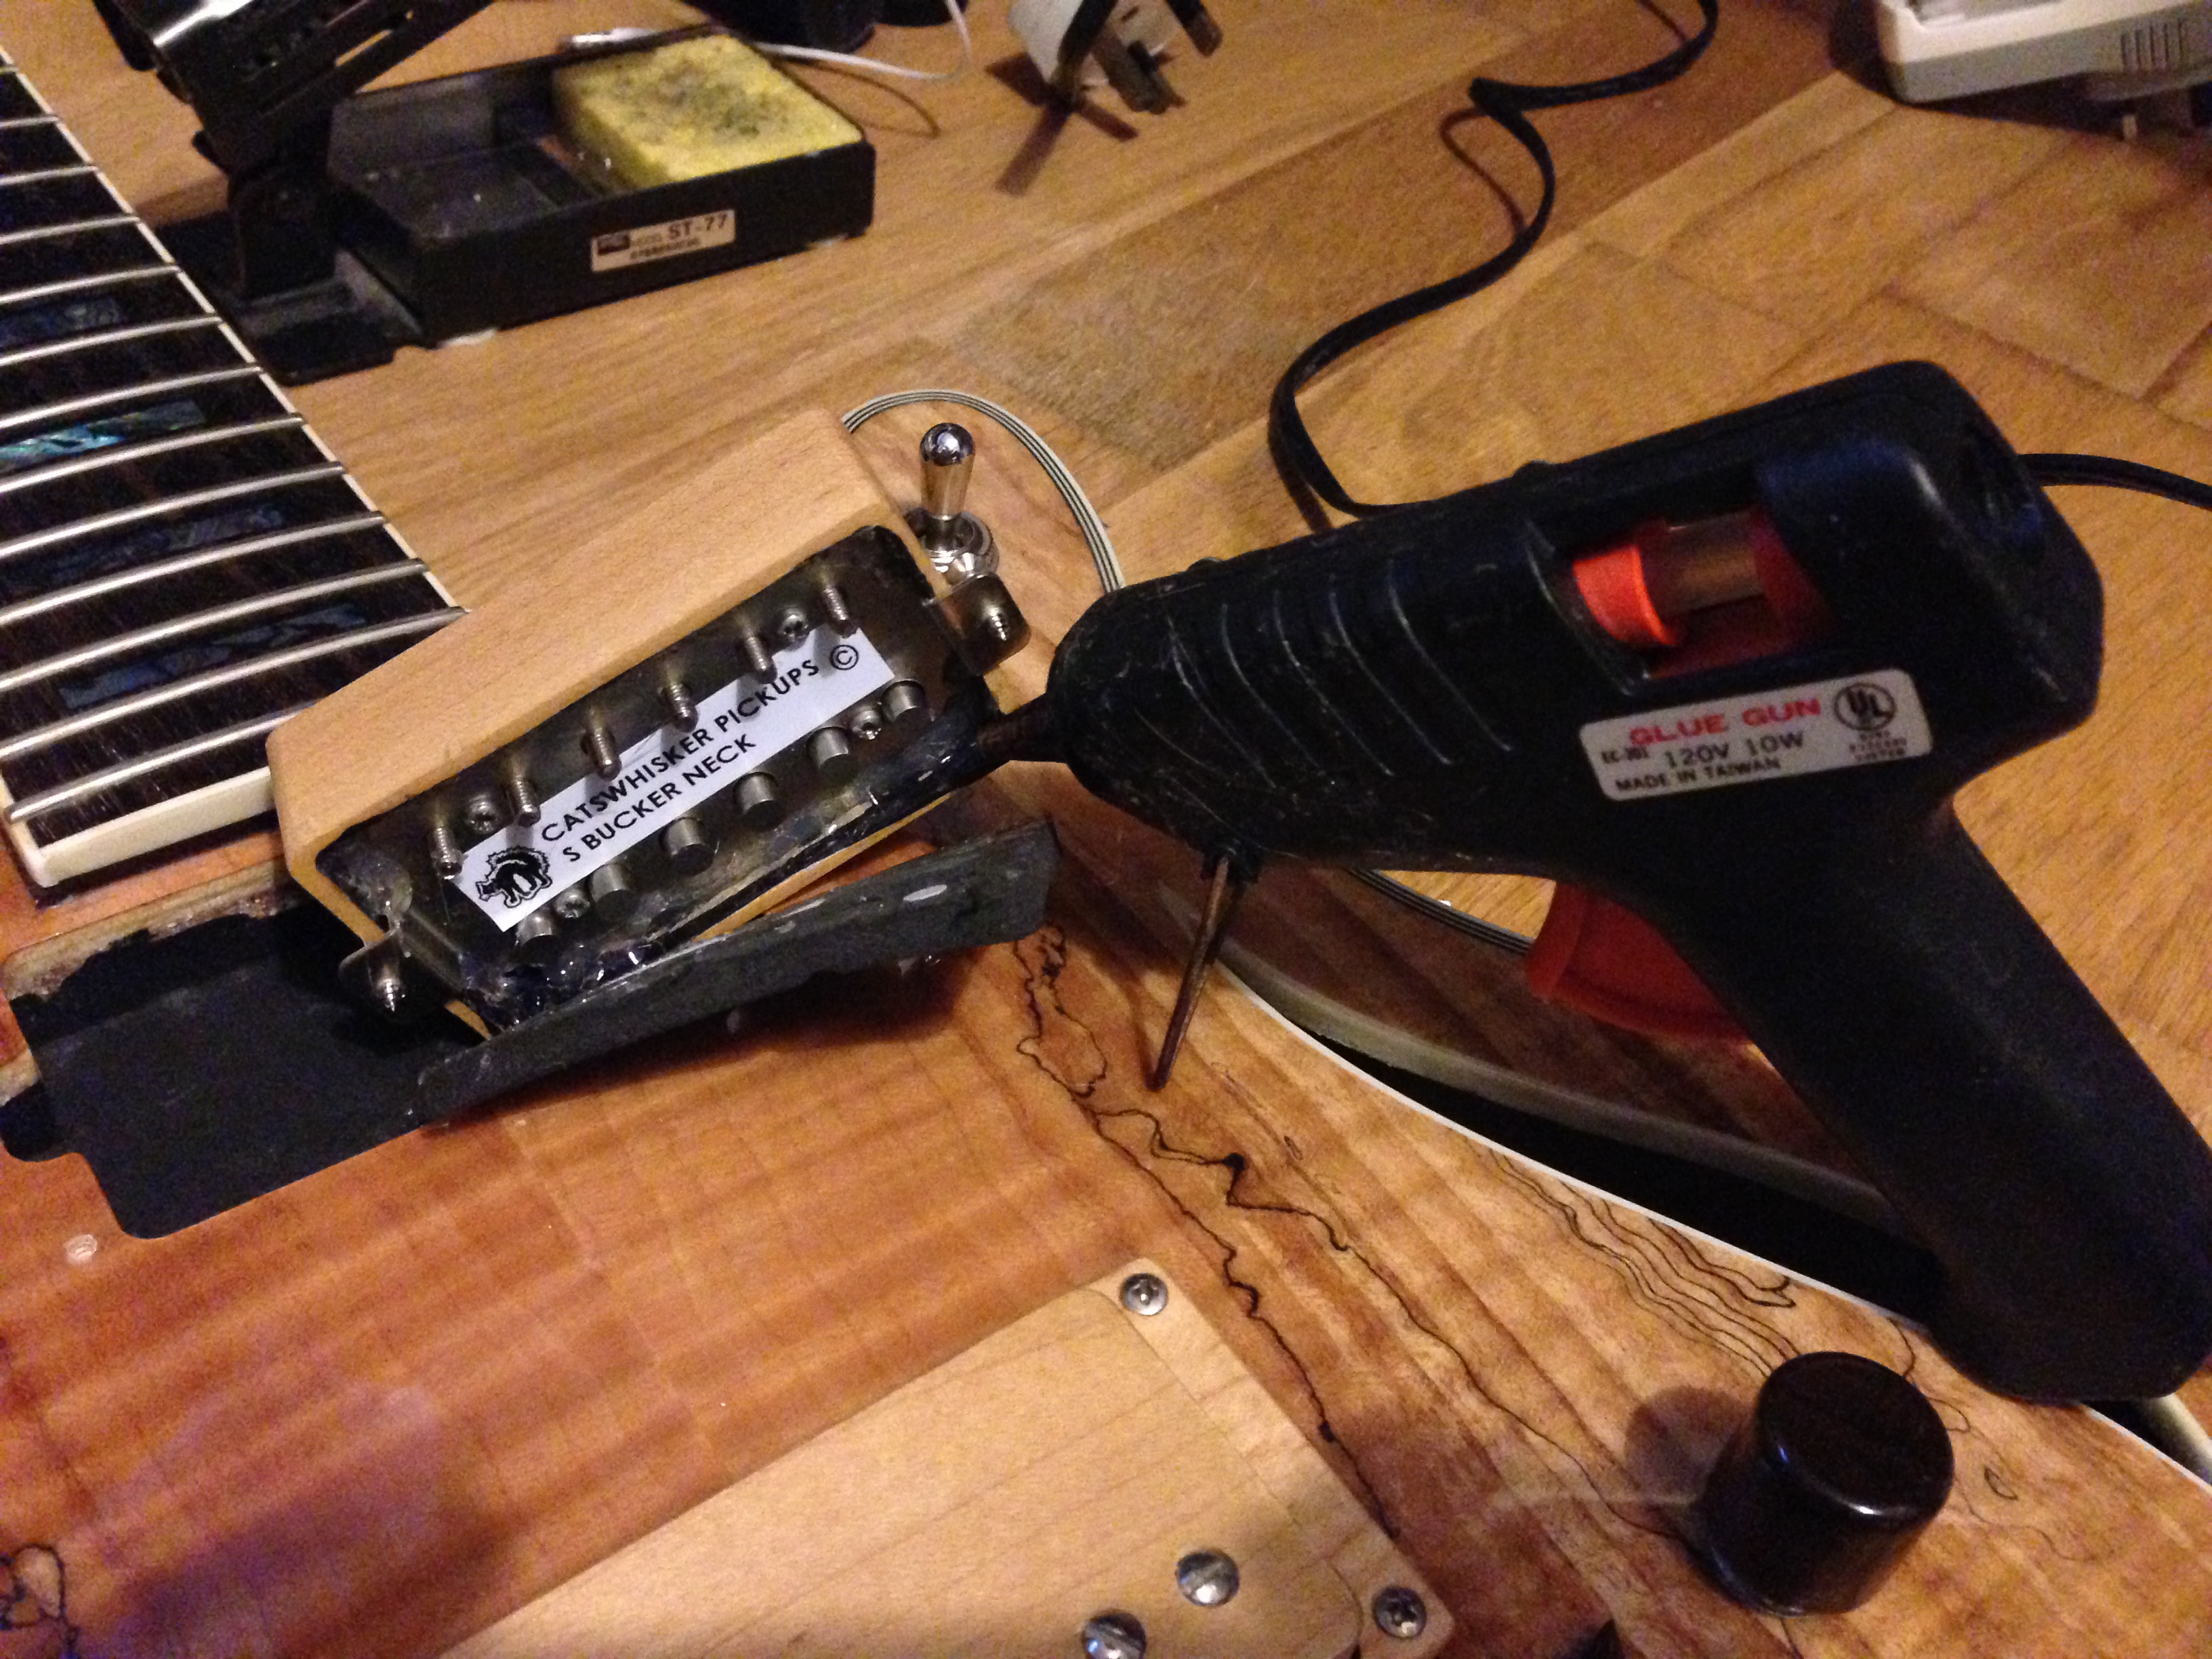
The stock rockfield pickups are ok, but a bit modern. I like a bassy and hotter bridge pickup, and more vintagy. I initially went for some Dimarzio Air Classics. The neck was ok, but the bridge was too weak. I changed the bridge to a Dimarzio AT-1 (similar to an Air Zone that I liked before), and the neck to a Catswhisker S-Bucker which has a better coil tap sound and classic/jazzy humbucker sound. I’m still not fully happy with the single coil sound so I may go for something else like a Lindy Fralin in the future.

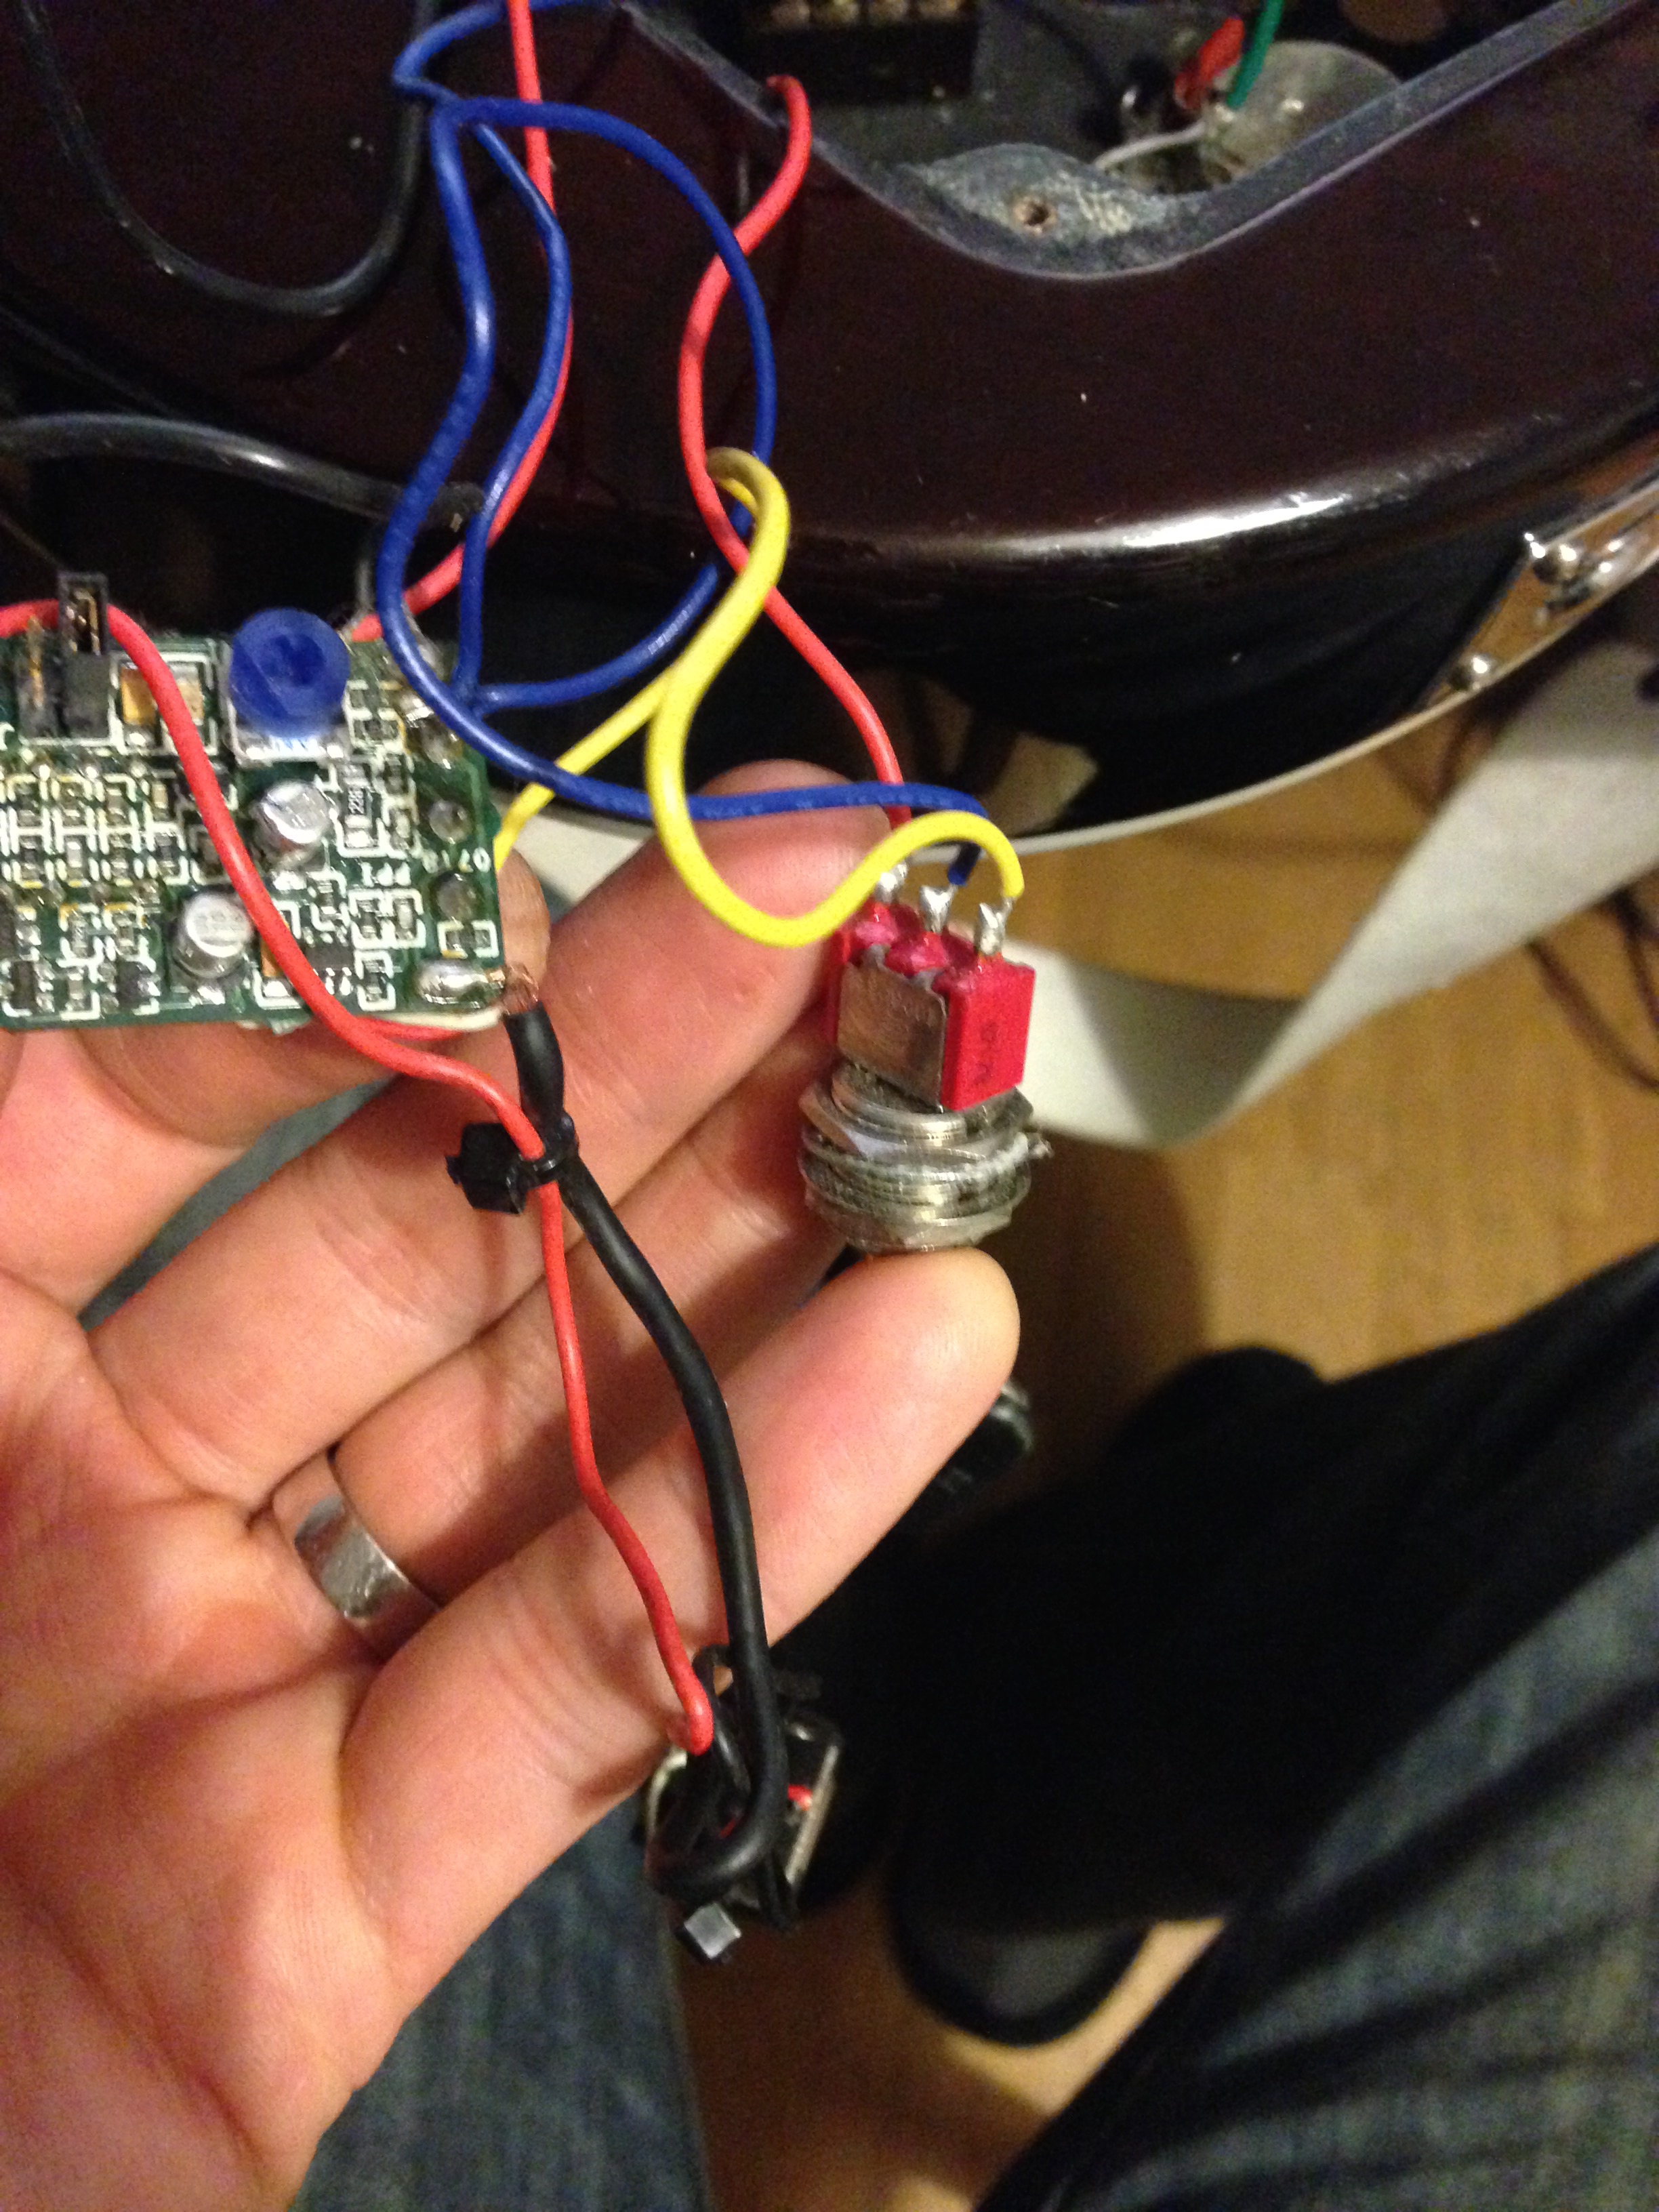
2. Volume pot replacement and coil tap switch
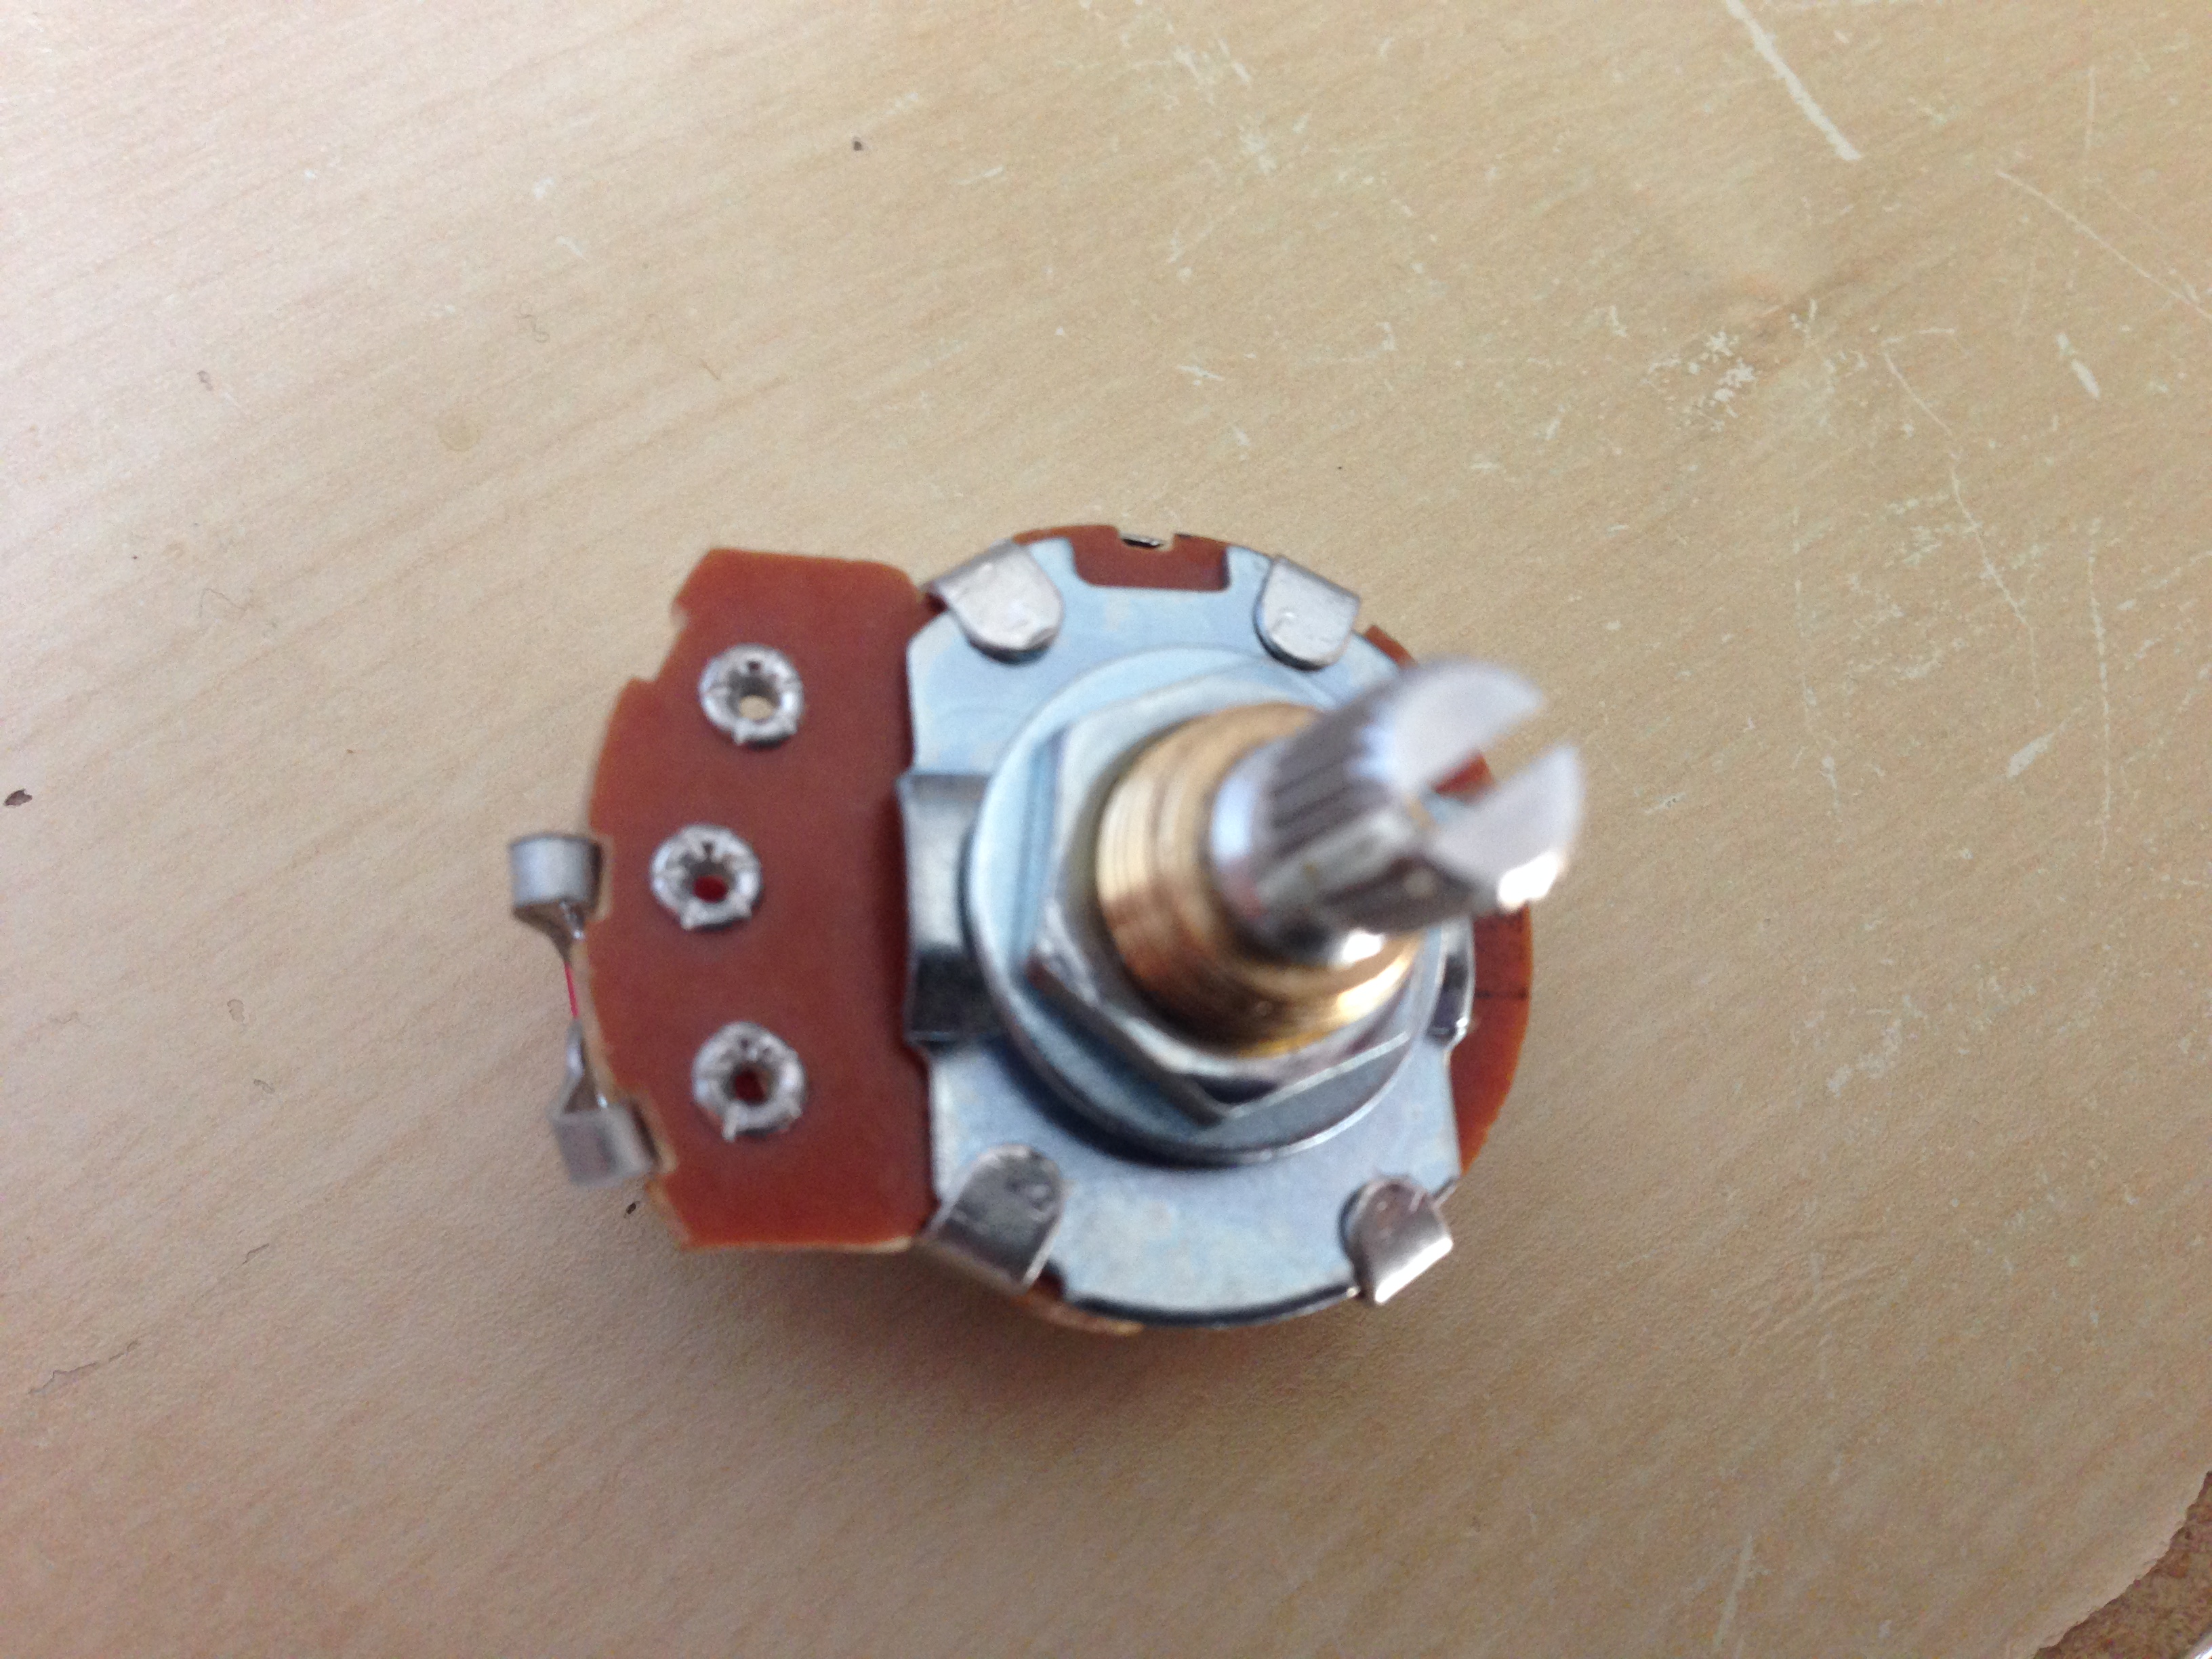
I found that the volume pot with the onboard switch got scratchy and loose very easily. I eventually changed it to a smooth Bournes full size pot, and installed a separate mini toggle coil tap switch. I think the original was a Bournes pot too, since it was really smooth, but having the switch on there too put too much wear on it. This also allowed me to install a 3PDT toggle switch and add a 470K resistor across the volume control when coil tapped. This makes the volume control a 250K pot, which really helped the single coil tone to be to bright and shrill.

3. Locking tuners
The grover tuners that come with it are great, but I wanted to lock down the tuning as much as possible. I bought some Grover 106C tuners, which stick up a little more than usual and so look different and change the tuning angle a little, but work great and make changing strings super fast.

4. Bone nut and saddle
Michael Kelly aren’t very specific about this on their website, but their customer service said “The nut is a synthetic graphite and the saddle is ABS”. Both my nut and saddle had started to wear in places, the strings didn’t sit properly in the nut, and I think was effecting tuning stability.

I bought a pre cut bone nut and saddle I found on eBay. I had to sand down the bottoms quite a bit, and the radius on the saddle was a bit flatter than the original, but close enough to work.

The tone of the electric side definitely improved. The fundamental note was louder, and upper harmonics a bit fuller. It didn’t sound significantly brighter, just fuller. Strangely I think the unplugged volume was a bit quieter, but that could just be my imagination. The bone nut helped the tuning stability a bit more.

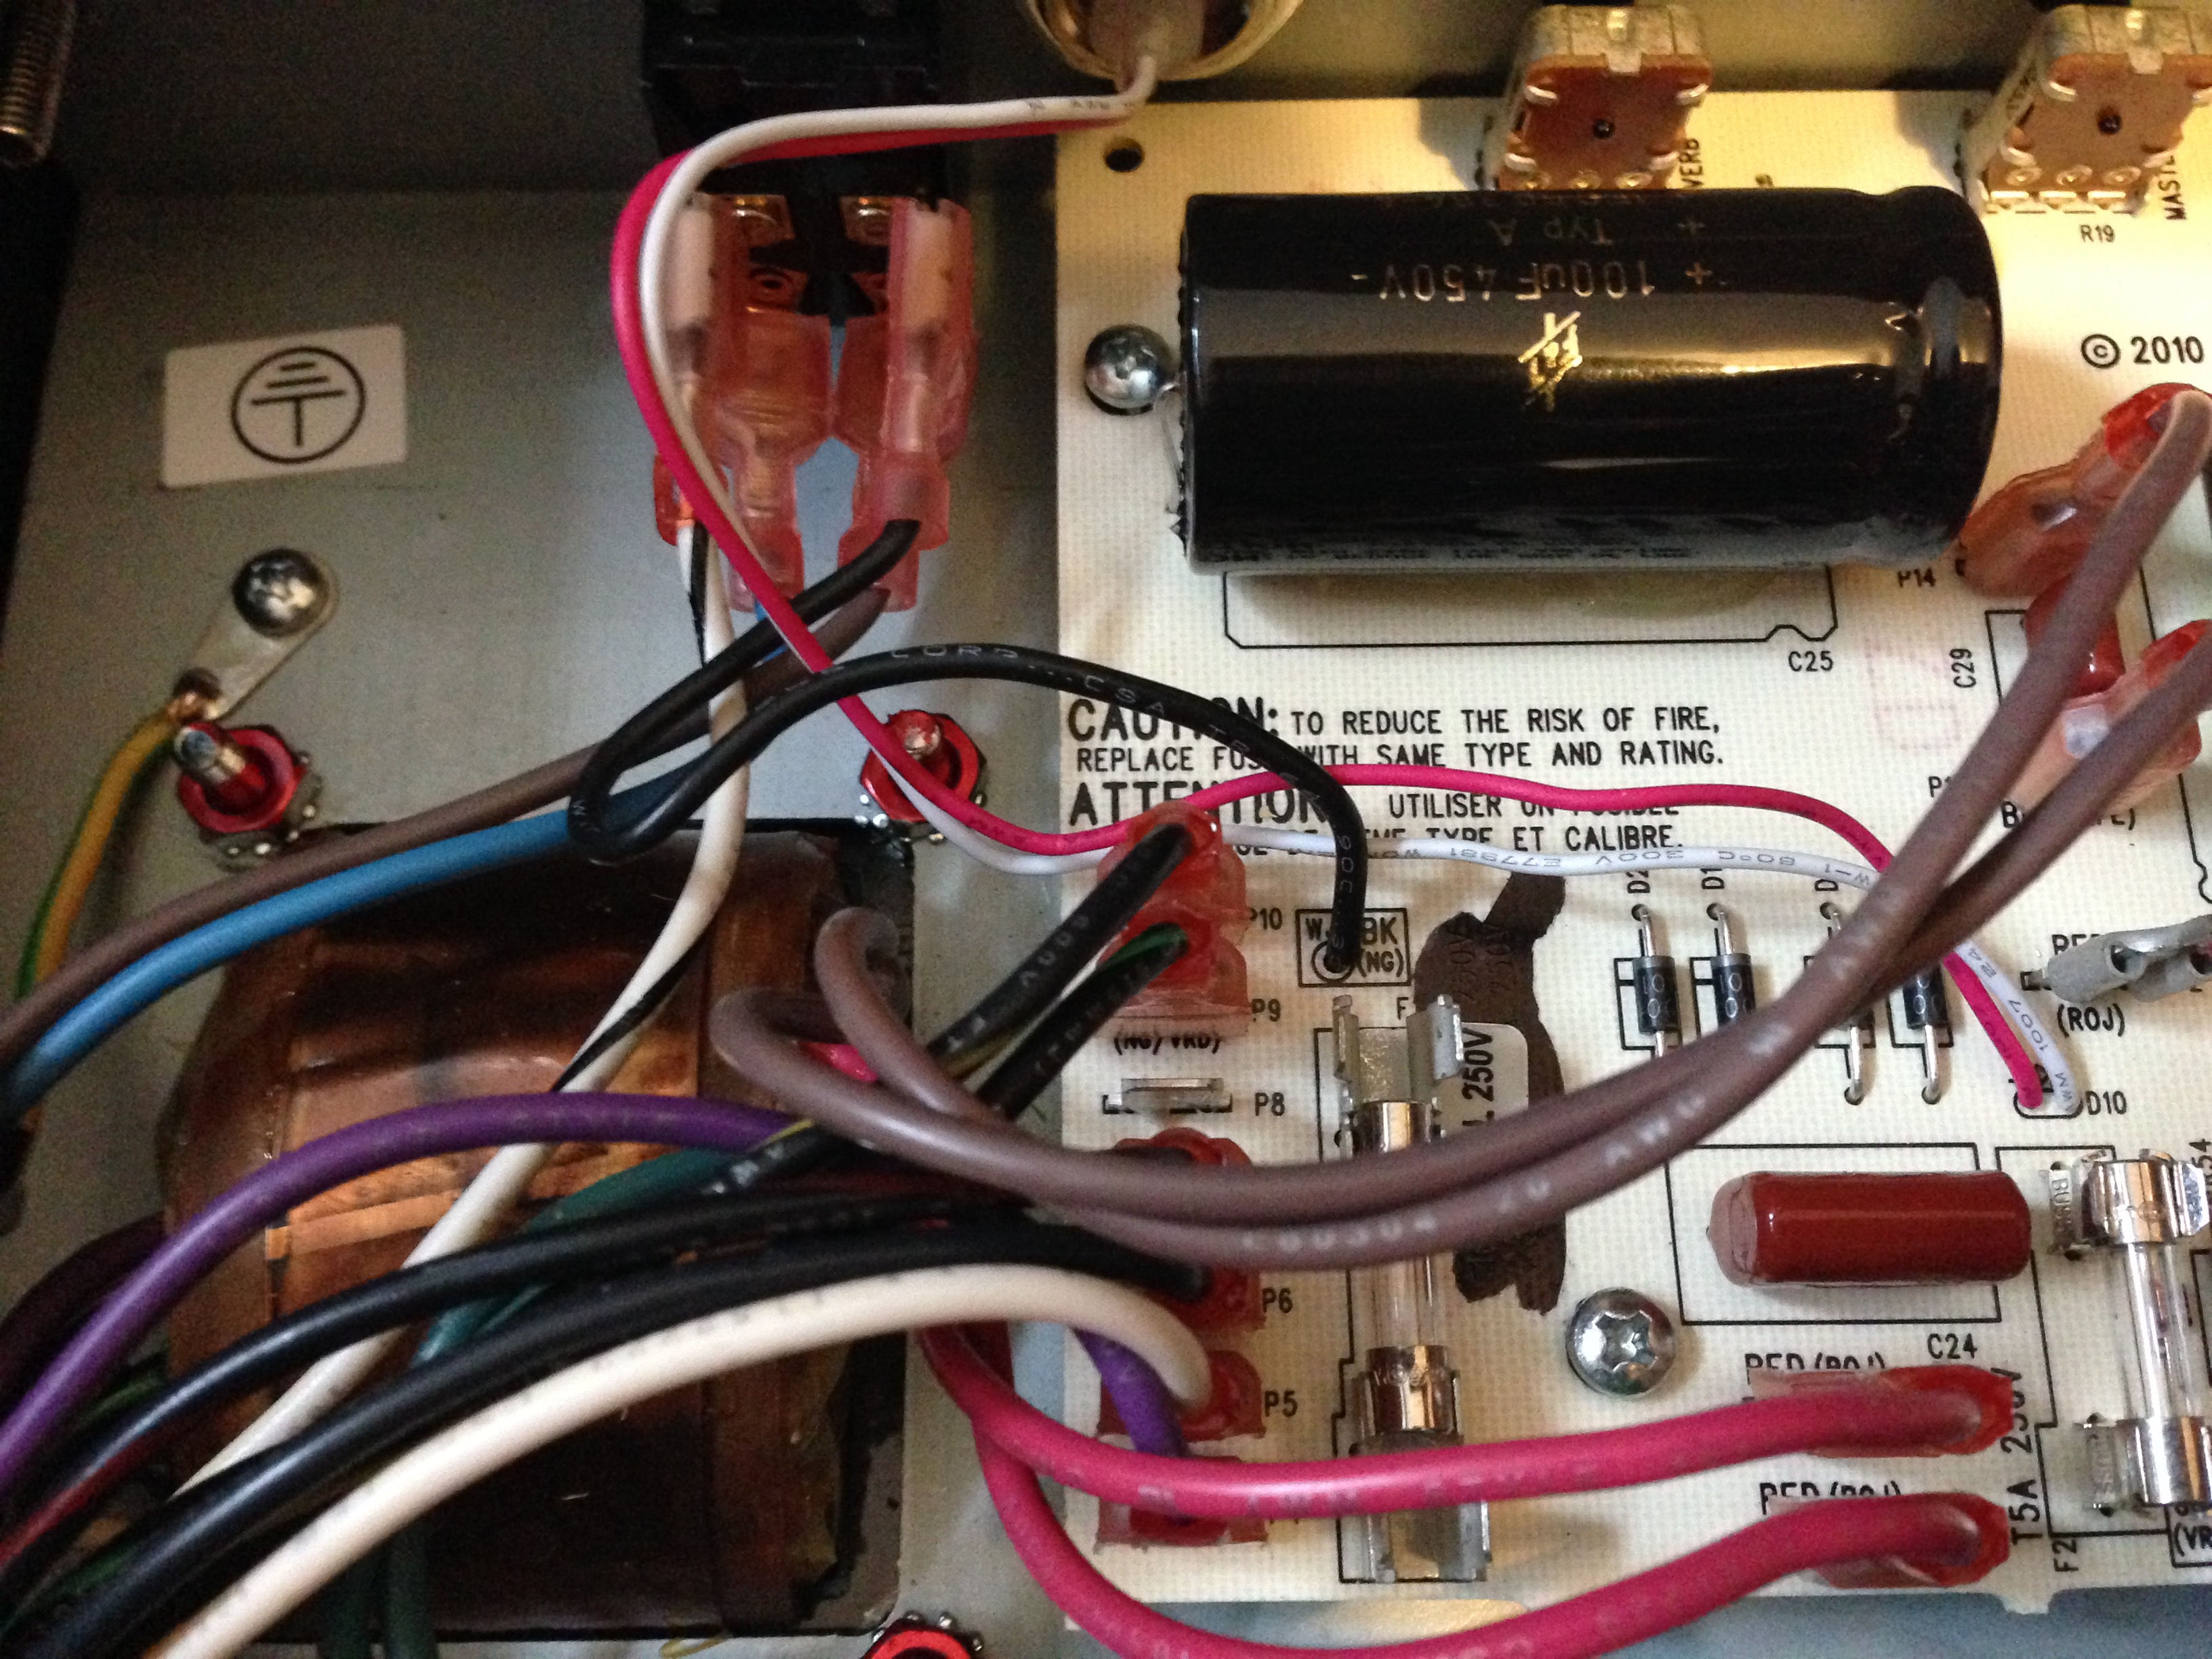
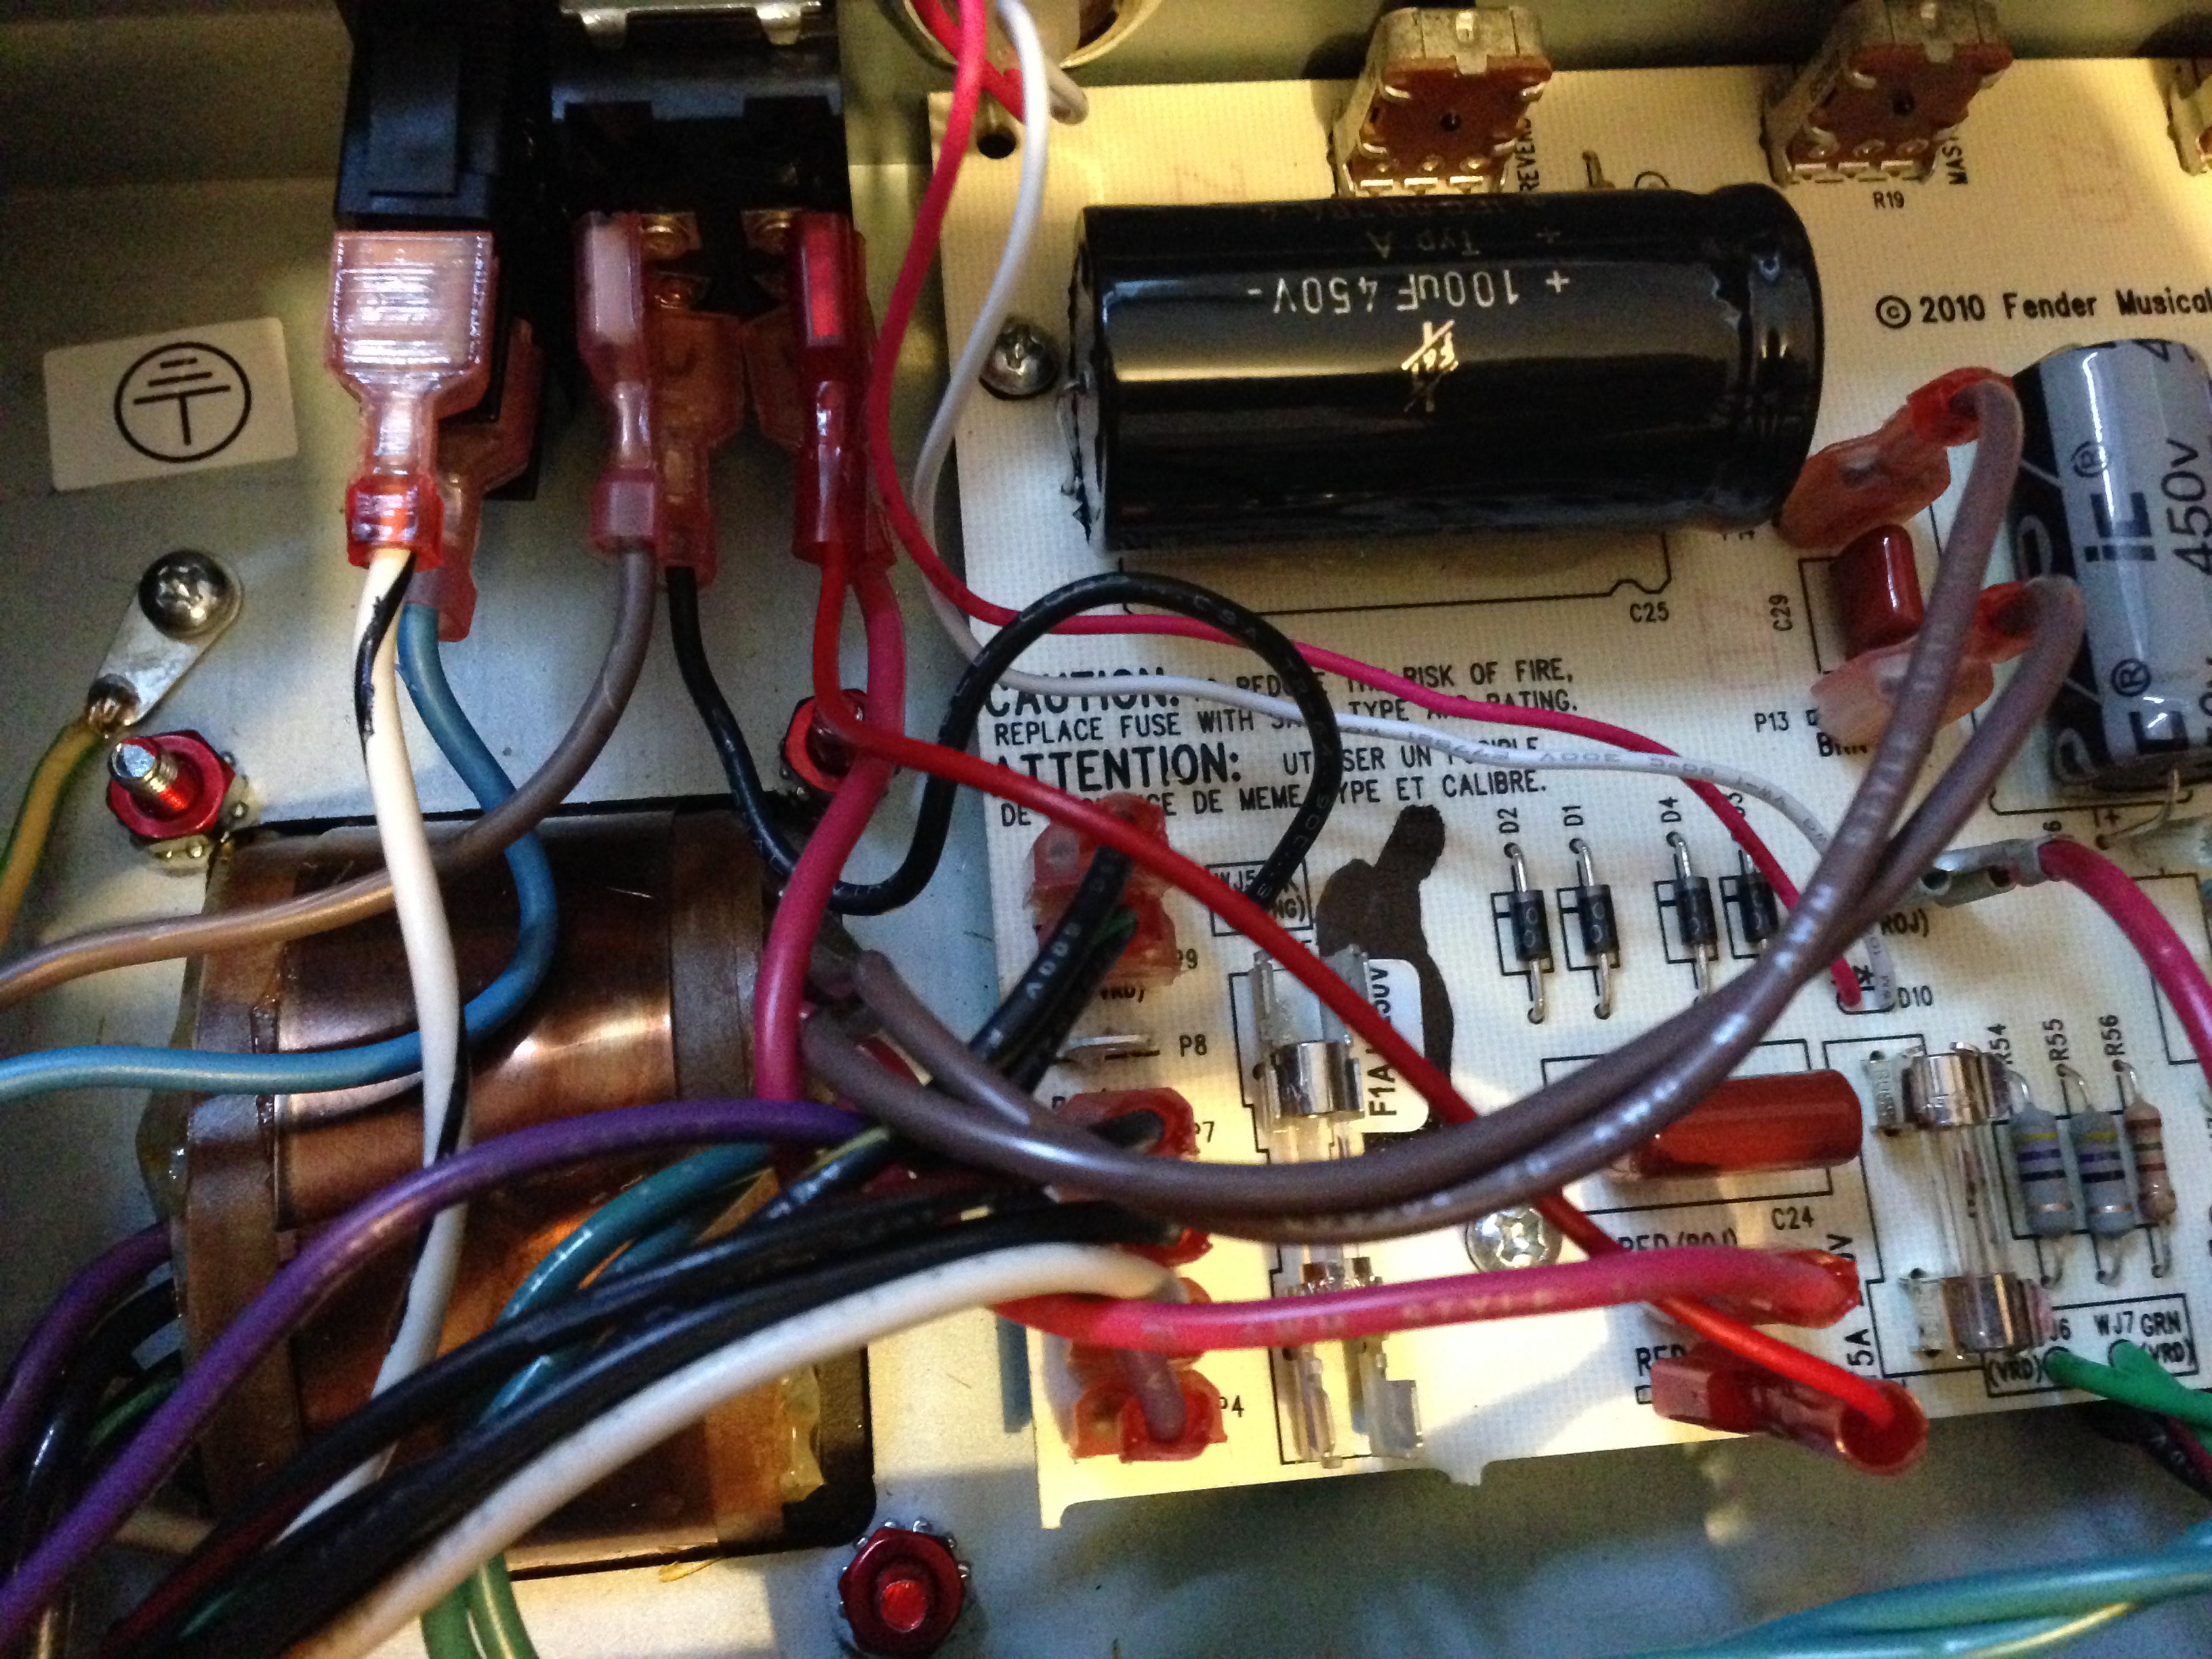
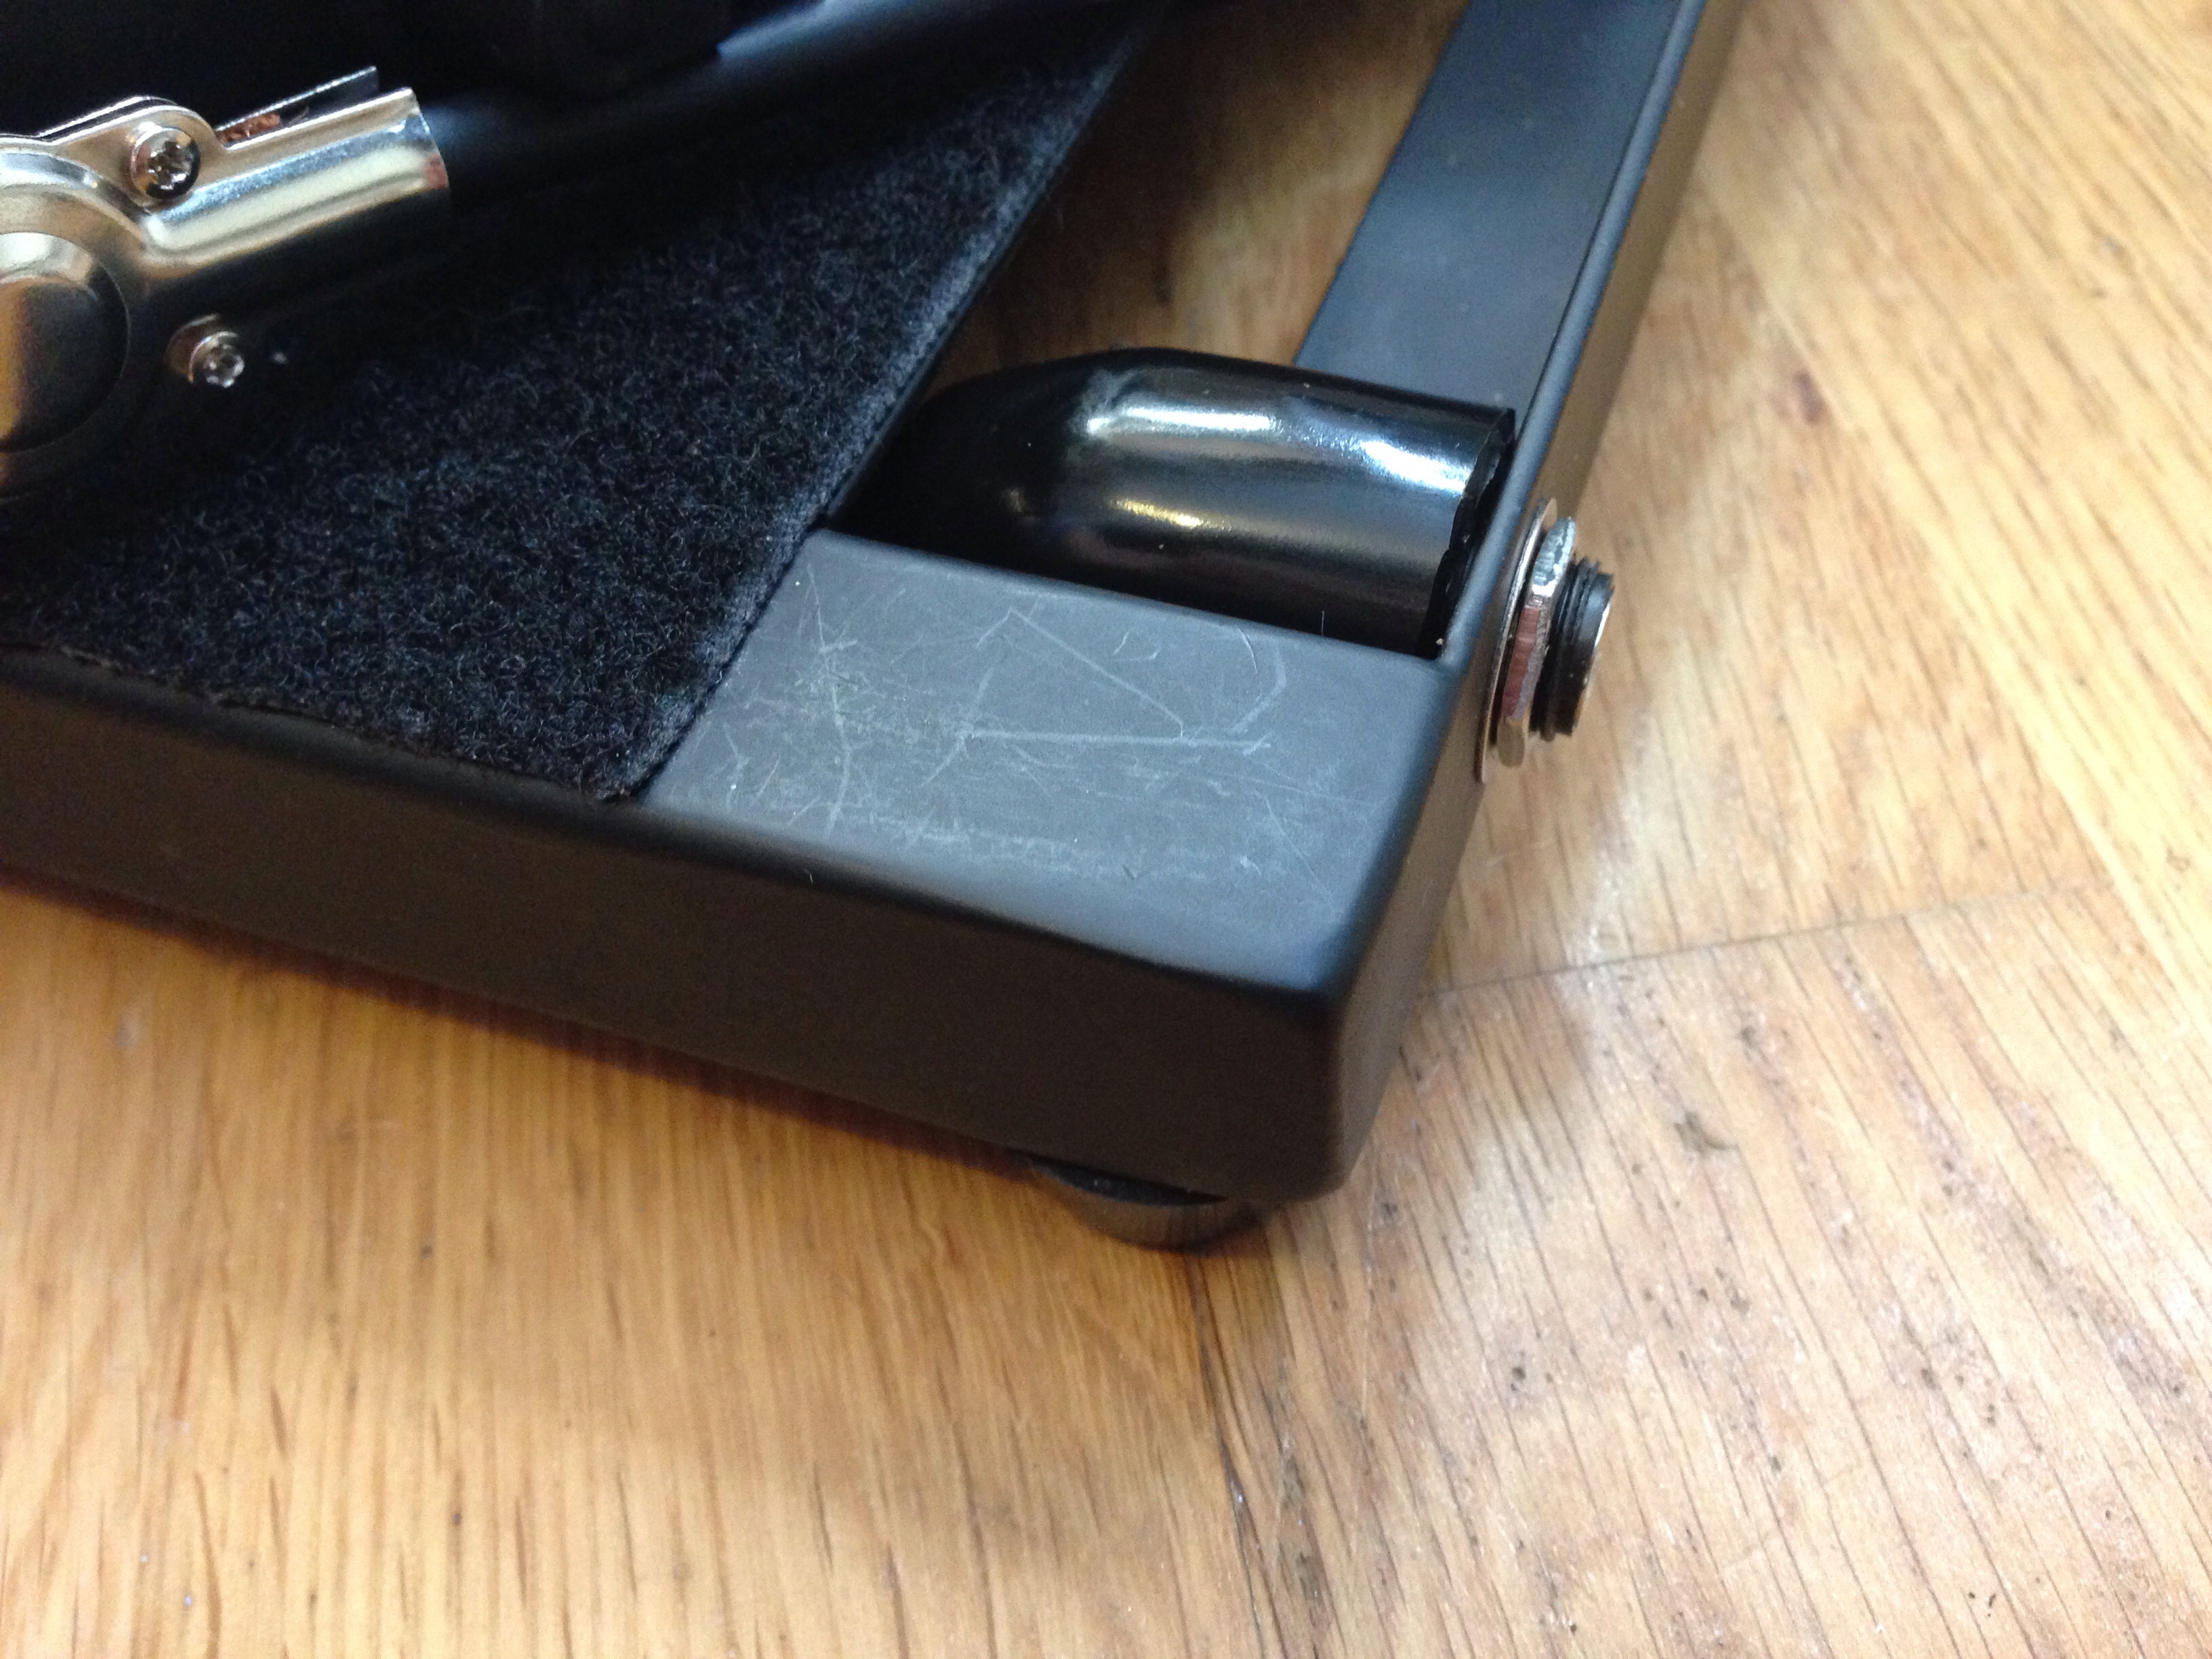
5. Removing active system
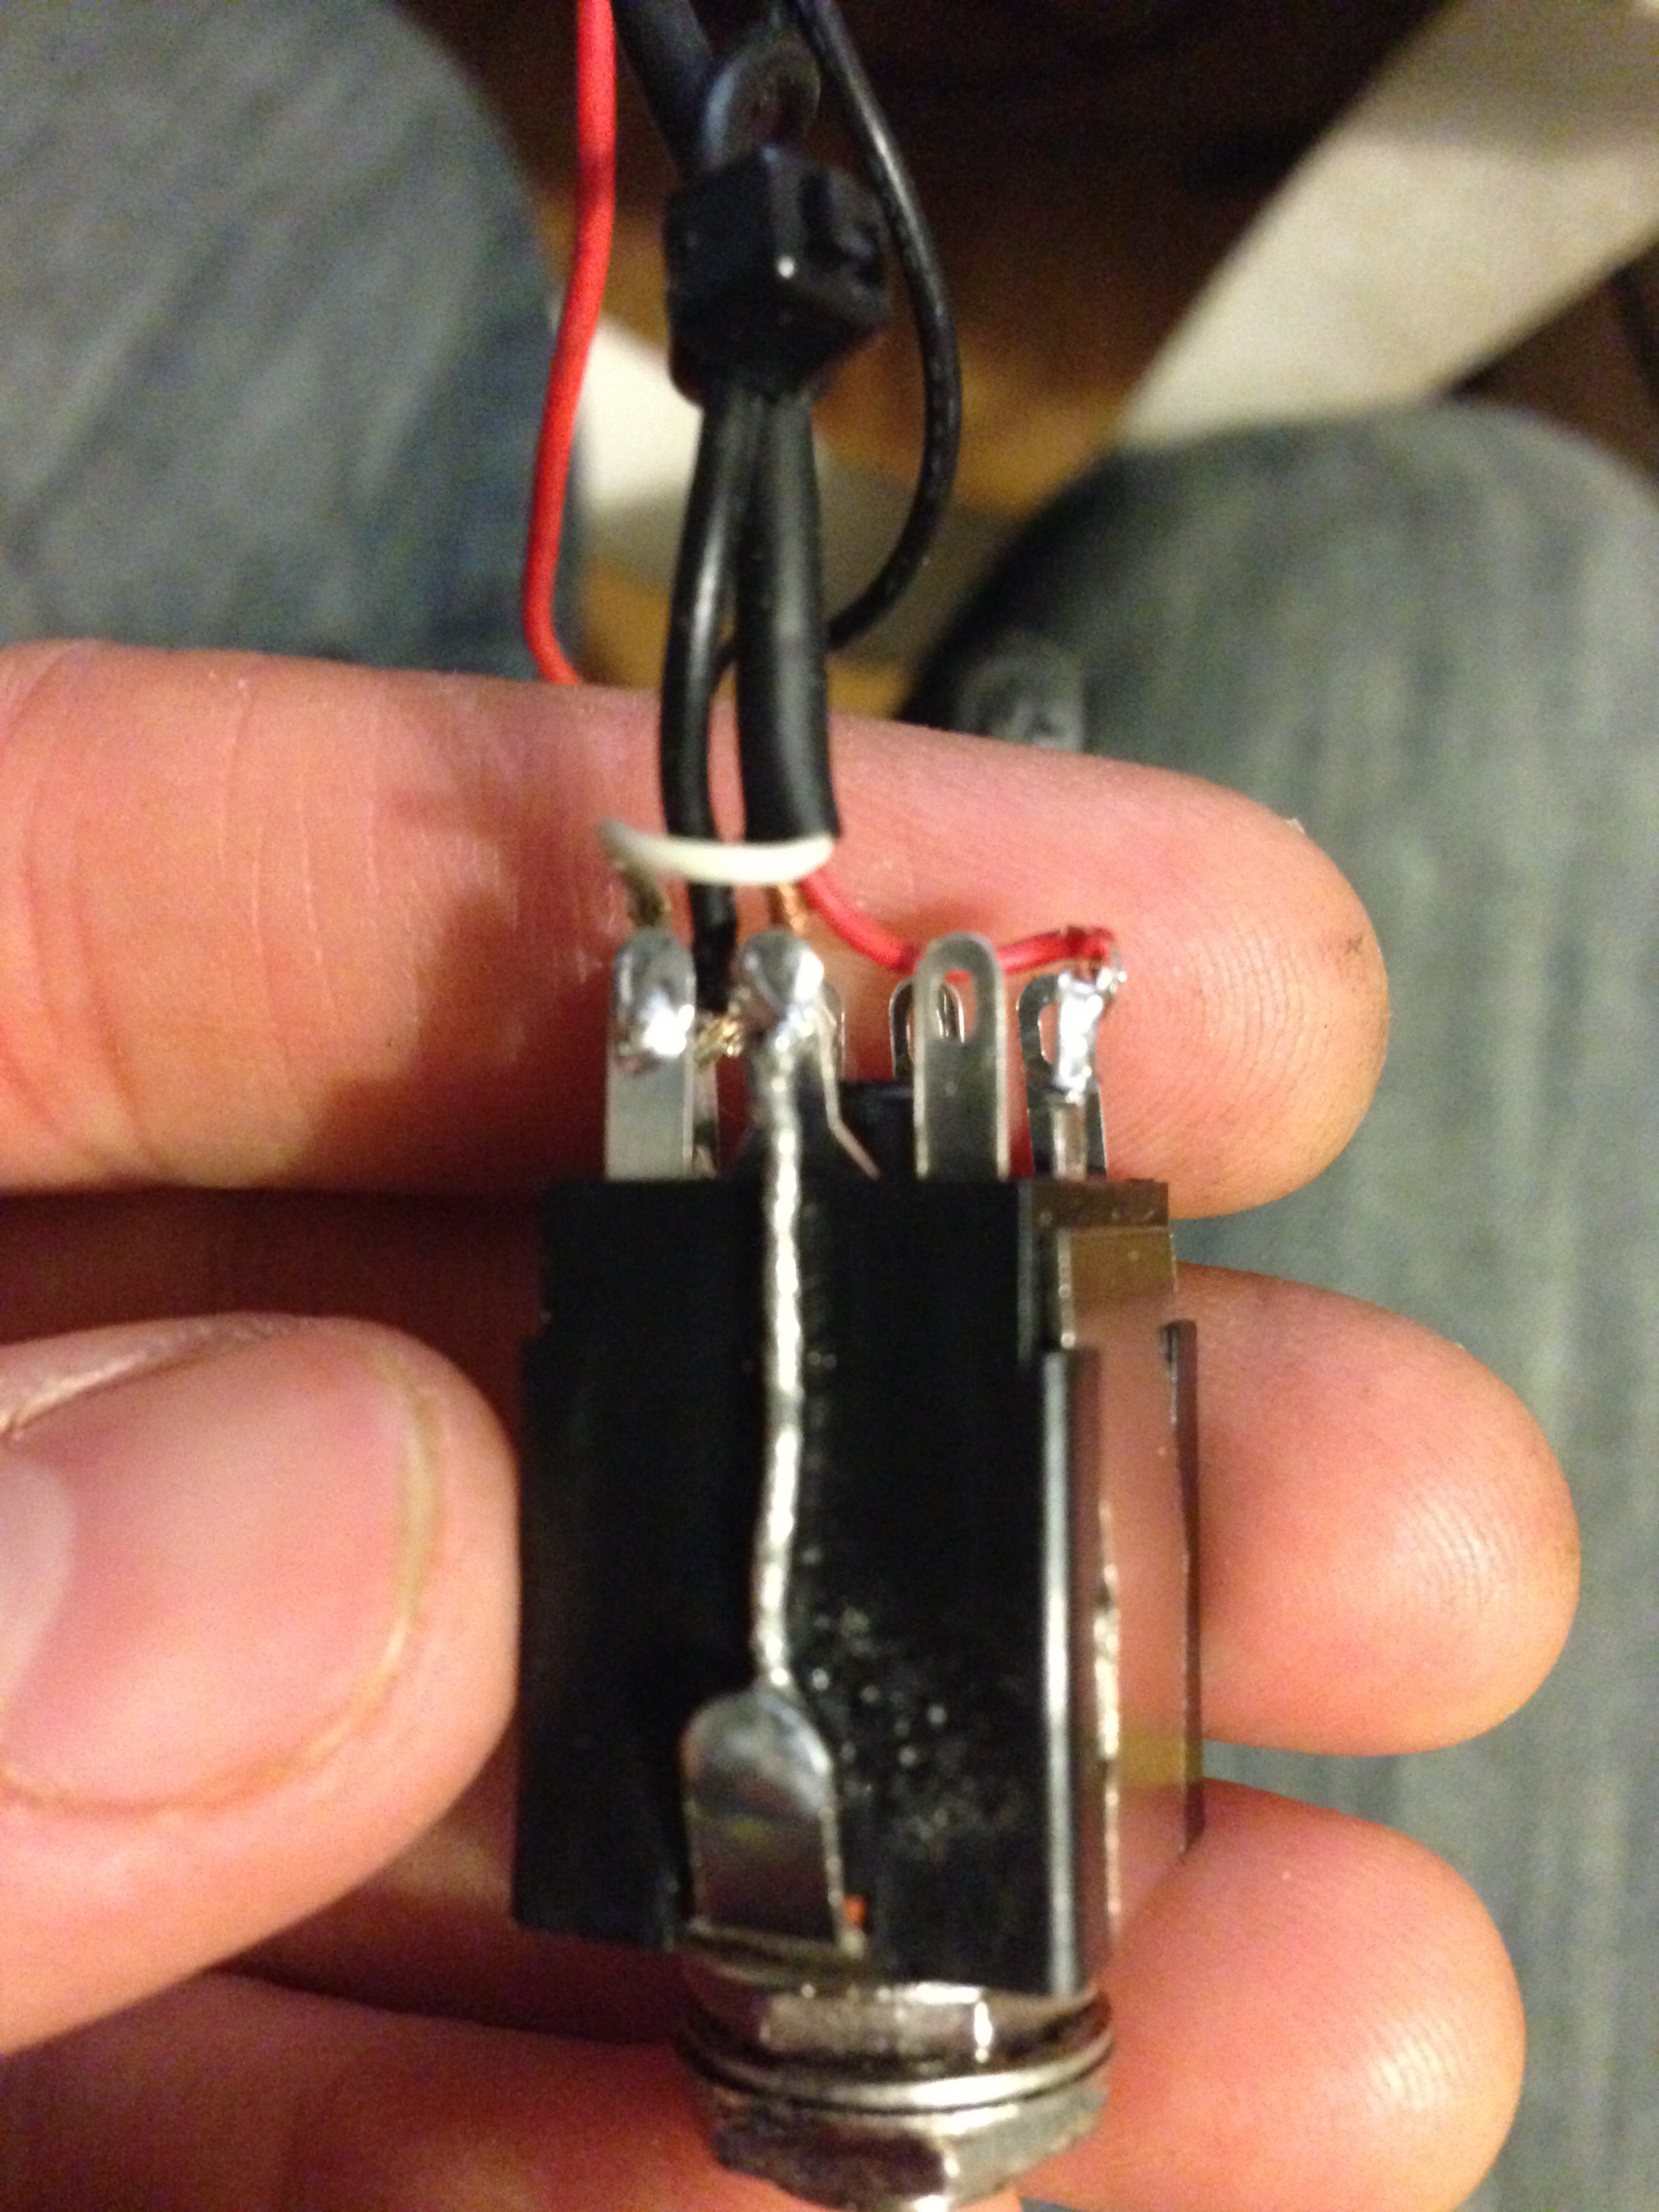
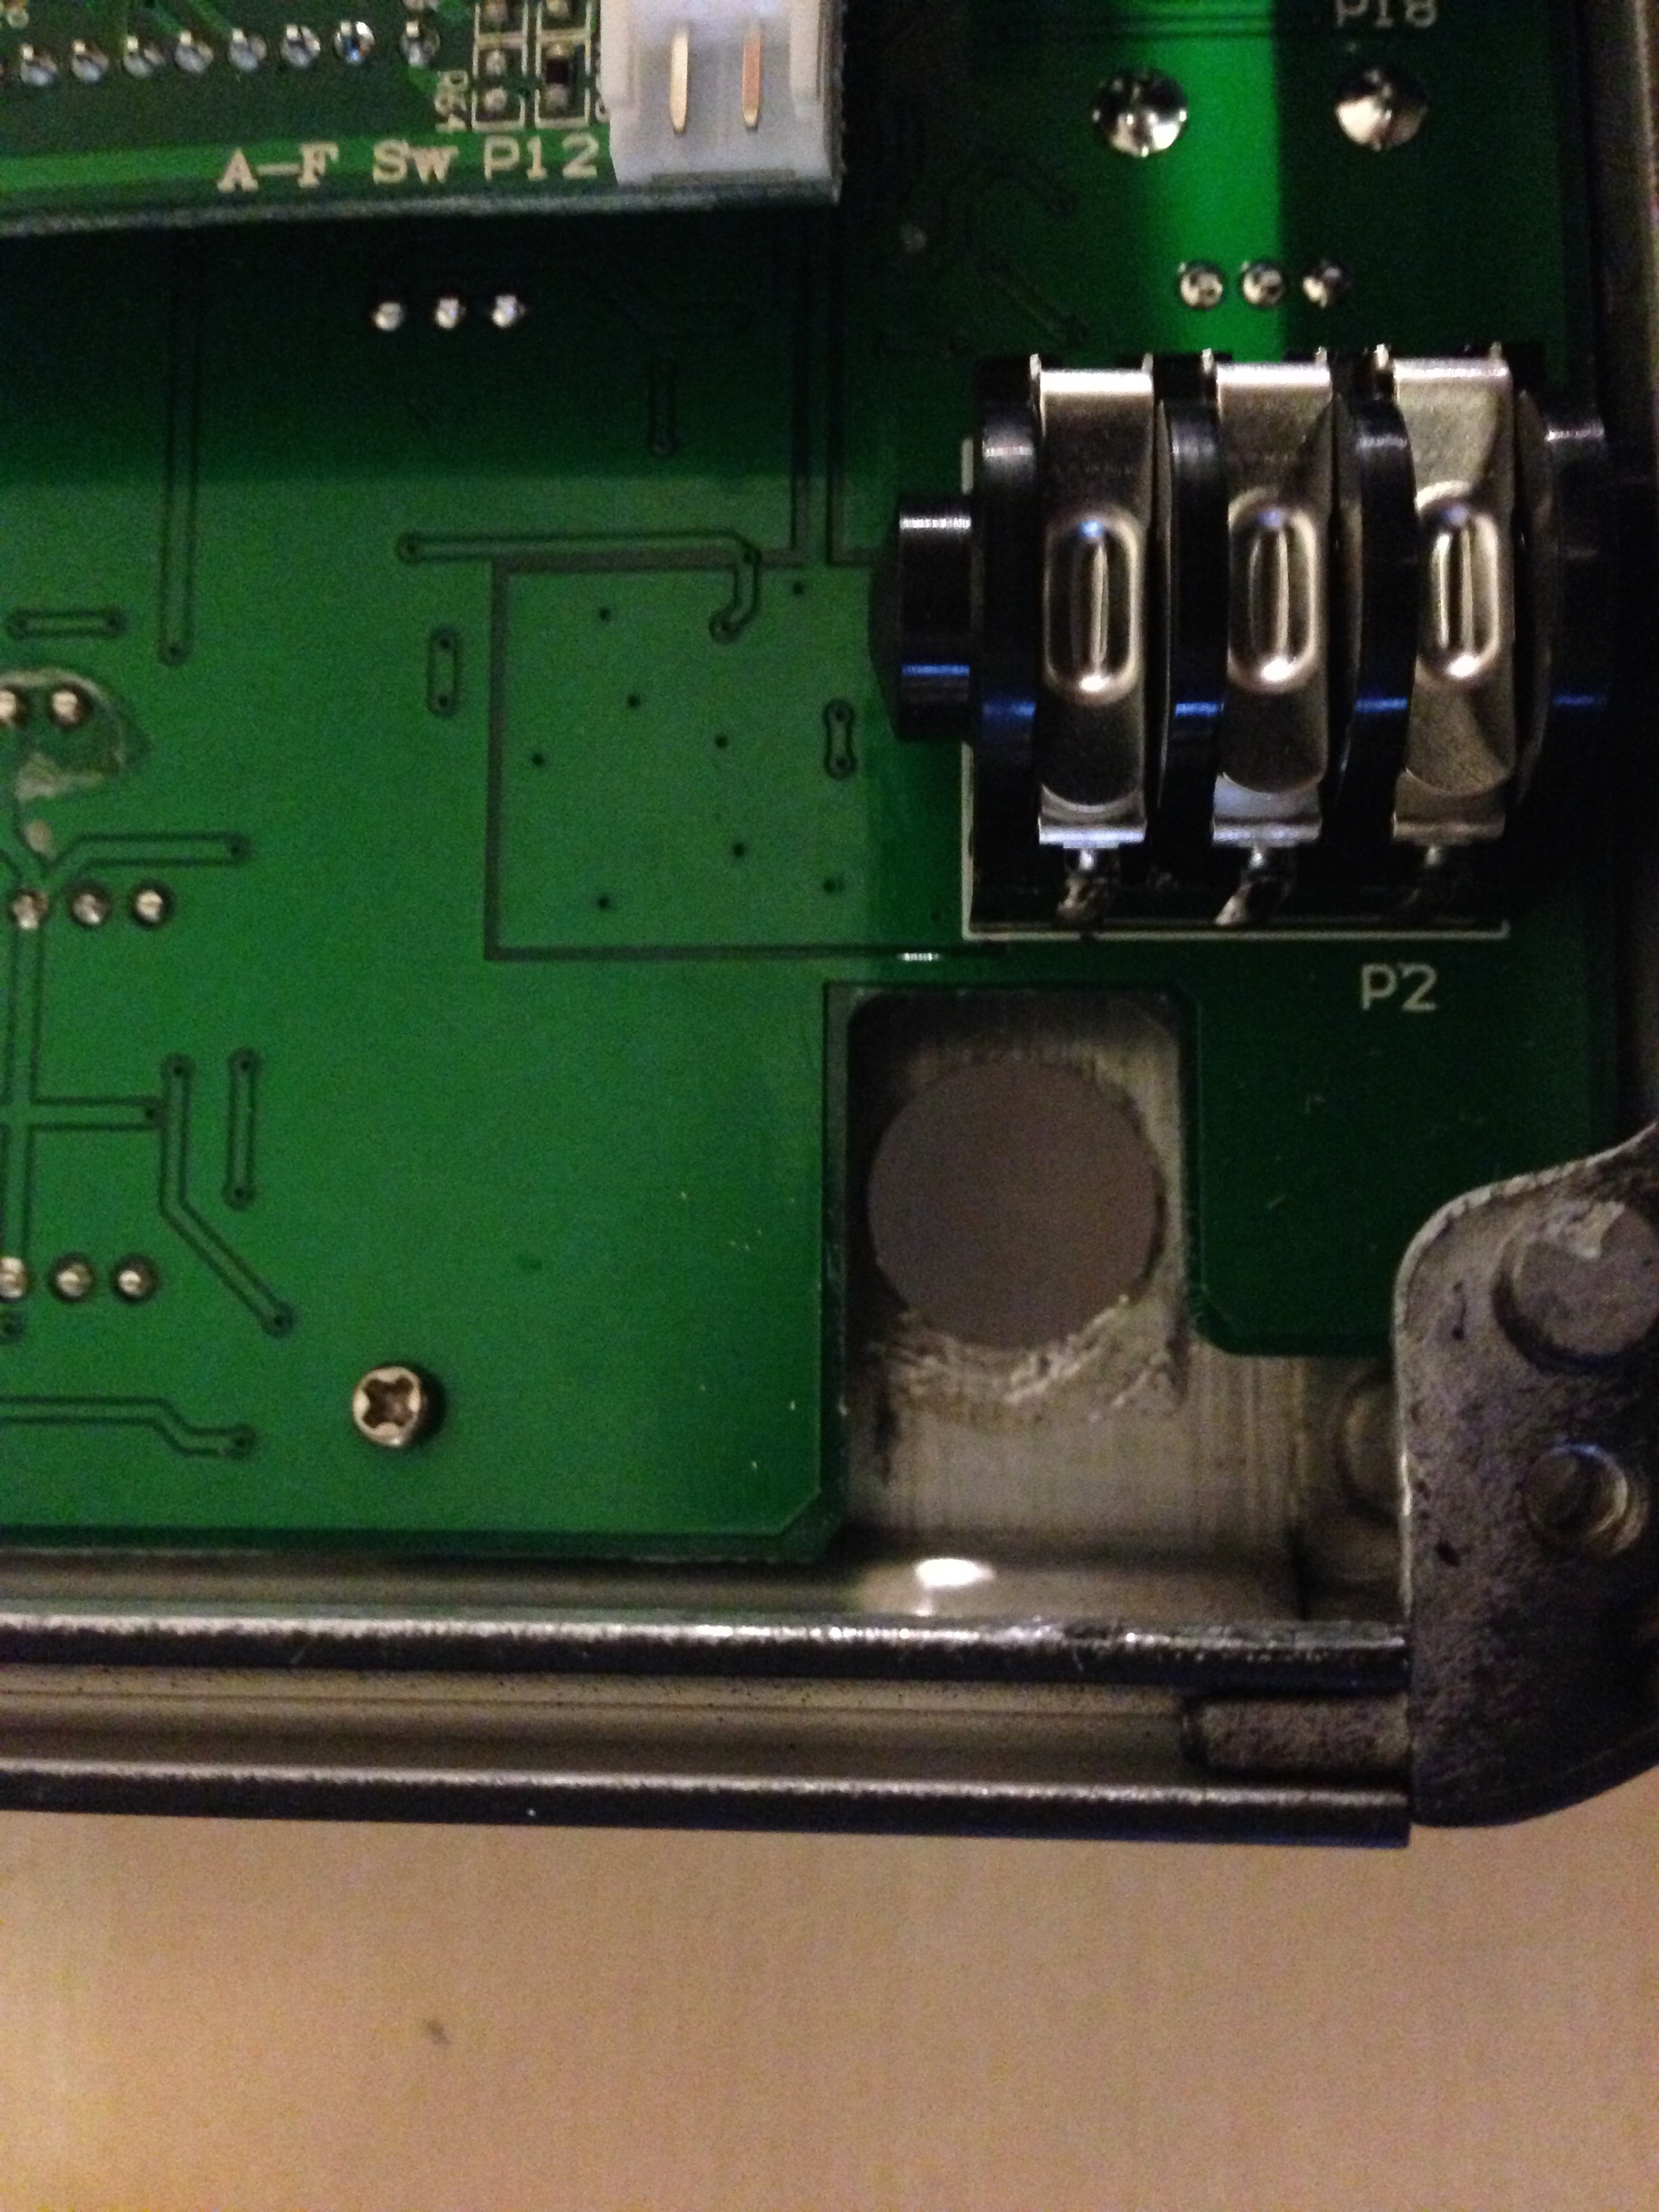
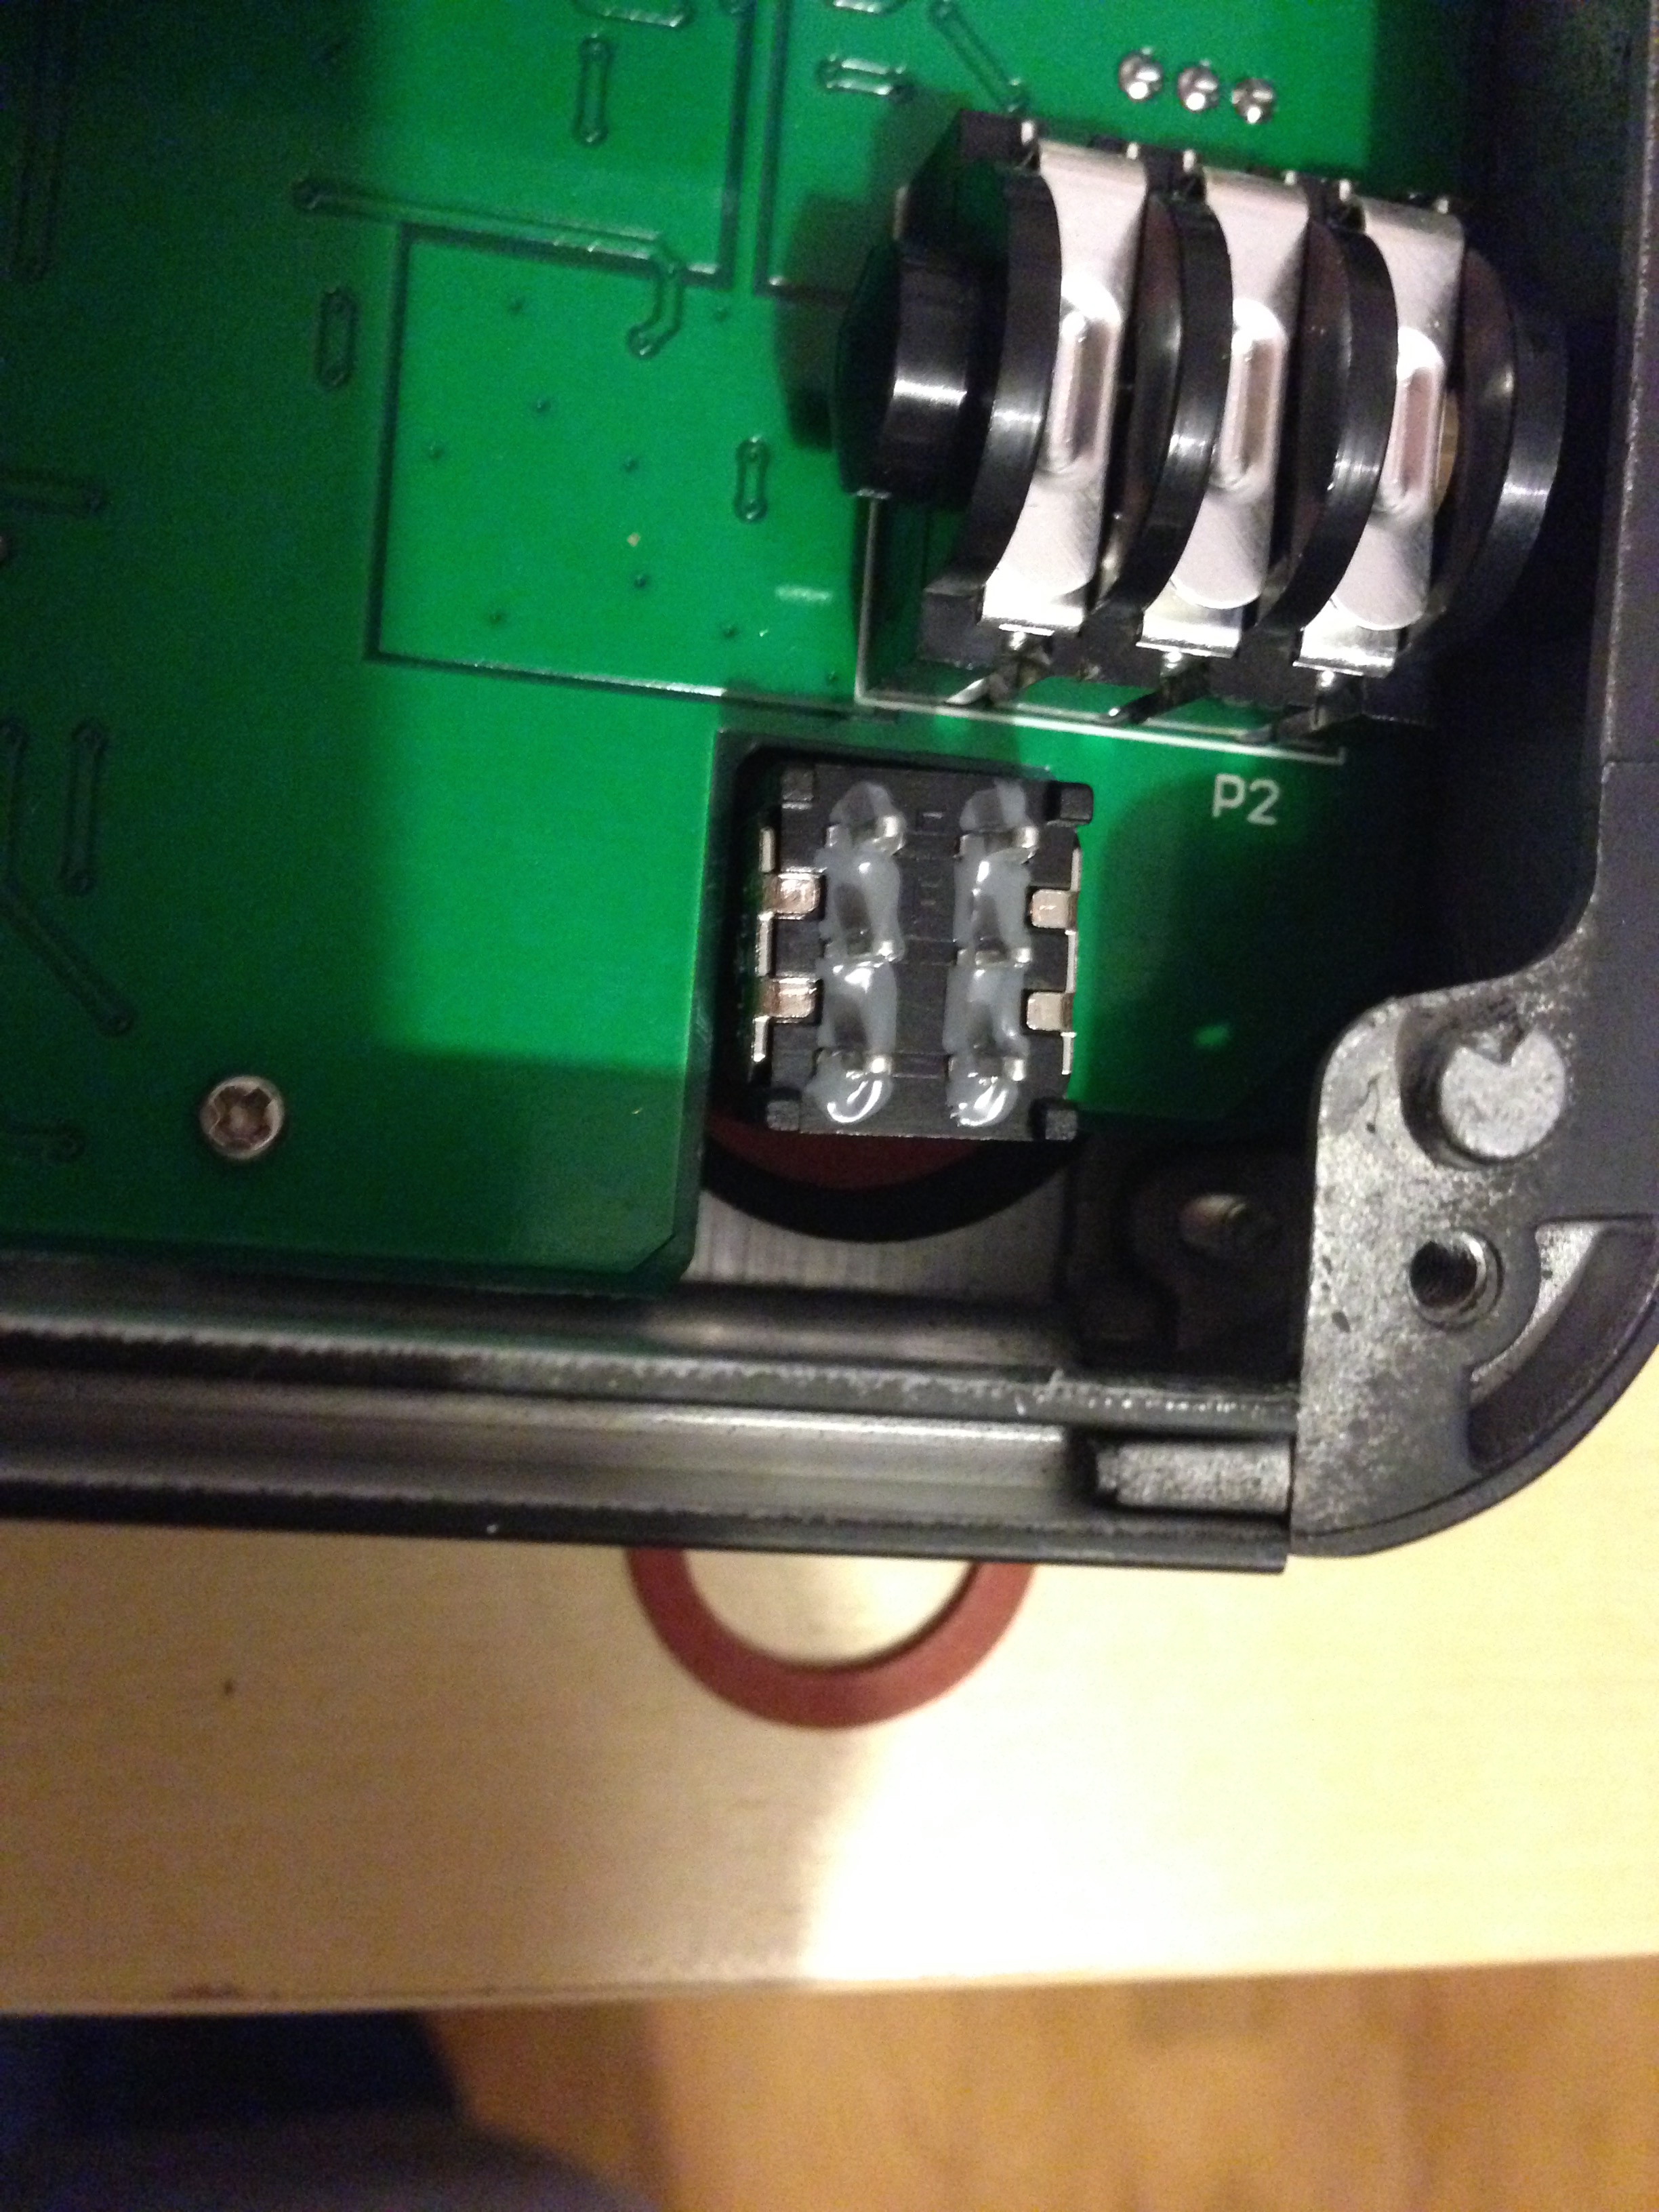
After a while I found the active system had two issues. Firstly the jack power switching was unreliable. This means that it would sometimes cut out or produce a large static noise if the jack was pulled at the wrong angle. Secondly the Fishman Powerbridge stereo cable detection was unreliable at detecting the stereo cable, so would sometimes send the piezo to the magnetic output by mistake, or do it only a little bit and produce a small hum.

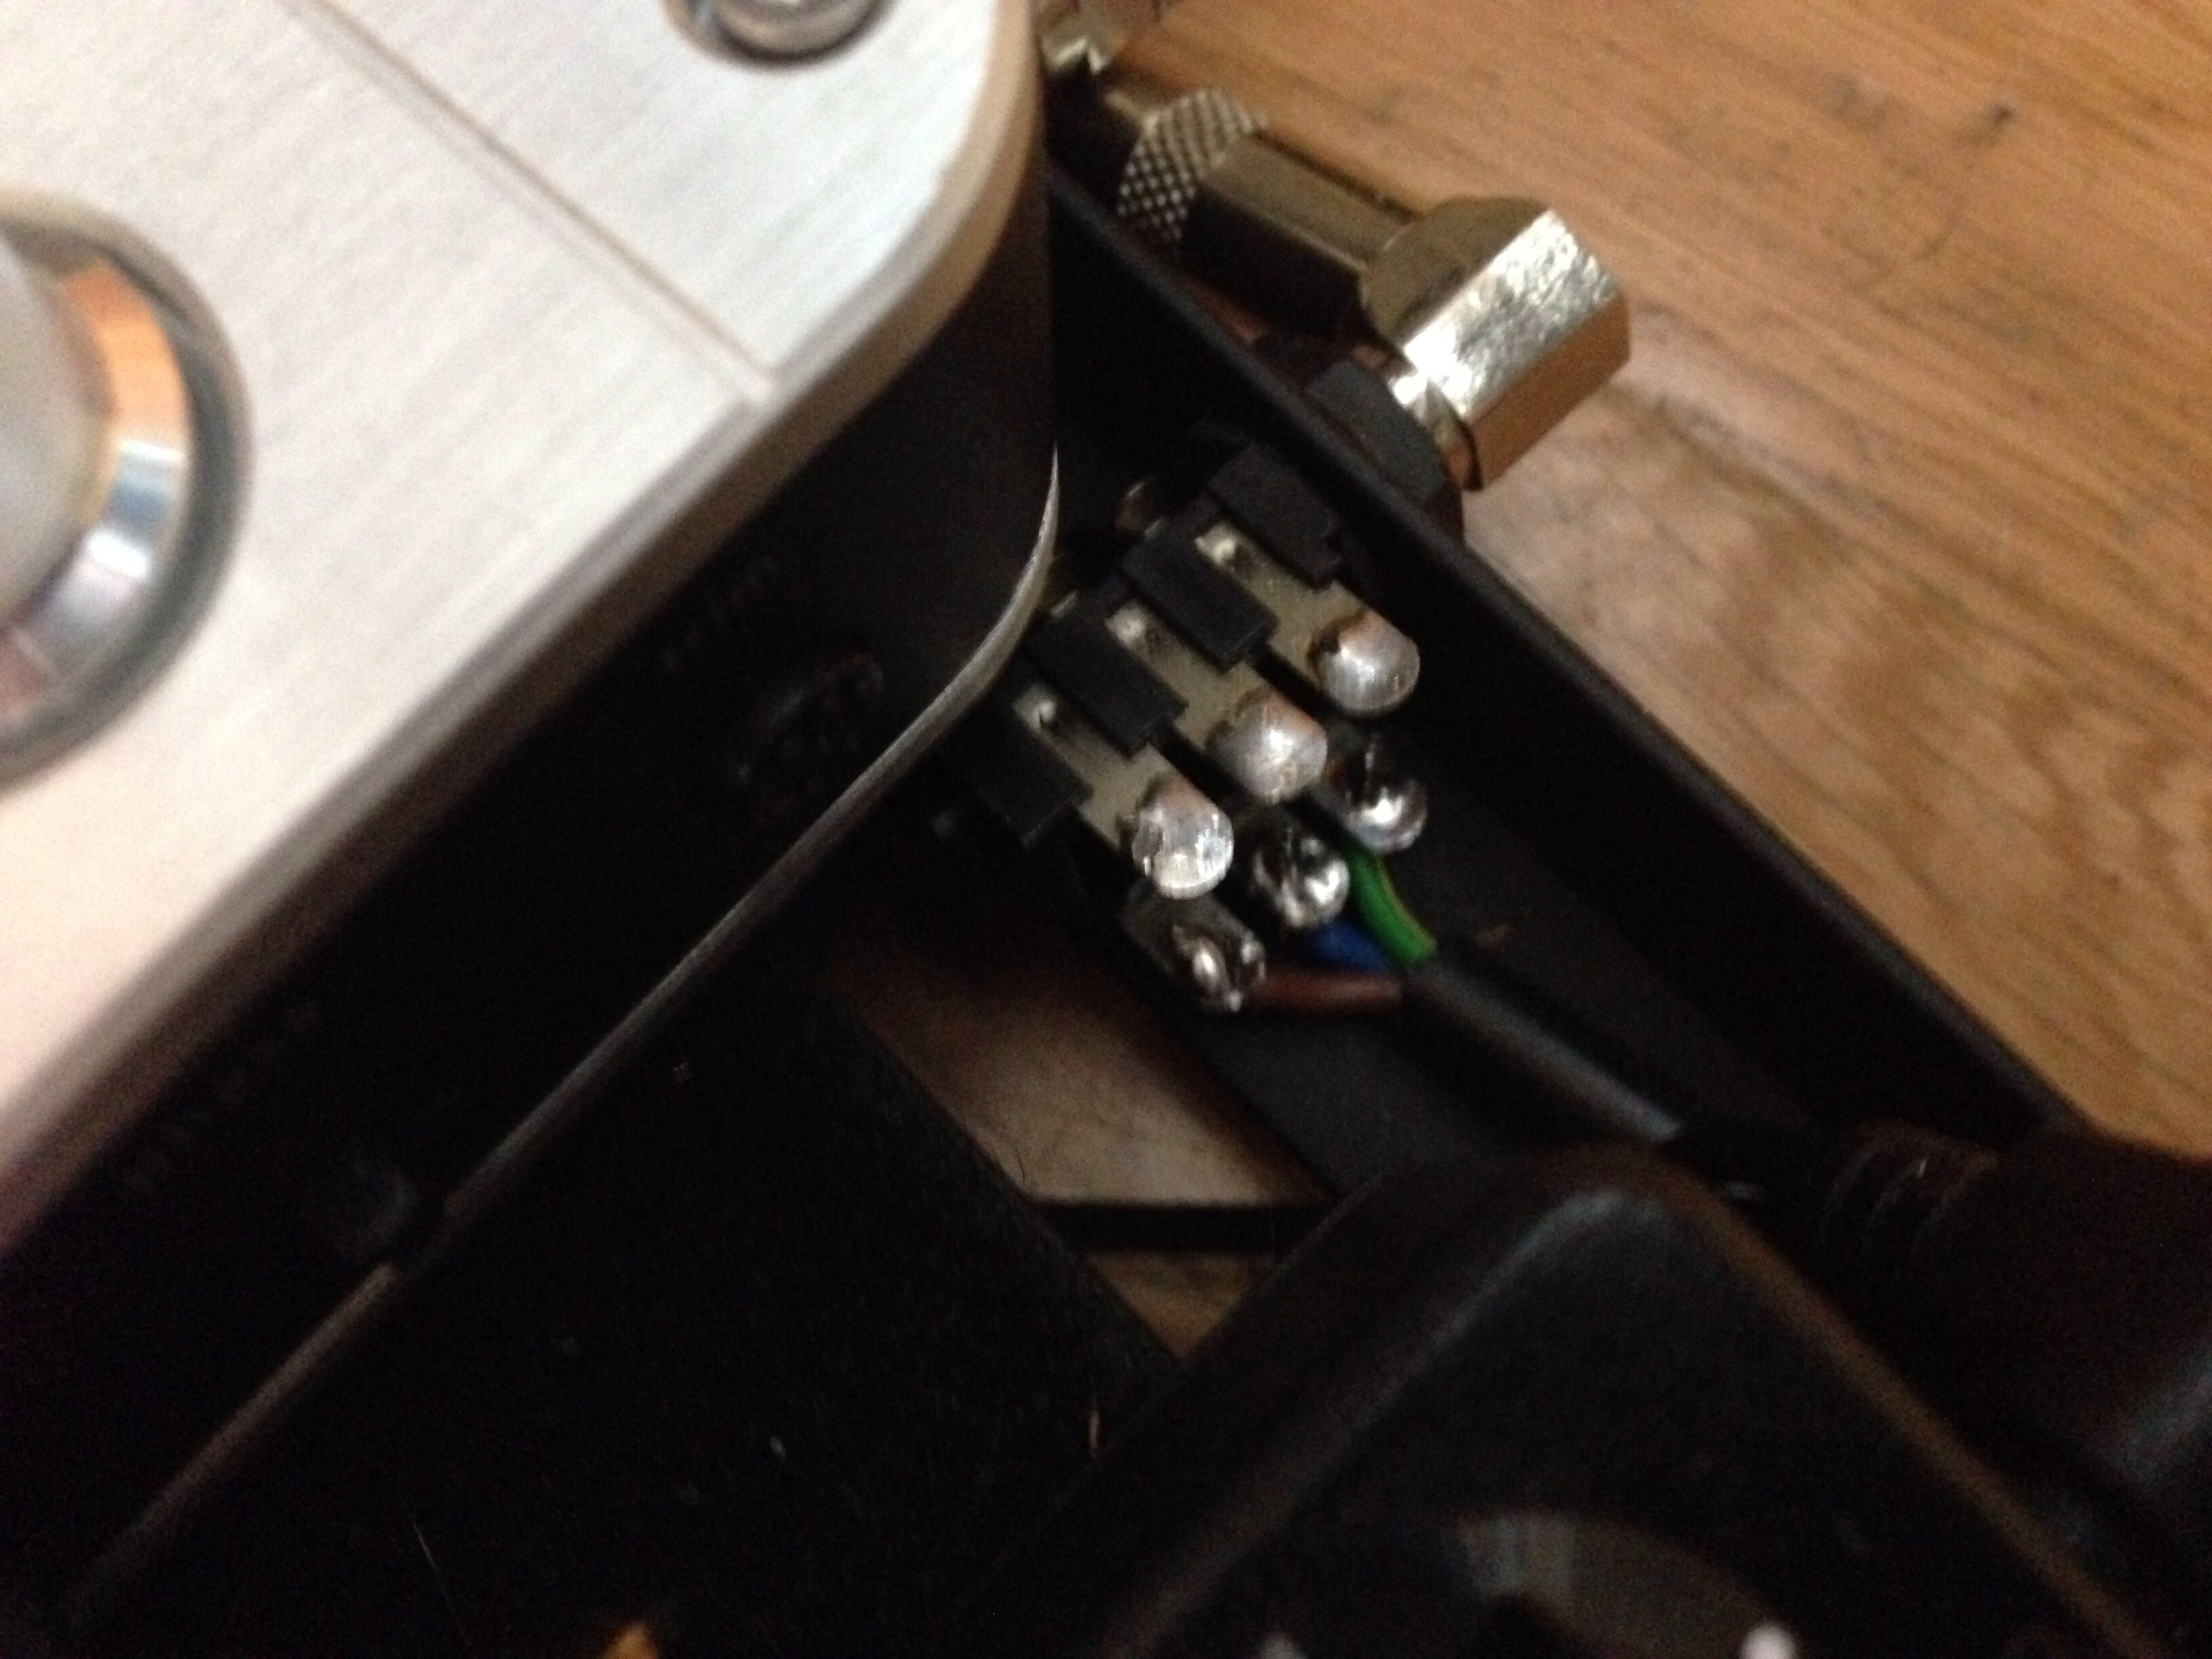
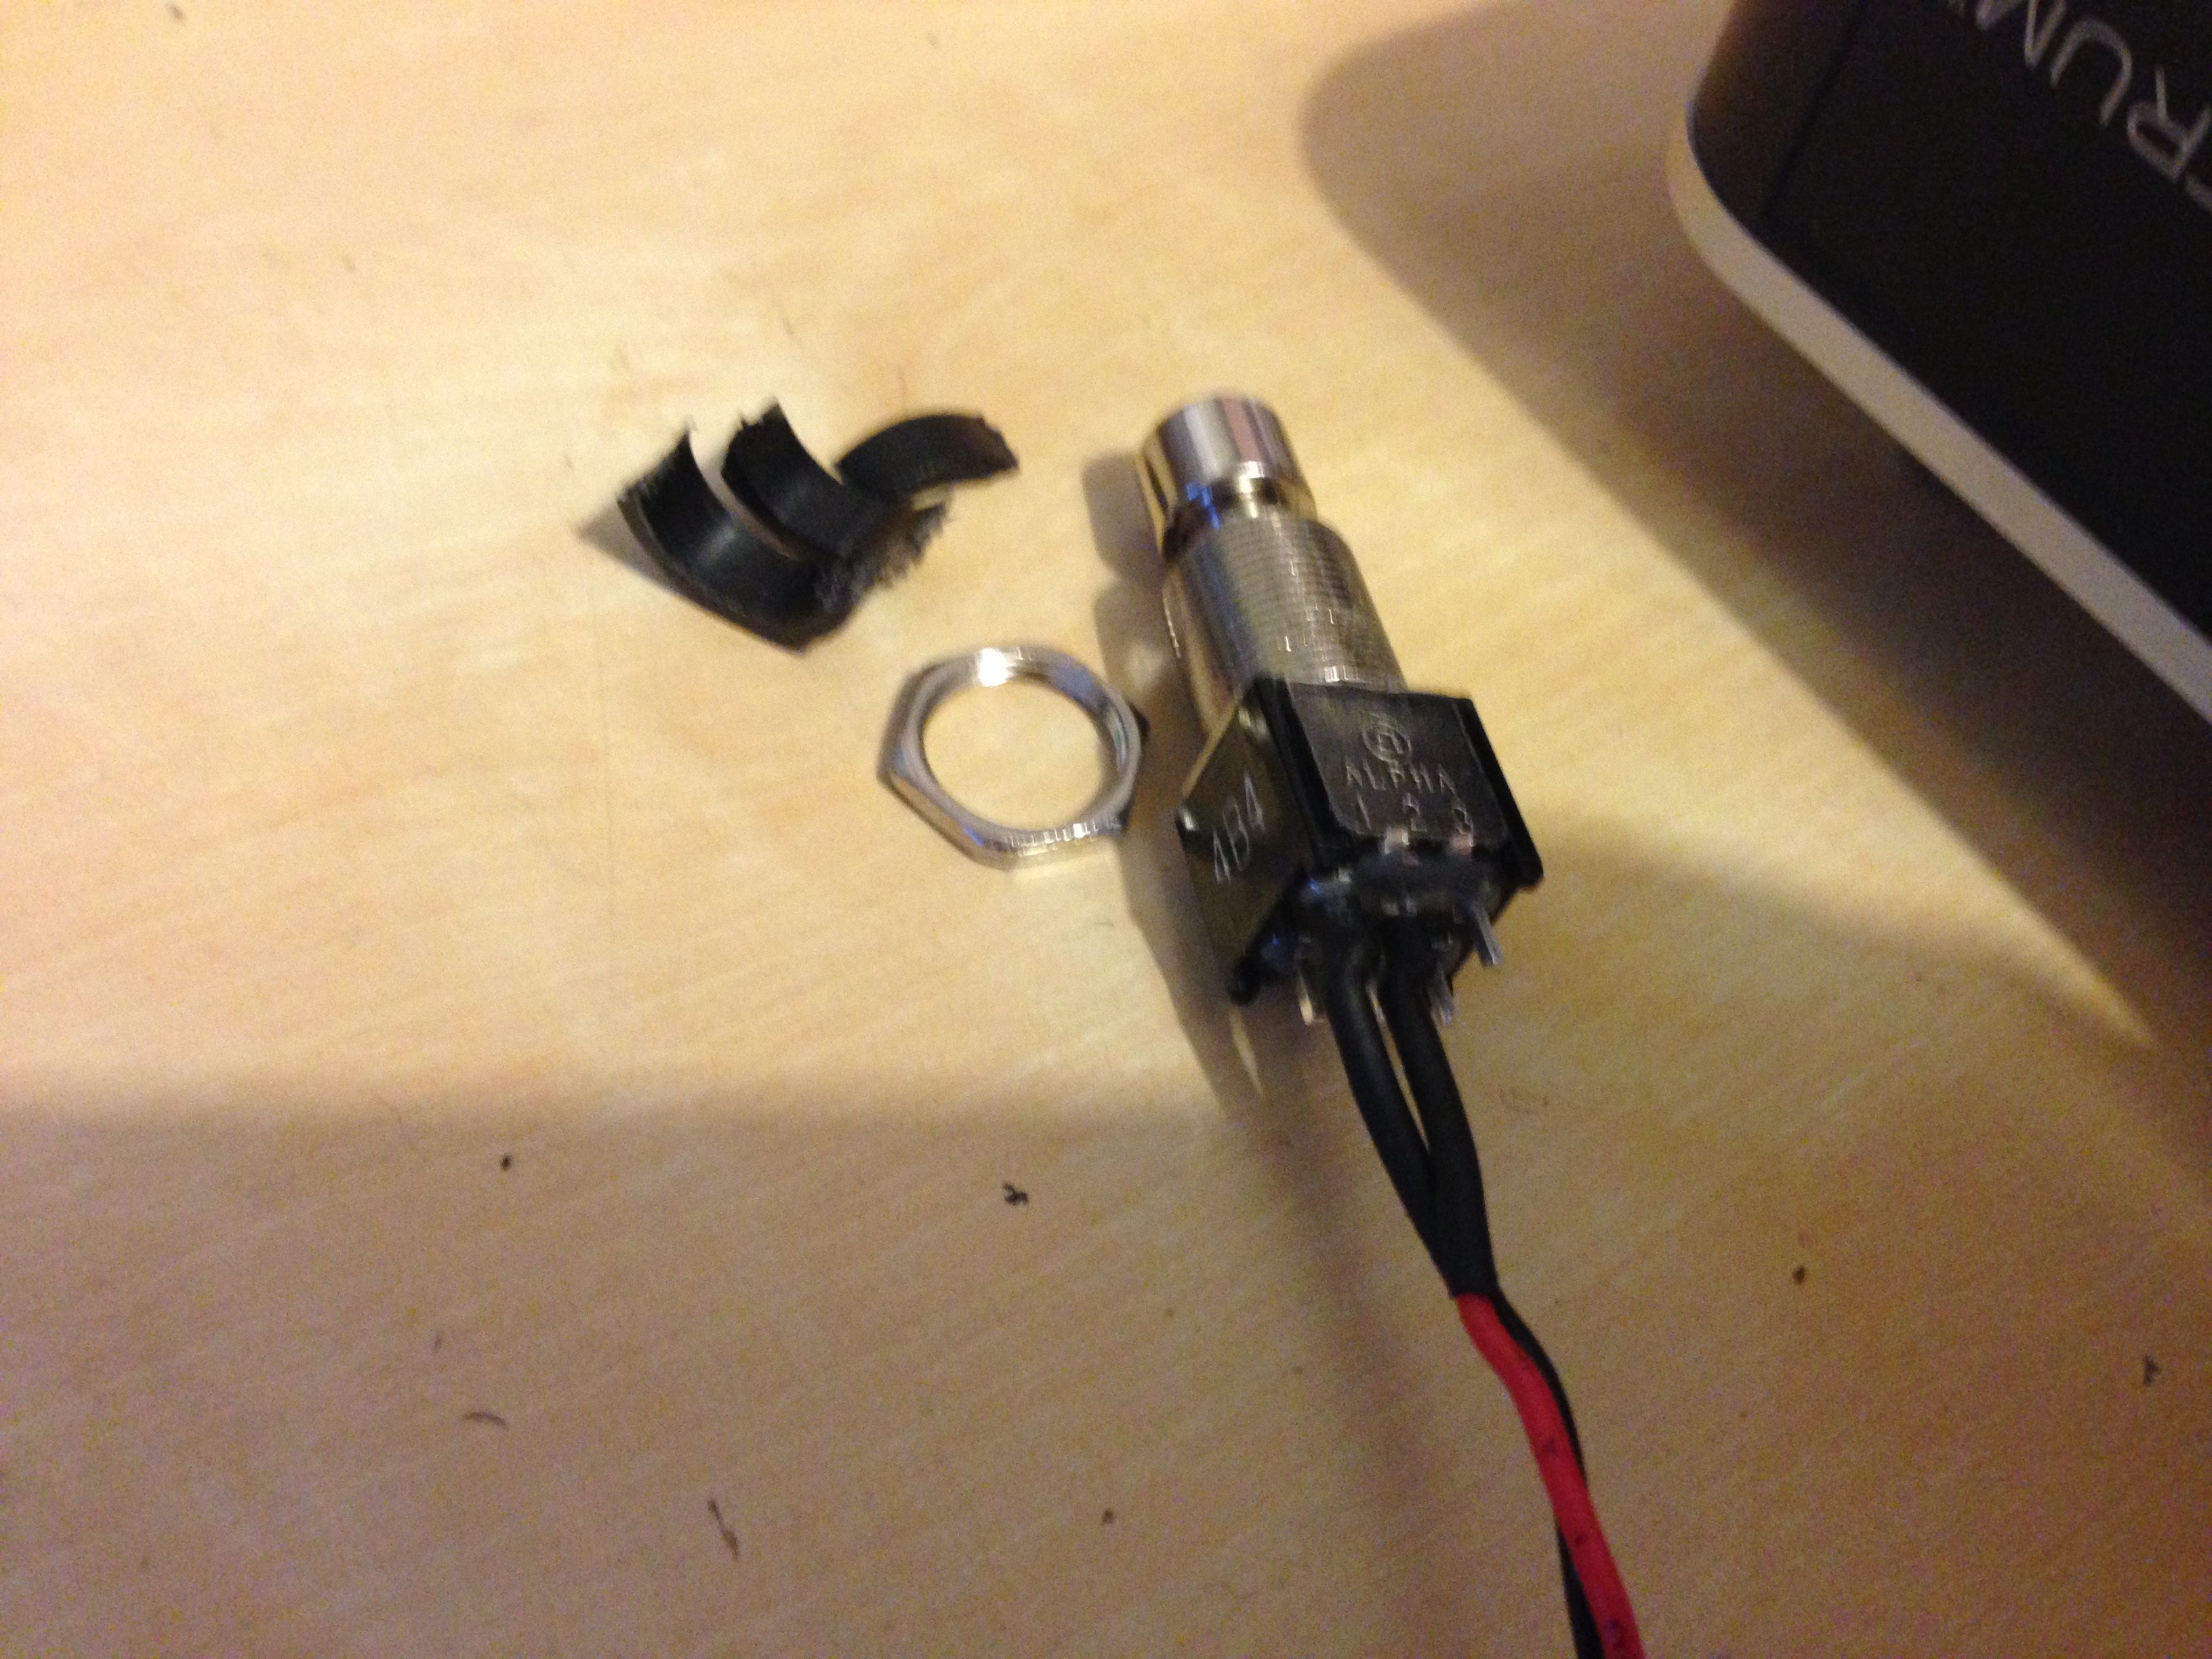
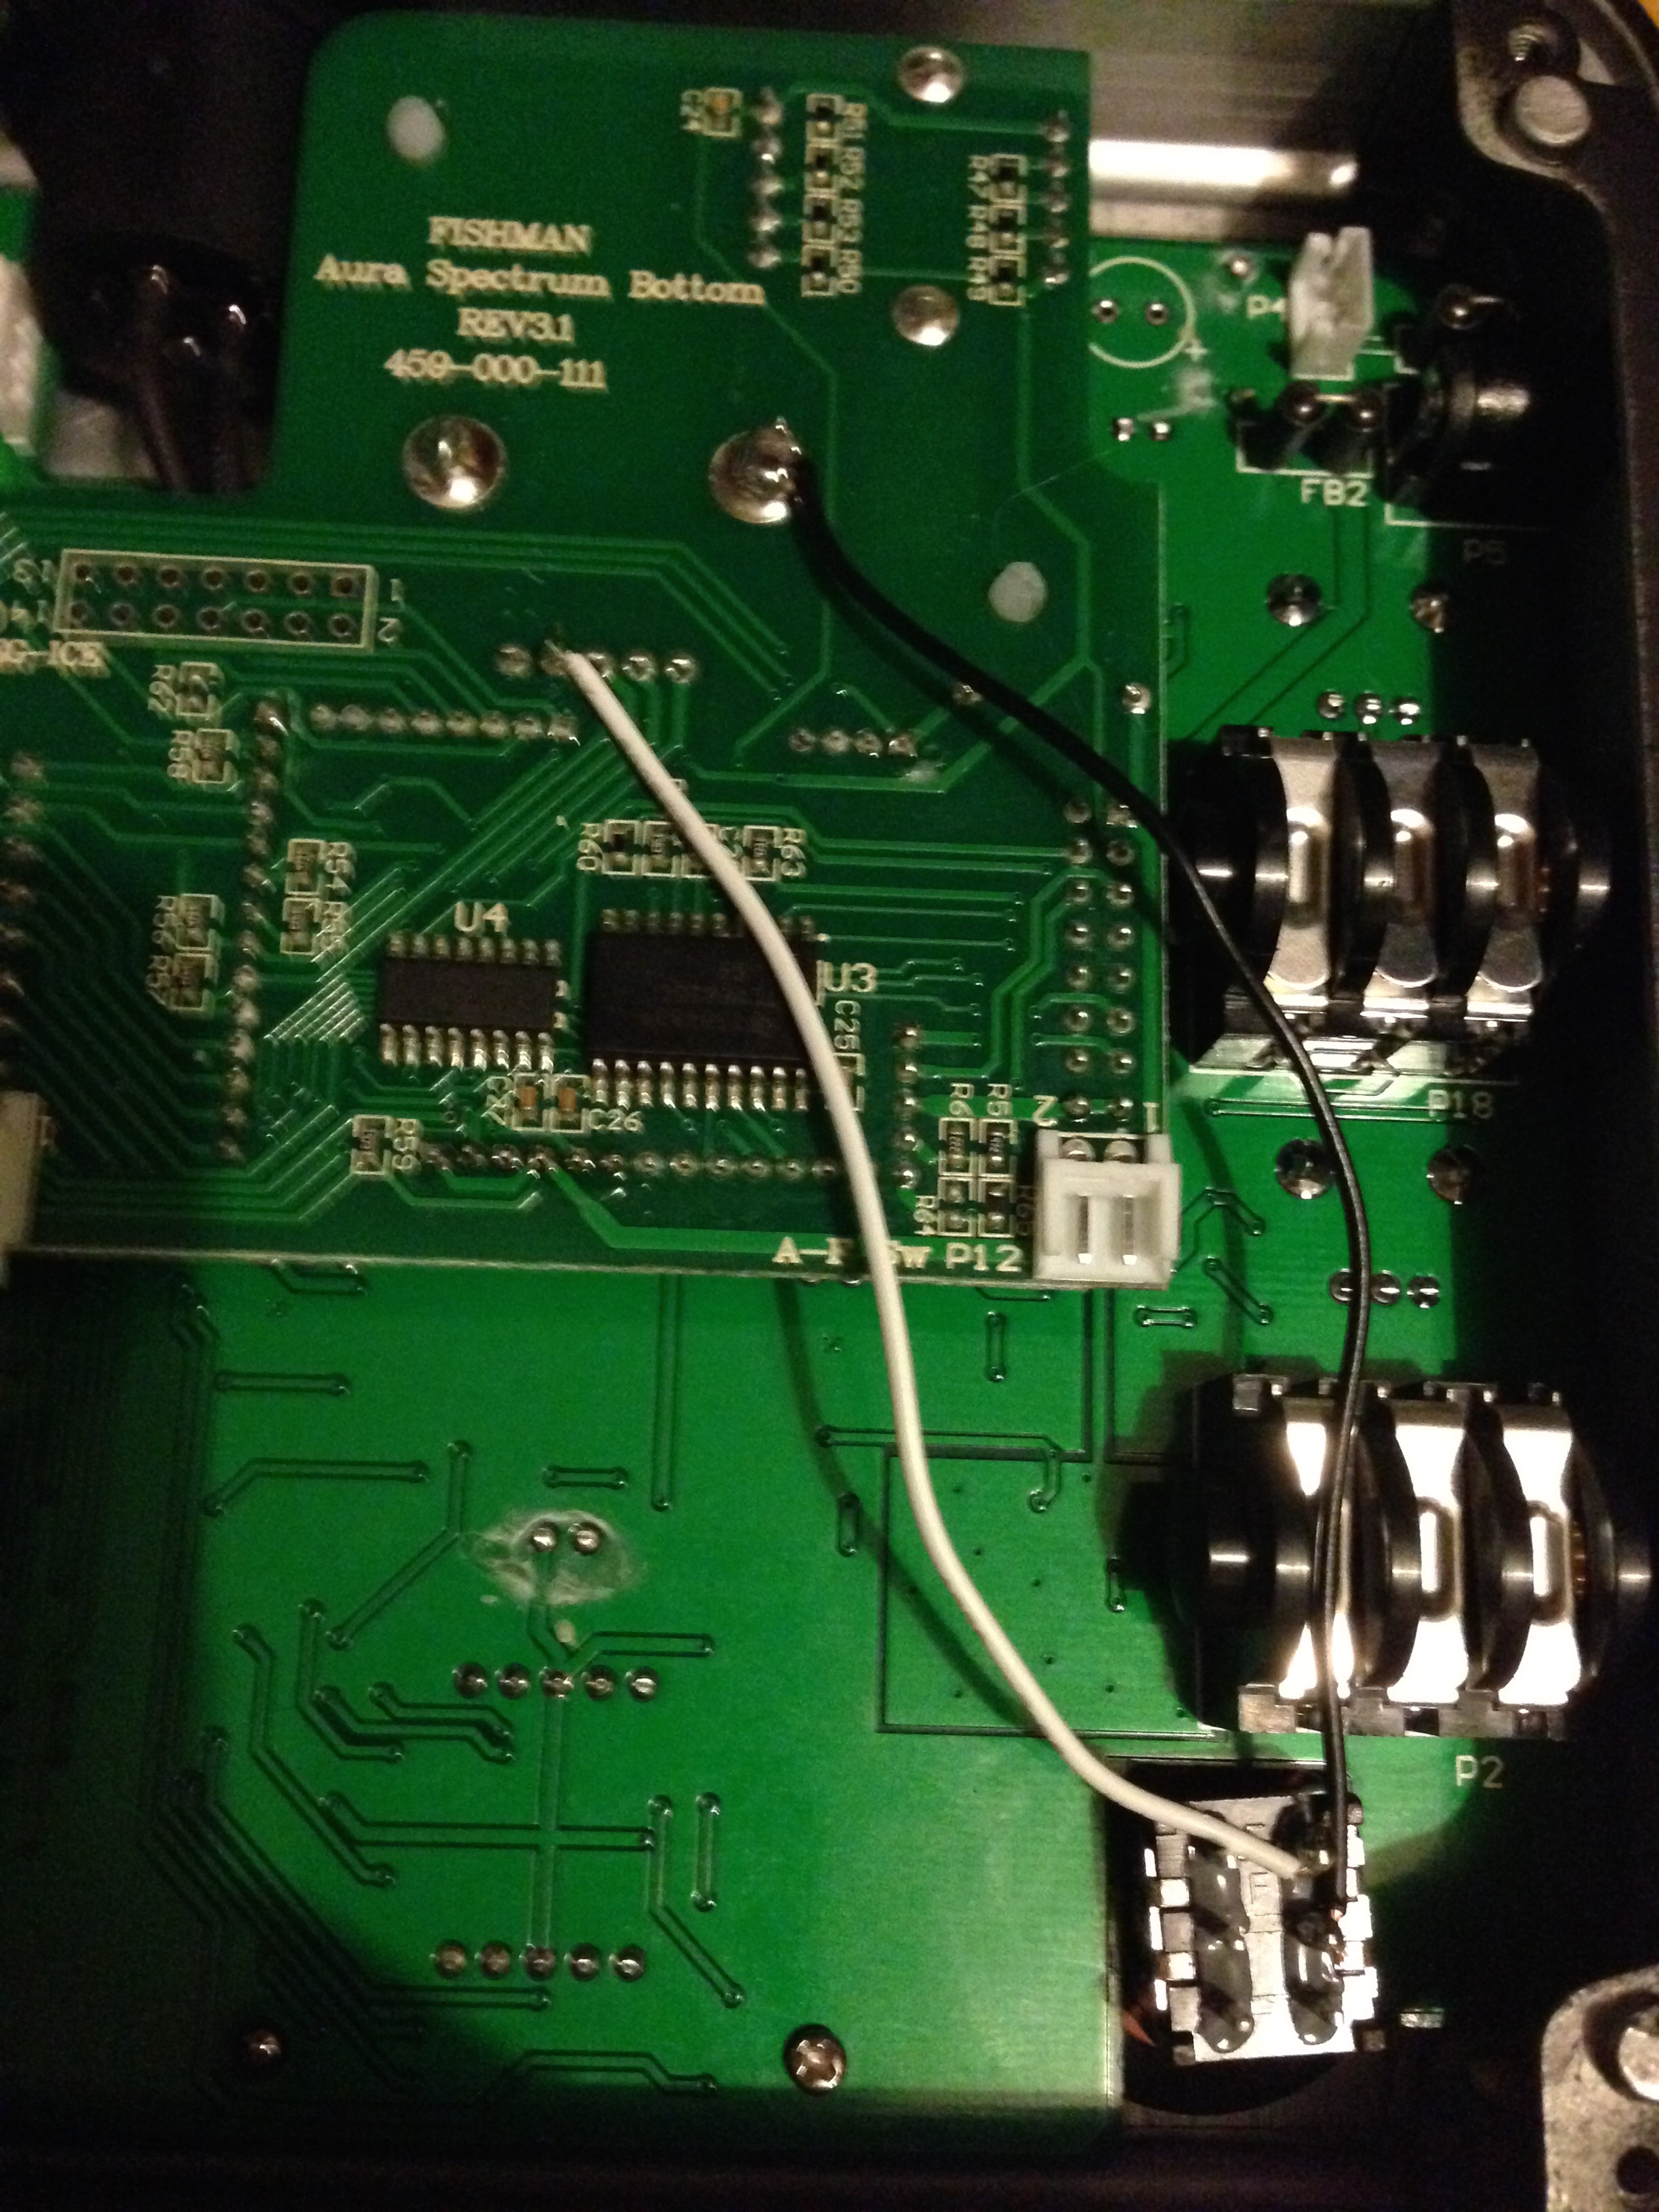
Eventually I decided it would be better to just go passive, install a 10 Meg volume pot with treble bleed and have a single switch for selecting stereo output, or sending the piezo to the mono output. In general it’s good to have a preamp as soon as you can in a piezo signal chain, but my Fishman Aura preamp pedal has a 10M input impedance, and I run short cables to that, so I thought overall it would be ok. The output volume from the piezo is definitely less, but the large pot and my preamp pedal’s high impedance mean it still seems to have a full bass response. I definitely prefer the solid metal switchcraft stereo socket, rather than the switching plastic type, and its good not to have to worry about running out of batteries.

Large value potentiometers don’t have a smooth taper, so Fishman actually recommend a different setup with multiple resistors and capacitors to use a smaller value pot while preserving bass response with the piezo. I might try that in the future, but for now the simple large 10M pot works.
http://www.fishman.com/files/powerbridge_install_guide.pdf

6. Future
There are two future mods I think I might do to the guitar to have it playing as well as possible.
– Refret and professional setup: The stock frets can’t be the hardest because I’ve already worn mine quite a bit, and have a little bit of buzzing. I might get it refretted with stainless steel so I never have to do it again.

– Change bridge to a hardtail steel piezo bridge. This would make it much easier to adjust the action and intonation of the guitar, but would be another job I need a professional to do, and I’m not sure how well they could refinish the place where the acoustic bridge is removed.

Fishman Aura Spectrum DI Preset Footswitch Mod

I’m a big fan of the Fishman Aura Spectrum DI. If you don’t have something like the Taylor Expression system on your acoustic, it can vastly improve your plugged in sound, particularly for live situations. If you have a piezo on an electric or slimline guitar, it does the same, but because of the more “neutral” sound, I’ve found you can use it to give you all sorts of different acoustic sounds. Fender even do this with their Acoustasonic Tele.

Since using it to give multiple sounds on an acoustic guitar, something I’ve wanted to be able to do is switch presets with a footswitch. I had a look at the circuit and figured out a straight forward way to do this. Warning: This will void your warranty and I am not responsible for any damage to your pedal.

UPDATE:
I now recommend wiring up both sides of the DPDT switch and wiring to pins 3/4 instead of pins 1/2. The reason for this is that it puts on the “preset” slots at the end (13-16), and means you only loose 4 slots. This makes more sense to me because I set the presets all the same (my main sound) and that set an alternative on the dial. If you like to set up pairs of sounds with a different preset on each one, then use my original mod of just soldering a single side of the DPDT to pin 1.

How I did it:

1. Use pliers to remove the ring around the anti-feedback switch. The anti-feedback switch is a momentary switch and we need a latching one.

2. Use hex keys to remove the base of the pedal, and remove the battery clip as you do.

3. Locate the rear of the anti-feedback switch and remove the clip for that too.

4. VERY CAREFULLY use a sharp craft knife or scalpel to cut down each side of the switch to remove the plastic washer that stops you removing it. I found if I bent the switch to one side while I did this it made it easier. I’ve owned two versions of the Fishman Aura DI, and the older ones didn’t have this, so you could just remove the switch, if you do you’re lucky, this step took me a couple of hours!

5. Insert the new switch, I used some rubber washers to space it. Alpha’s small DPDT footswitches fit, and appear to be the same as what Fishman are using. They’re available on eBay: http://www.ebay.co.uk/itm/131175360378

6. Connect one pin of the switch to the 2nd pin of the 16 position rotary encoder (bit 1), and another pin to ground.
– There are multiple ground points, use the one that’s easiest, but I used the ground for the rotary encoder.
– From left to right the pins of the rotary encoder are: Input, bit 1, bit 2, bit 3, bit 4

How it works:
The 16 way preset switch is basically a rotary encoder counting from 0-15 in binary. As it counts, it connects each of the 4-bits to ground. We’ve connected the switch to bit 1, which means that it will increase any of the off positions (in binary even) by 1. So it will switch between preset 1 and 2, or preset 3 and 4, 5 and 6, etc. If you are on an even position (in binary odd), bit 1 is already grounded so the switch does nothing, i.e. positions 2,4,6,8 won’t be switched.

Notes:
– The original Aura Imaging Blender seems to have had preset footswitches built in:
http://www.fishman.com/product/aura-imaging-blender-discontinued

– If you could get access to the other side of the PCB, you could disconnect the input to the rotary encoder and switch that. This would give you a better switching system, where you always switched between preset 1, and what you had set on the preset dial. I didn’t feel confident disassembling things that much though, so elected for the simpler system.

– Here’s a list of my favourite Fishman Aura patches:
https://docs.google.com/spreadsheets/d/1FN8WMgKAJQHMKjTJkxhZzQQYS5DTSRZGXKffRXjX6PA

Humbuckers with good single coil split sounds

Update:
i) I just found that Catswhisker Pickups #5 with in their S-Bucker pickups:
http://www.catswhiskerpickups.co.uk/humbucker.html I’ve ordered one and will do a demo soon.

ii) Dean Zelinsky guitars just announced their SideKick pickup which aims to be a “true single coil”: https://deanzelinsky.com/sidekick-pickup

iii) Rautia Guitars Toast-O-Caster, Single-Bucker and Bar-O-Caster pickups look interesting too:
http://www.rautiaguitars.net/toast-o-caster.html
http://www.rautiaguitars.net/singlebucker.html
http://www.rautiaguitars.net/bar-o-caster.html

iv) I’ve seen some people put two single coils or a sustainer in humbucker slot. Another option might be two put a true single coil (or even a noiseless single coil) and a mini humbucker in a single coil slot:
http://www.tdpri.com/forum/tele-home-depot/413620-4th-july-caster-8.html#post5425950

Recently been interested in changing the neck pickup on my guitar to a humbucker that has a coil tap that doesn’t seem to have such a large drop in volume. There seem to be a few different ways to do this:

1) Seymour Duncan and Dimarzio

Seymour Duncan seem to be have experimenting with this for a while. They had their Stag-Mag which is a humbucker made of two true single coils and The P-Rails which is a single/P-90/humbucker all in one:
http://www.seymourduncan.com/blog/the-tone-garage/how-to-get-more-from-your-humbucker-coil-split/

Dimarzio had their DP157 Multibuckers which where two of their rails pickups in one. While both rails where humbucking, one was designed to sound like a humbucker, the other a single coil. Dimarzio discontinued it, and when I emailed to ask why they said “the parts used for it are no longer available”, I’m not sure why that should be in our technologically advanced age, but maybe its because of a legal dispute or something.

Dimarzio also have the bluesbucker which is an interesting humcancelling, but coil splittable P-90 in a humbucker:
http://www.dimarzio.com/pickups/humbuckers/bluesbucker

2) Mismatched coils

Lindy Fralin have their Unbucker pickup which has two heavily mismatched coils. When its coil split, it then has a higher output coil than a humbucker that is just split in half. It sounds pretty good, the disadvantage is that you don’t have full hum cancelling in humbucker mode:

3) Asymmetric coil tapping

Asymmetric coil tapping, doesn’t split the pickup in half like a coil split, it takes one coil and then a few extra winds from the other coil. The disadvantage here is that you don’t have a true single coil anymore:
http://www.geminipickups.co.uk/coil_taps_31.html

4) Partical coil cancellation

Similar to the above, some people just put a resistor across one of the coils:
http://www.musicradar.com/news/guitars/50-steps-to-better-electric-guitar-tone-528489/39

5) Add extra coils to single coil

Finally, this is an idea I had, how I think it should work though is mismatched coils like the Unbucker so that the coil split has more than half the winds, but also a coil tap of the overwound coil when in humbucking mode so that the coils are matched again and you get a proper humbucking tone and hum cancellation. I think it can still be done with a 4 conductor cable, but the connection points would be different than a standard one. Something like:

-------------------------- Single coil hot
       |    1.5K     |
Coil 1 ------------------- Humbucking hot
       |     4K      |
-------------------------- Single coil ground
Coil 2 |     4K      |
-------------------------- Humbucking ground

How it would work is that when you want a single coil you would connect the extra windings on coil 1 and use the middle point between the coils as ground. For Humbucking you would coil tap coil 1 it had the same number of winds as coil 2 and use the humbucking ground. In this example in humbucker mode you get an 8K true humbucker. In single coil you get 5.5K true single.

I also found out PRS are doing something similar, but I can’t say its exactly the same:

Fender Blues Jr. Fat Footswitch with LED

I recently bought a Fender Blues Jr. with Billm mods. I wanted a Hammond 1590H footswitch to fit on my pedalboard.

The Blues Jr. footswitch circuit has a 15V signal that is connected to switch the fat switch. Billm suggests that you could use a LED and resistor and then bypass it so that the LED is on when the fat switch is off. However other companies offer a footswitch with an LED that is on when the fatswitch is engaged. I did some testing and I found that, at least with the Blues Jr. III, even with the LED and resistor in the circuit it still switches, so you can just break the circuit to turn it off. I think I calculated that an 800ohm resistor was about right.

Here’s a picture with the LED indicating the fat switch is on: