I recently purchased a Standby switch for my Blues Jr. with Billm mods. The instructions only come for the US mode. The international model has different wire colours, and more transformer wires which use the clips on the circuit, so I had to work things out myself a little bit.
First off standard warnings: This will void your warranty, and tube amps contain potentially lethal voltages, so I’m not responsible for any damage to your amp, yourself or others.
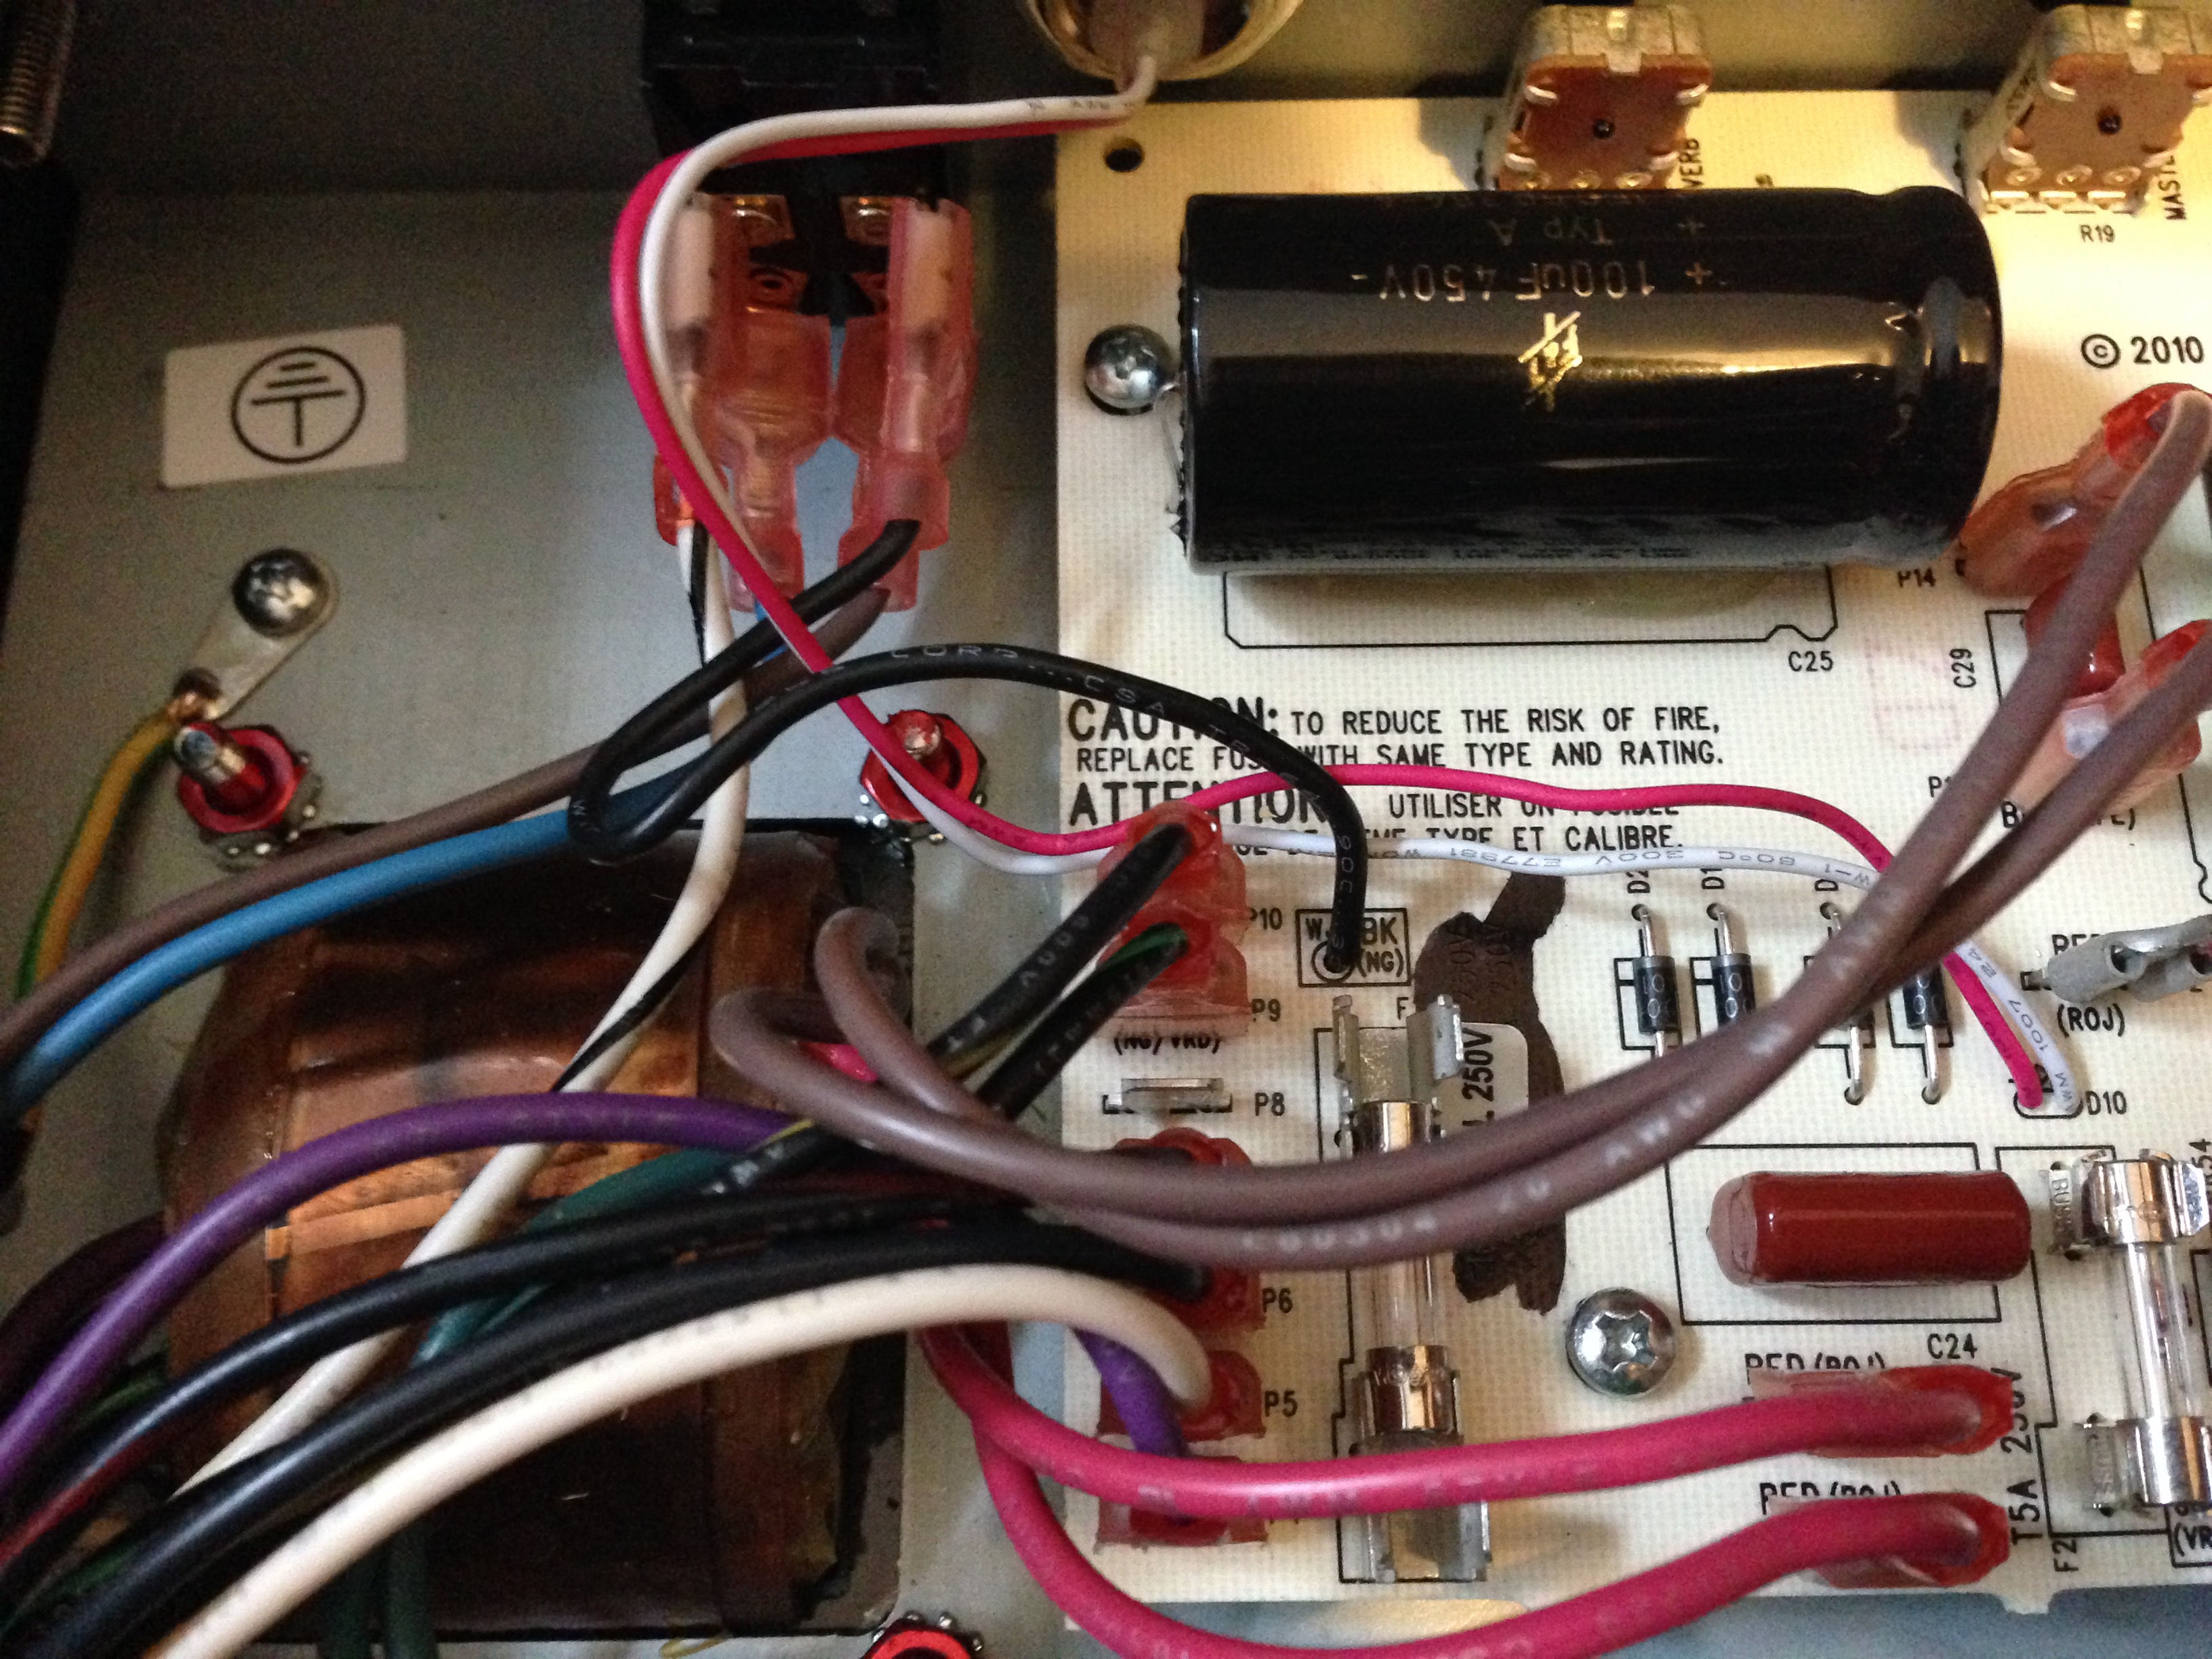
The standard switch is just a two position switch (off-on) which connects both the live and the neutral wires to the transformer.
Before:
The new switch is a three position switch (off-on-on), in the middle position only one half of the switch is on, and in the full on, both are. The mod involves:
1) Connecting the live (brown) and board live (black) to the half that is on in both positions:
2) Connecting an additional red jumper lead from P11 to the other half of the switch and the red transformer wire (formerly in P11) to the switch.
3) Next the neutral (blue) wire needs to be permanently connected to the white/black transformer wire. The US version of the mod uses some of the onboard jumpers to connect them.
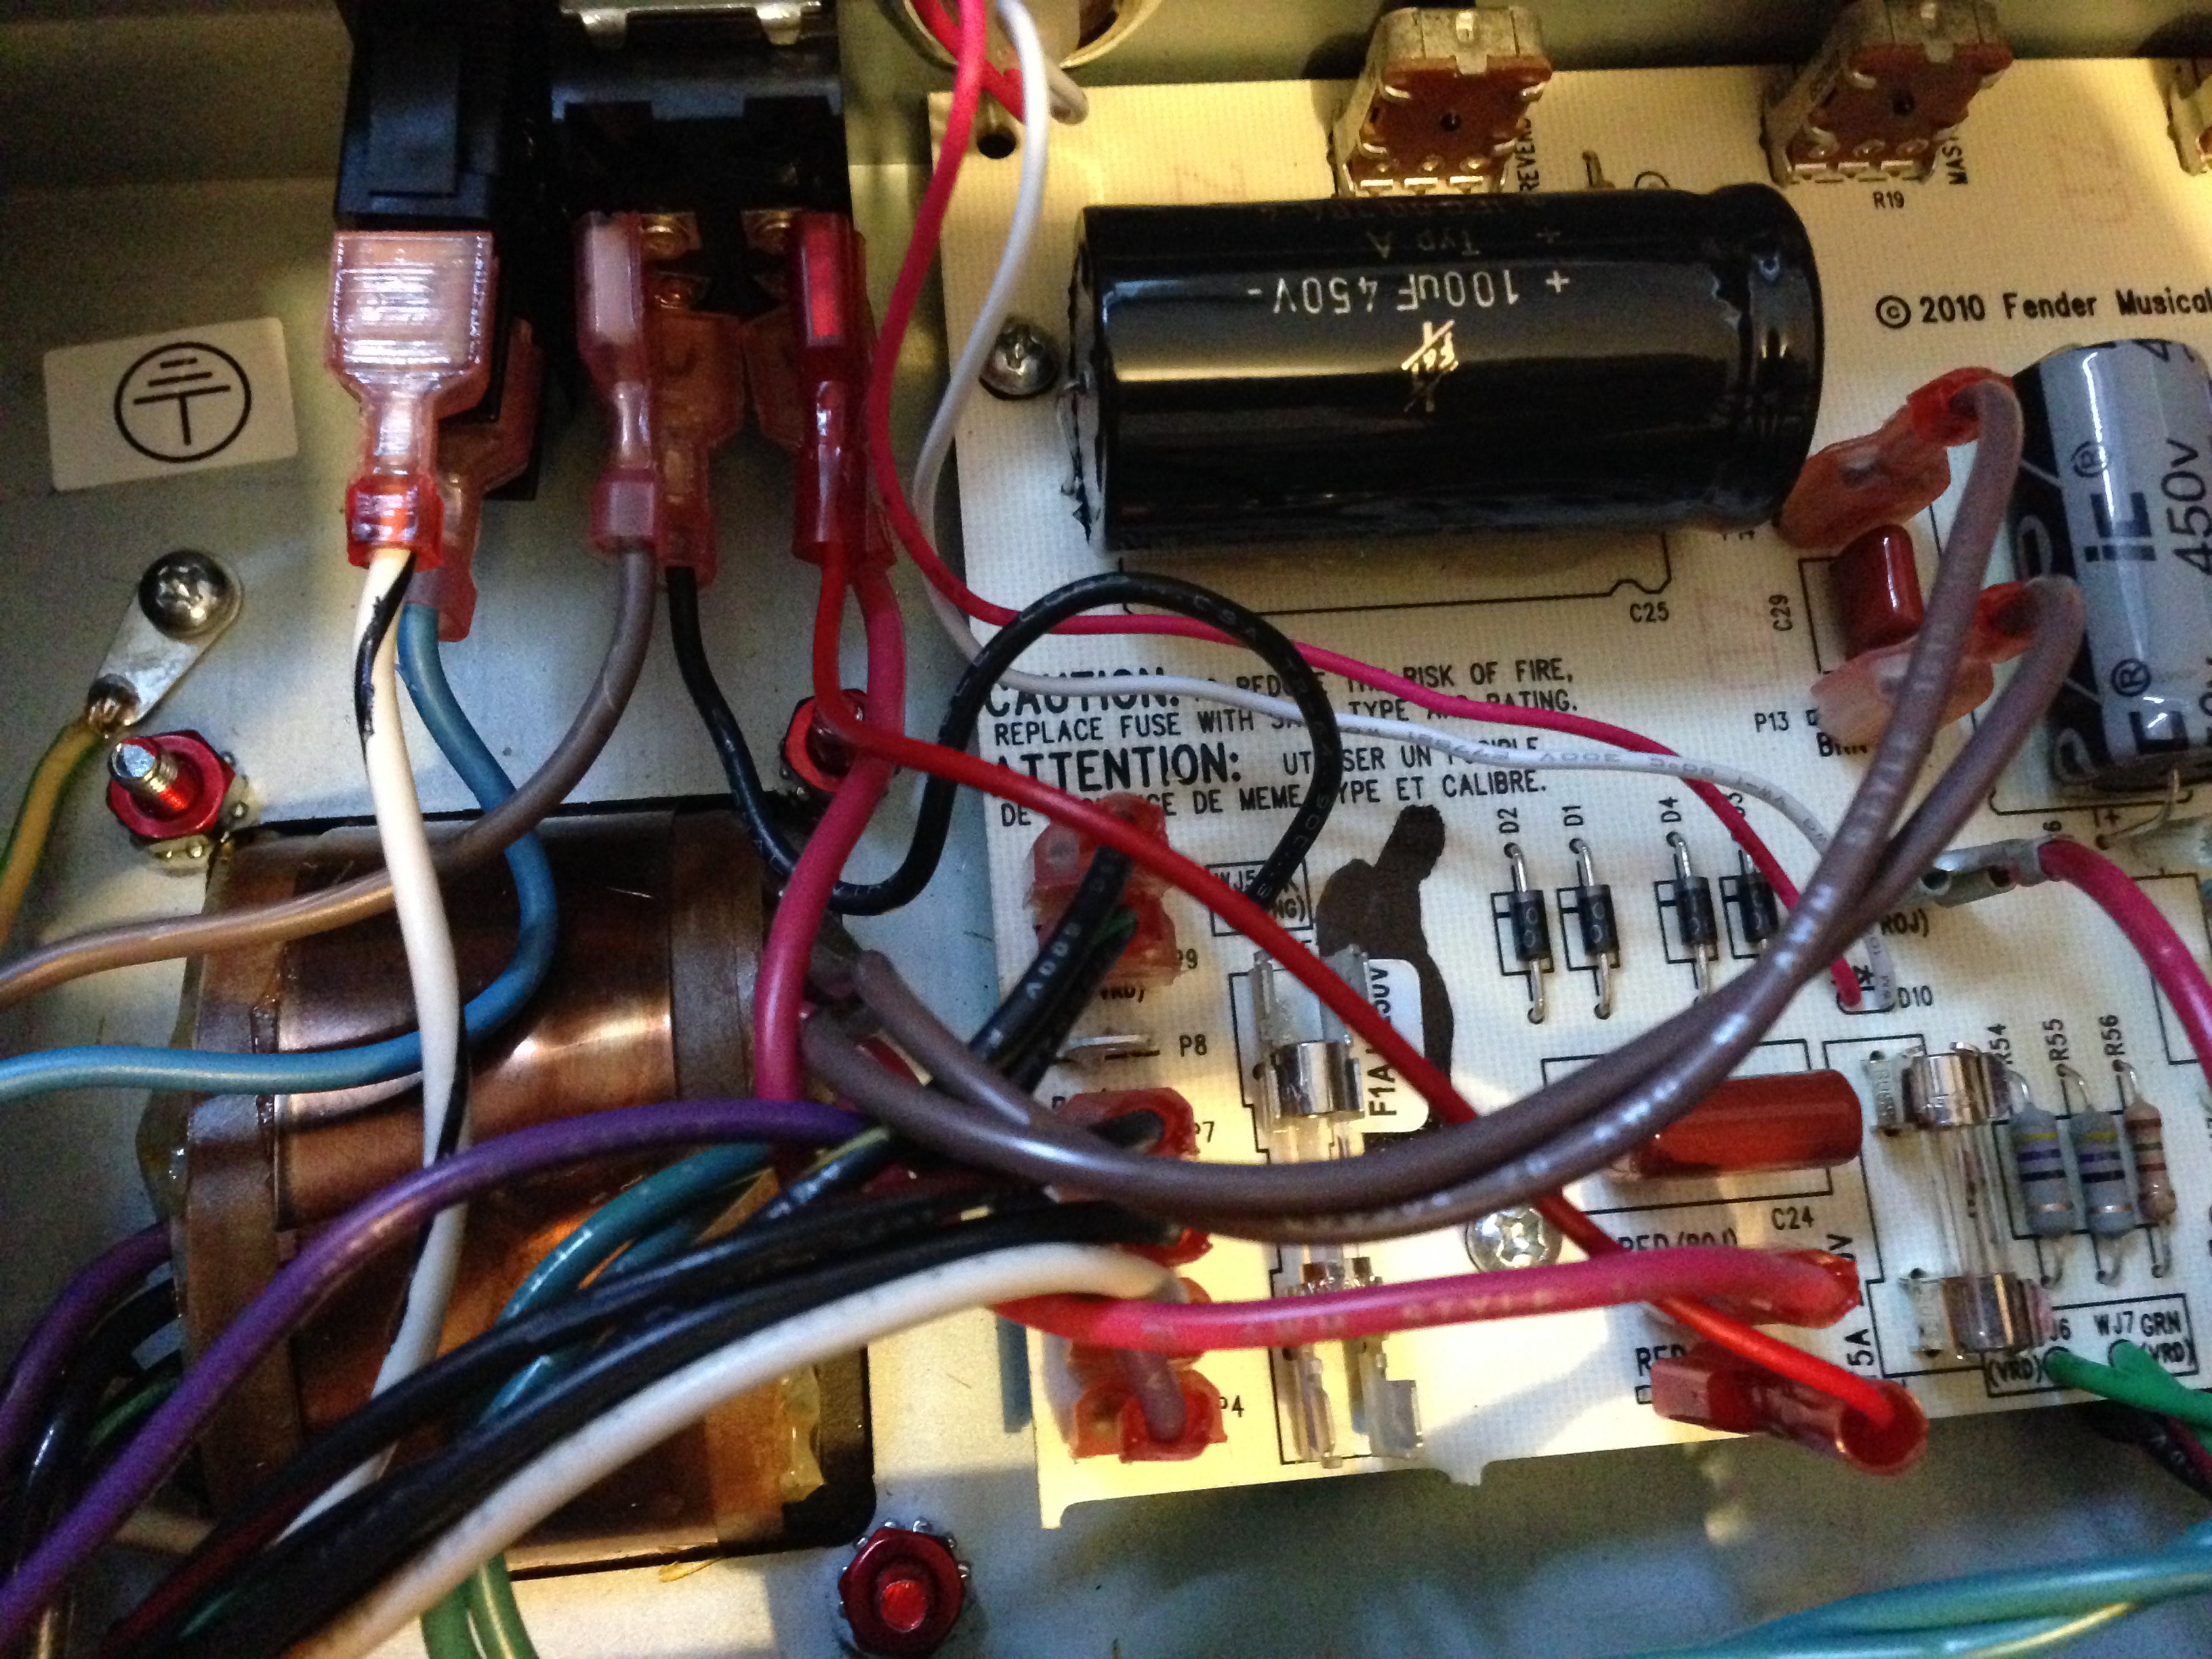
Unfortunately these are all used on the international model so I needed another way. I happened to have a spare power switch with an insulated case that I just use to connect them together. This is the switch on the far left of the after picture.
After:

Hello
Im also trying install the standbyswitch on my European blues junior. I would like to know in details how you did it :) How did you install the sparepower switch, what does the sparepowerswitch look like, where can i buy it, Do i need to drill a hole for the sparepowerswitch ?? I hope you can answer, sincerly Torben, Denmark
1) I got the Blues Jr. Standby Switch here:
http://www.ebay.co.uk/itm/121687809044
2) You don’t need to drill a whole for the standby switch, it replaces the current power switch with a 3 position toggle switch.
3) The way the standby switch works is, the first position just turns on the hearing elements, the second connects the high voltage rails.
4) The additional switch I added is just inside and always on. It’s just use to connect two clip on leads together. You could just connect the leads directly. I used a power switch like this:
http://www.ebay.co.uk/itm/400950011356
IT WORKS!!
I have one more question, you maybe
can help me with.
I would like to install a blue jewell-light,
And i need around 5v/20ma for a led-light,
can i find that amount of electricity anywhere
on my blues junior circuitboard?
Thanks again!!
Hi, I’m really not enough of an expert to tell you that. Billm has information about the jewel light: http://billmaudio.com/wp/?page_id=1035