Fixing Plethora X1 Not Appearing On TonePrint App

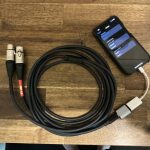
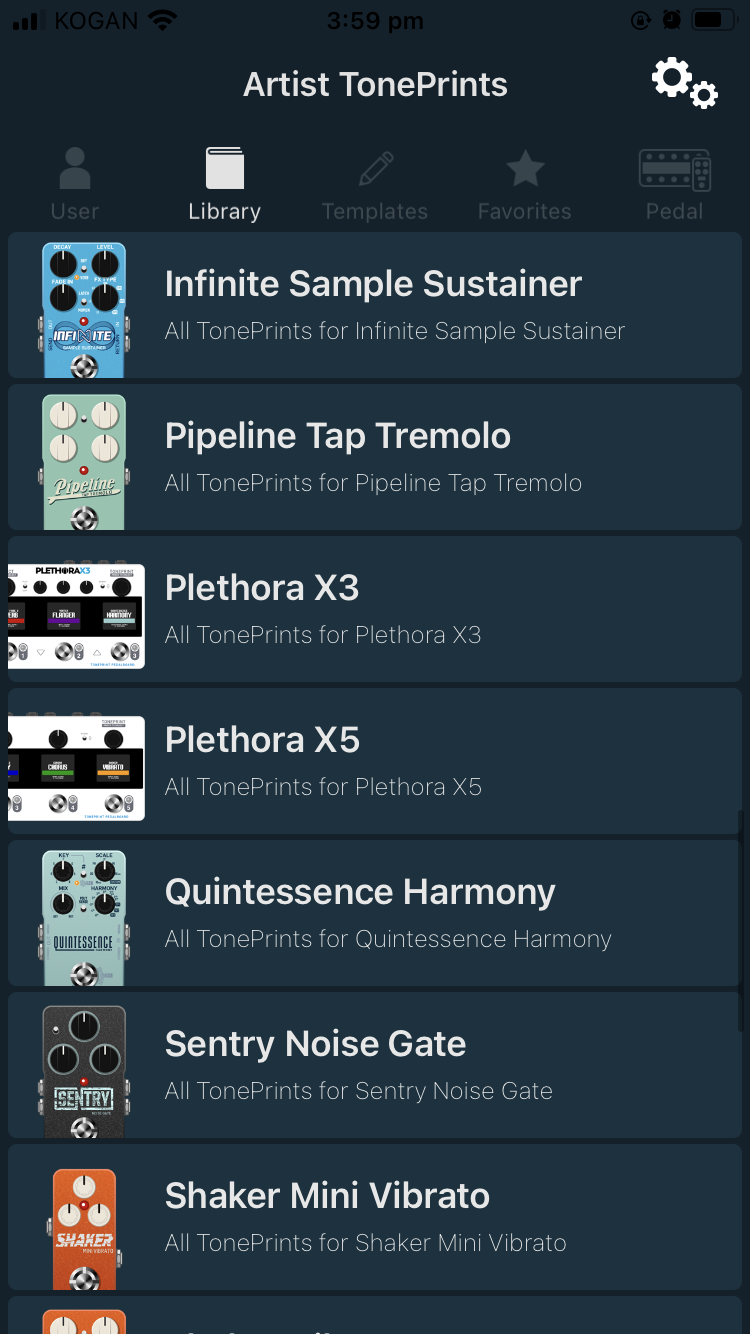
I recently bought a TC Electronic Plethora X1. I had the TonePrint app installed on my phone and computer, but even after updating to the latest versions of the app and downloading the latest TonePrint data from within the app, the Plethora X1 still wouldn’t appear within the app.

I emailed TC Electronic support but they offered little to know help. What solved the problem for me was:
1) Deleting and reinstalling the app on my iPhone (this removes old settings that we’re stopping it appearing).

2) Deleting ~/Library/Application Support/TonePrint on my Mac (on Windows I think it’s %UserProfile%\AppData\Roaming\TonePrint).

Unfortunately you’ll loose any TonePrints you created. For me this wasn’t an issue since my old TonePrints for Flashback and Sub n Up aren’t compatible with the Plethora X1, as the app makes you create them explicitly for the Plethora series.

I hope this helps someone if you’re struggling with the same issue.

Fixing Noise on the ’68 Custom and ’65 Deluxe Reverb Reissue

I’ve been long wishing the white noise floor was lower on my ’65 Deluxe Reverb reissue. I thought it was the carbon film resistors which tend to me higher noise that metal film, but after owning a DRRI for a long time, I have now discovered that it’s the PCB trace from the Vibrato channel volume pot wiper to the V2b pin 7:
– Cut the trace just below the bright cap in the volume pot
– Solder a shield cable from the volume pot wiper or bright cap socket to the resistor on V2b pin 7
– Solder the ground to one of the ground points on the PCB

Psionic Audio talks about how to do this in this video at 19:04, although he neglects to mention there is a resistor wired to V2b pin 7. He also says that the ’68 custom has other issues, and it does (the negative feedback and reverb on both channels) which add noise. But the negative feedback is primarily amplifying the same noise from the PCB traces as in the ’65. I know as I added a switch to my ’65 to have both negative feedback values, and the noise is louder on the ’68 setting, but is still a lot better now that I did this mod.

One Pedal Company for Overdrives?

Was thinking about this recently, and while one of my favorite overdrives is the Wampler Euhporia, I think if I could only have pedals from one company for overdrives, it would be Lovepedal:

Eternity Drive
With more bass and more high end than a Tubescreamer, this is my other favorite drive. I’ve have been running one of these into a Wampler Euphoria in a DIY clone for over a decade!

Super Six Stevie Mod
The latest addition to my board, the Super Six has those cranked blackface tones in spades!

Purple Plexi
Another stable on my pedalboard, the Purple Plexi is a raw sounding Marshall in a box pedal.

5E3 Deluxe
Honky cranked tweed tones in this pedal. Very bright and lacking a tone control, but you can role down on your guitar if needed.

Zendrive
Perhaps the original “Dumble in a box” pedal, but perhaps has only been equalled by the Mad Professor Simble. Lovepedal took over the production of the Zendrive, so we’ll count it in this list.

Dover Drive
Another colaboration with Hermida audio, the Dover Drive is Eric Johnson in a box:

Deluxe Reverb Cathode Bias Mod

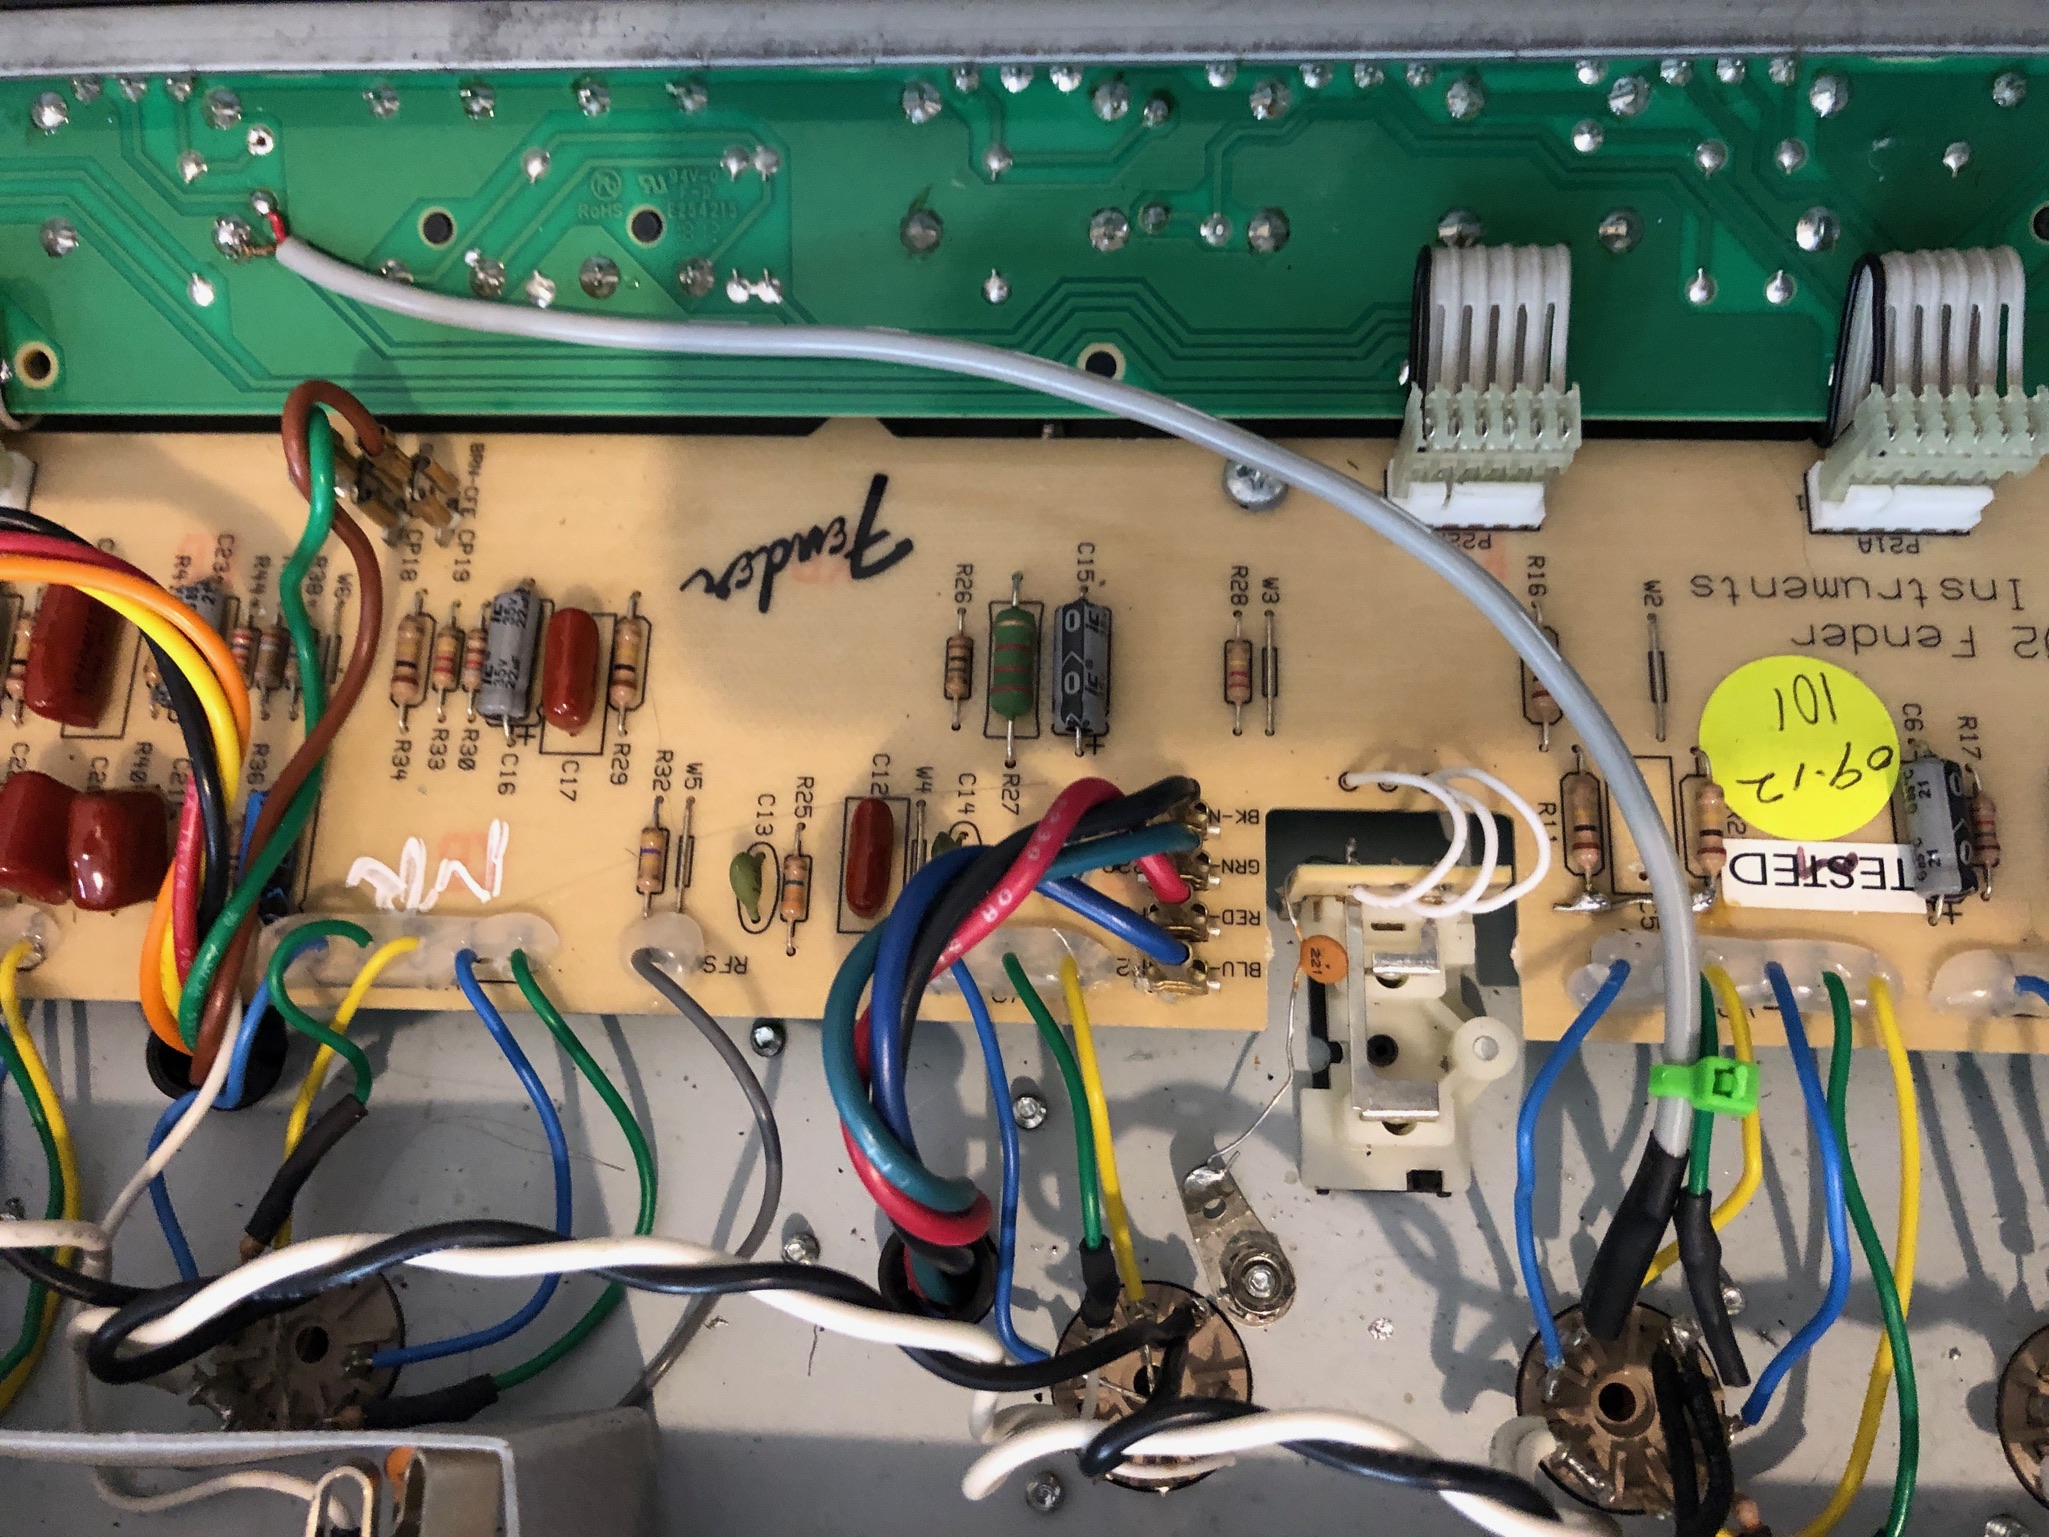
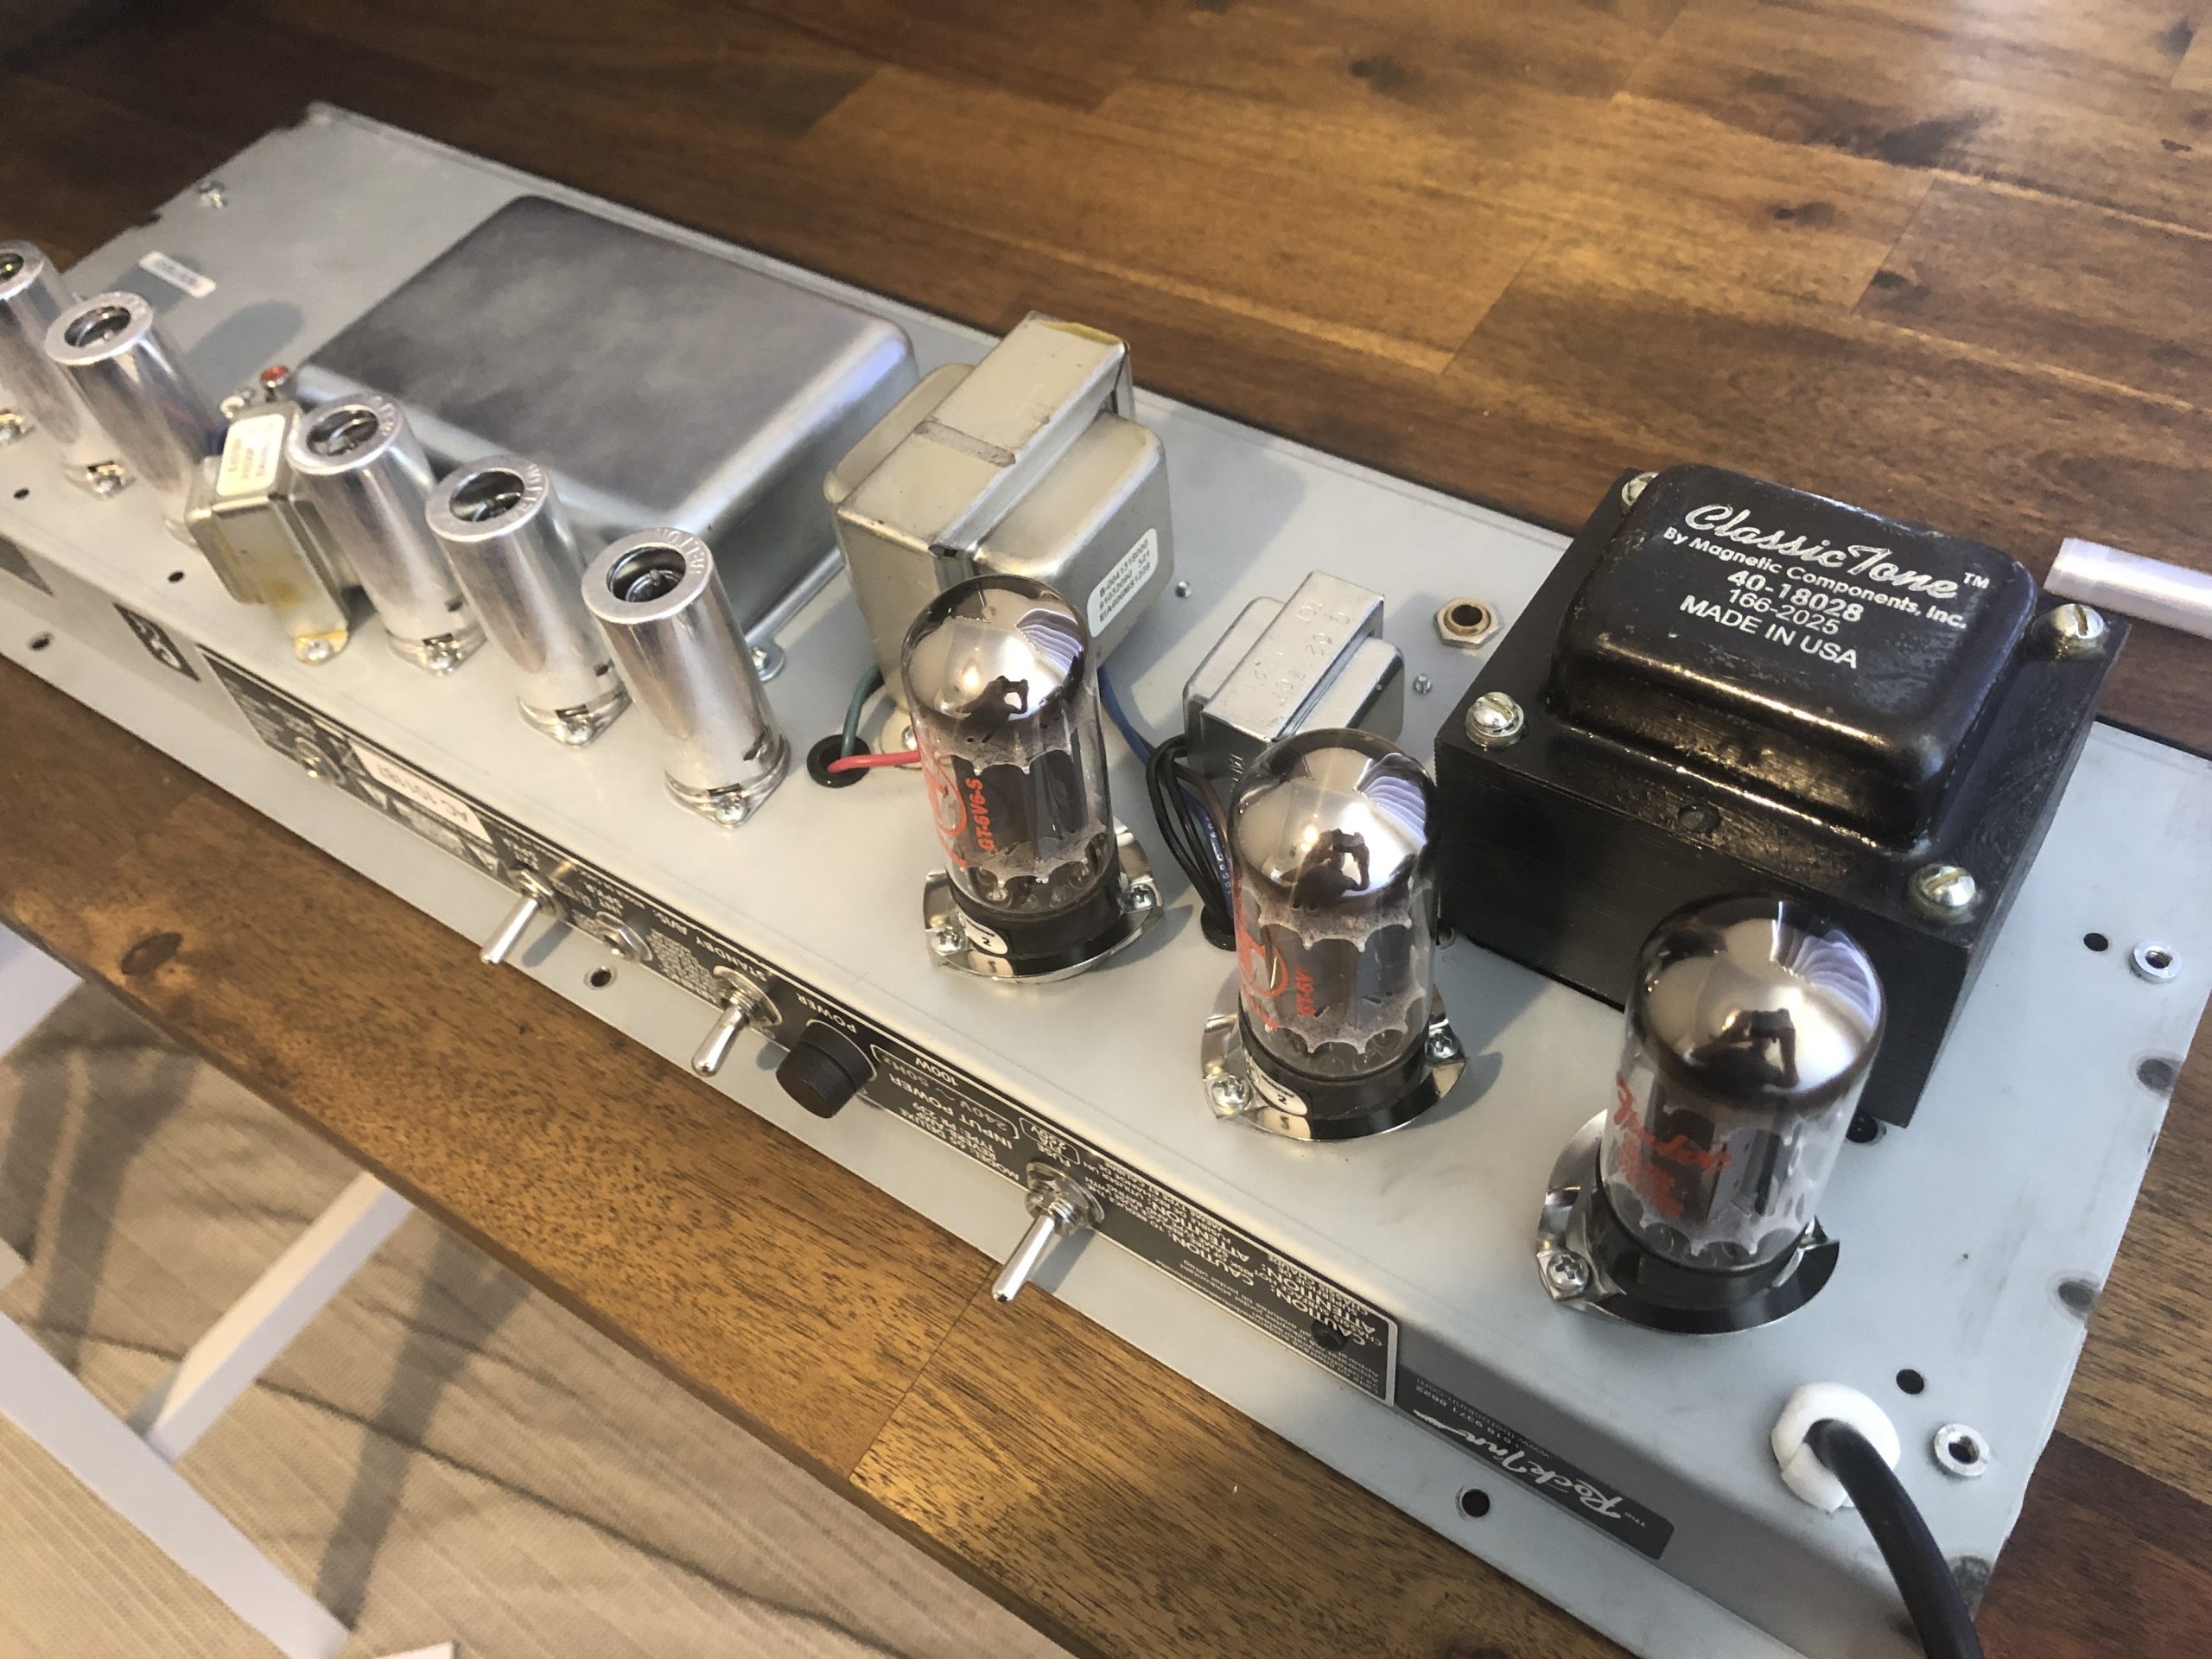
I recently completed a mod to my Deluxe Reverb Reissue to add a cathode bias mode. Overall it made the tone brighter and a little more raw, but didn’t make that much difference so I switched it back and forgot to take an internal picture in the complete state, but you can see part of the mod here:

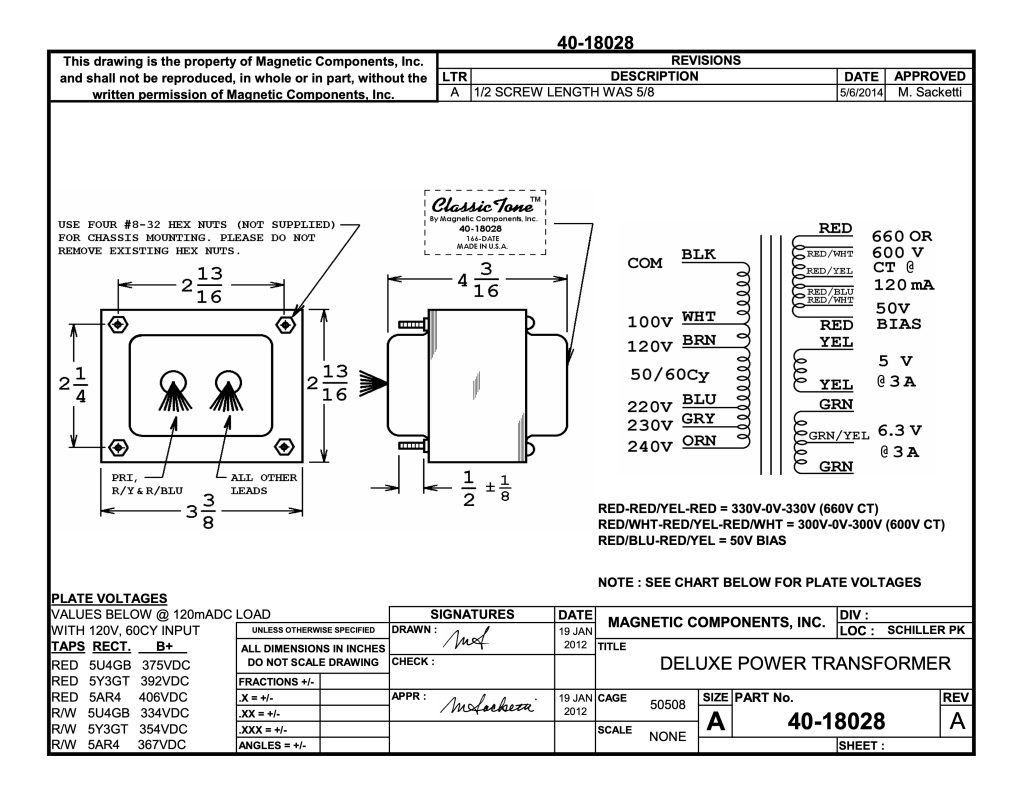
I changed to a ClassicTone power transform which has a low power 300V primary along with the regular 330V. I used a 4PDT switch to switch between high power/standard bias, and low power cathode bias. Using the low power mode puts it inline with a Tweed Deluxe, so I used the same cathode resistor (250?) and bypass cap (25µF). I put the 4PDT switch in fuse slot, moved the fuse and power over and removed the standby switch. I disconnected the middle pin of the bias pot to do the mod, along with the respective pins on the power tubes, so no modification to the PCB was needed. I did need to drill extra holes though to fit the ClassicTone transformer, which is vintage spec.

Rough demo here, no comparison, just for posterity:

Buffer With Relay Bypass

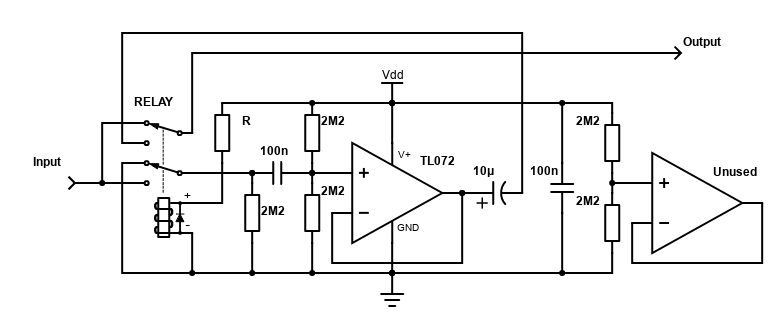
Just a quick schematic of a buffer with relay bypass. The relay bypass means that if you lose power, the relay switches back to bypass and you still get a signal like the TC Electronics Bonified Buffer.

  • Based on JHS Little Black Buffer
  • The value of R will depend on what voltage/spec relay you have
  • Most opamps are in 2 in 1 chips. The unused side is wired to prevent noise/oscillations

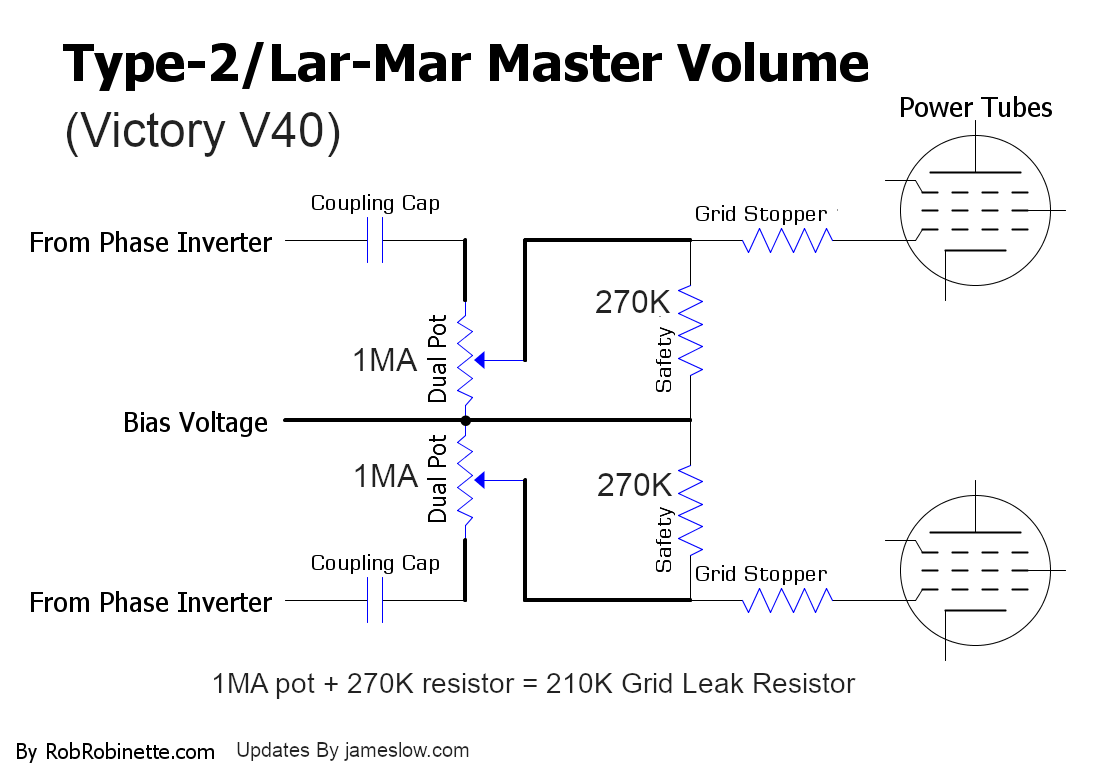
Train Wreck Type-2 Lar-Mar on a Victory V40

I’ve been looking at doing a post phase inverter master volume mod to my ’68 Fender Vibrolux. I was wondering about using what was on the Victory V40, since it is a American-style tube amp. It turns out they seem to use a Type-2 Lar-Mar but with a larger value pot, and smaller value safety resistors.

I think the advantage of this setup is that with the resistors in parallel, the lower resistance makes more difference when calculating the total resistance. The better tolerance of the fixed resistors keeps the total grid leak resistors more consistent between the two power tubes, as pot tolerances can be ±10% of the stated value.

Here’s a comparison:
1) 10% tolerance 250K pot in parallel with 1M resistor:
Min = 225K x 1.0M / 225K x 1.0M = 184K
Max = 275K x 1.0M / 275K x 1.0M = 216K

2) 10% tolerence 1M pot in parallel with 250K resistor:
Min = 0.9M x 250K / 0.9M + 250K = 196K
Max = 1.1M x 250K / 1.1M + 250K = 204K

As you can see, even though the pot tolerance is the same, the end result is a much smaller deviation between the 2 grid resistors with a 1M pot vs a 250K pot.

PRS Piezo Options

I’ve been looking at modding a PRS singlecut with a piezo pickup and a middle single coil. Models I’ve been looking at are:
– S2 Starla
– SE Zach Myers
– SE Tremonti
– SE Singlecut Trem

These all have a different bridge but are all a bit non-standard, so I’m documenting a little of my research as it took a little time and emailing to come across.

1) TonePros AVT2P
TonePros make a wraparound bridge that use standard tune-o-matic saddles. You can then get some piezo saddles from RMC Pickups

2) PRS Trem with RMC saddles
RMC also make some Piezo saddles to retrofit PRS tremolo bridges

3) Replace PRS Tremolo
You might be able replace the PRS tremolo with a 6 screw piezo, but the screw spacings might be slightly different, so might be hard to make it work:
PRS seem to be 52.4mm (2-1/16″)
LR Baggs (Vintage 6 screw) 53.98mm (2-1/8″)
Fishman 56.38mm

4) Graphtech Wraparound
Graphtech make a complete replacement, but it’s pretty expensive and has 6 separate piezo leads that need to be fed to the cavity and joined using their circuit board.

5) Replace Tune-o-matic
If you have tune-o-matic bridge like the Starla or 245, there’s a pretty affordable bridge available on eBay, along with more expensive solutions from Fishman and LR Baggs.

6) Modify a PRS Trem
Because the tremolo block can be unscrewed from the top plate, you may be able to wedge an element between them like the video below. This might be worth experimenting with since it’s completely reversible and the elements themselves are only about $5.

7) ABM Piezo Wrap Around
AMB in germany used to make a wrap around piezo bridge, but when I contacted them said they no longer did due to low demand.

8) Q-Tuner Magnetic pickup
You may be able to add an additional Q-Tuner magnetic pickup, which has a large dynamic range and more capable of capturing an acoustic sound, especially when combined with something like the Fishman Aura Imaging DI.

Flip-Flop Loop Switcher / Dual Pedal Switcher

I have a couple of DIY overdrive pedals that I never have on at the same time. So I wanted to house them as a dual overdrive and then add Flip-Flop switching so that to go from one pedal to the other, instead of having to turn one off and the other on, you just turn on the one you want, and it automatically turns the other off. Could be used for a true bypass looper as well to switch pedals in the same manner externally.

So far I’ve done this with counter ICs. I planned to try and do it with a single dual J-K Flip-Flop with asynchronous reset, but I couldn’t get the clock debounce to work with that. Eventually, I came up with a clock circuit that works with a dual counter chip:

Schematic using dual counter chip:

Schematic using 2 counters. This uses a different debounce circuit which I’ve found to work with that chip:

I also chanced upon a debounce circuit that worked, when all the other types I found on the internet didn’t work that well with this particular IC chip. I’ve drawn out just that portion incase it’s useful to anybody else struggling with a chip clock timings. Even though both the 9V and GND should be AC ground, I found it would only work if I decoupled to both the positive and negative of the power supply:

Wampler Velvet Fuzz 4PDT Plexi Switch

I’ve been thinking about building or modding a Wampler Velvet Fuzz with a switch to access the plexi drive part of the circuit separately. You can do this with two separate toggle switches, or an additional footswitch, but I was wondering about trying to put it on a single 4PDT.

There are two different versions, one for if you use the vero layout that is around on the internet that skips out the optoswitches that are in the original pedal, and one that would work to modify a Wampler made Velvet Fuzz.

Links: