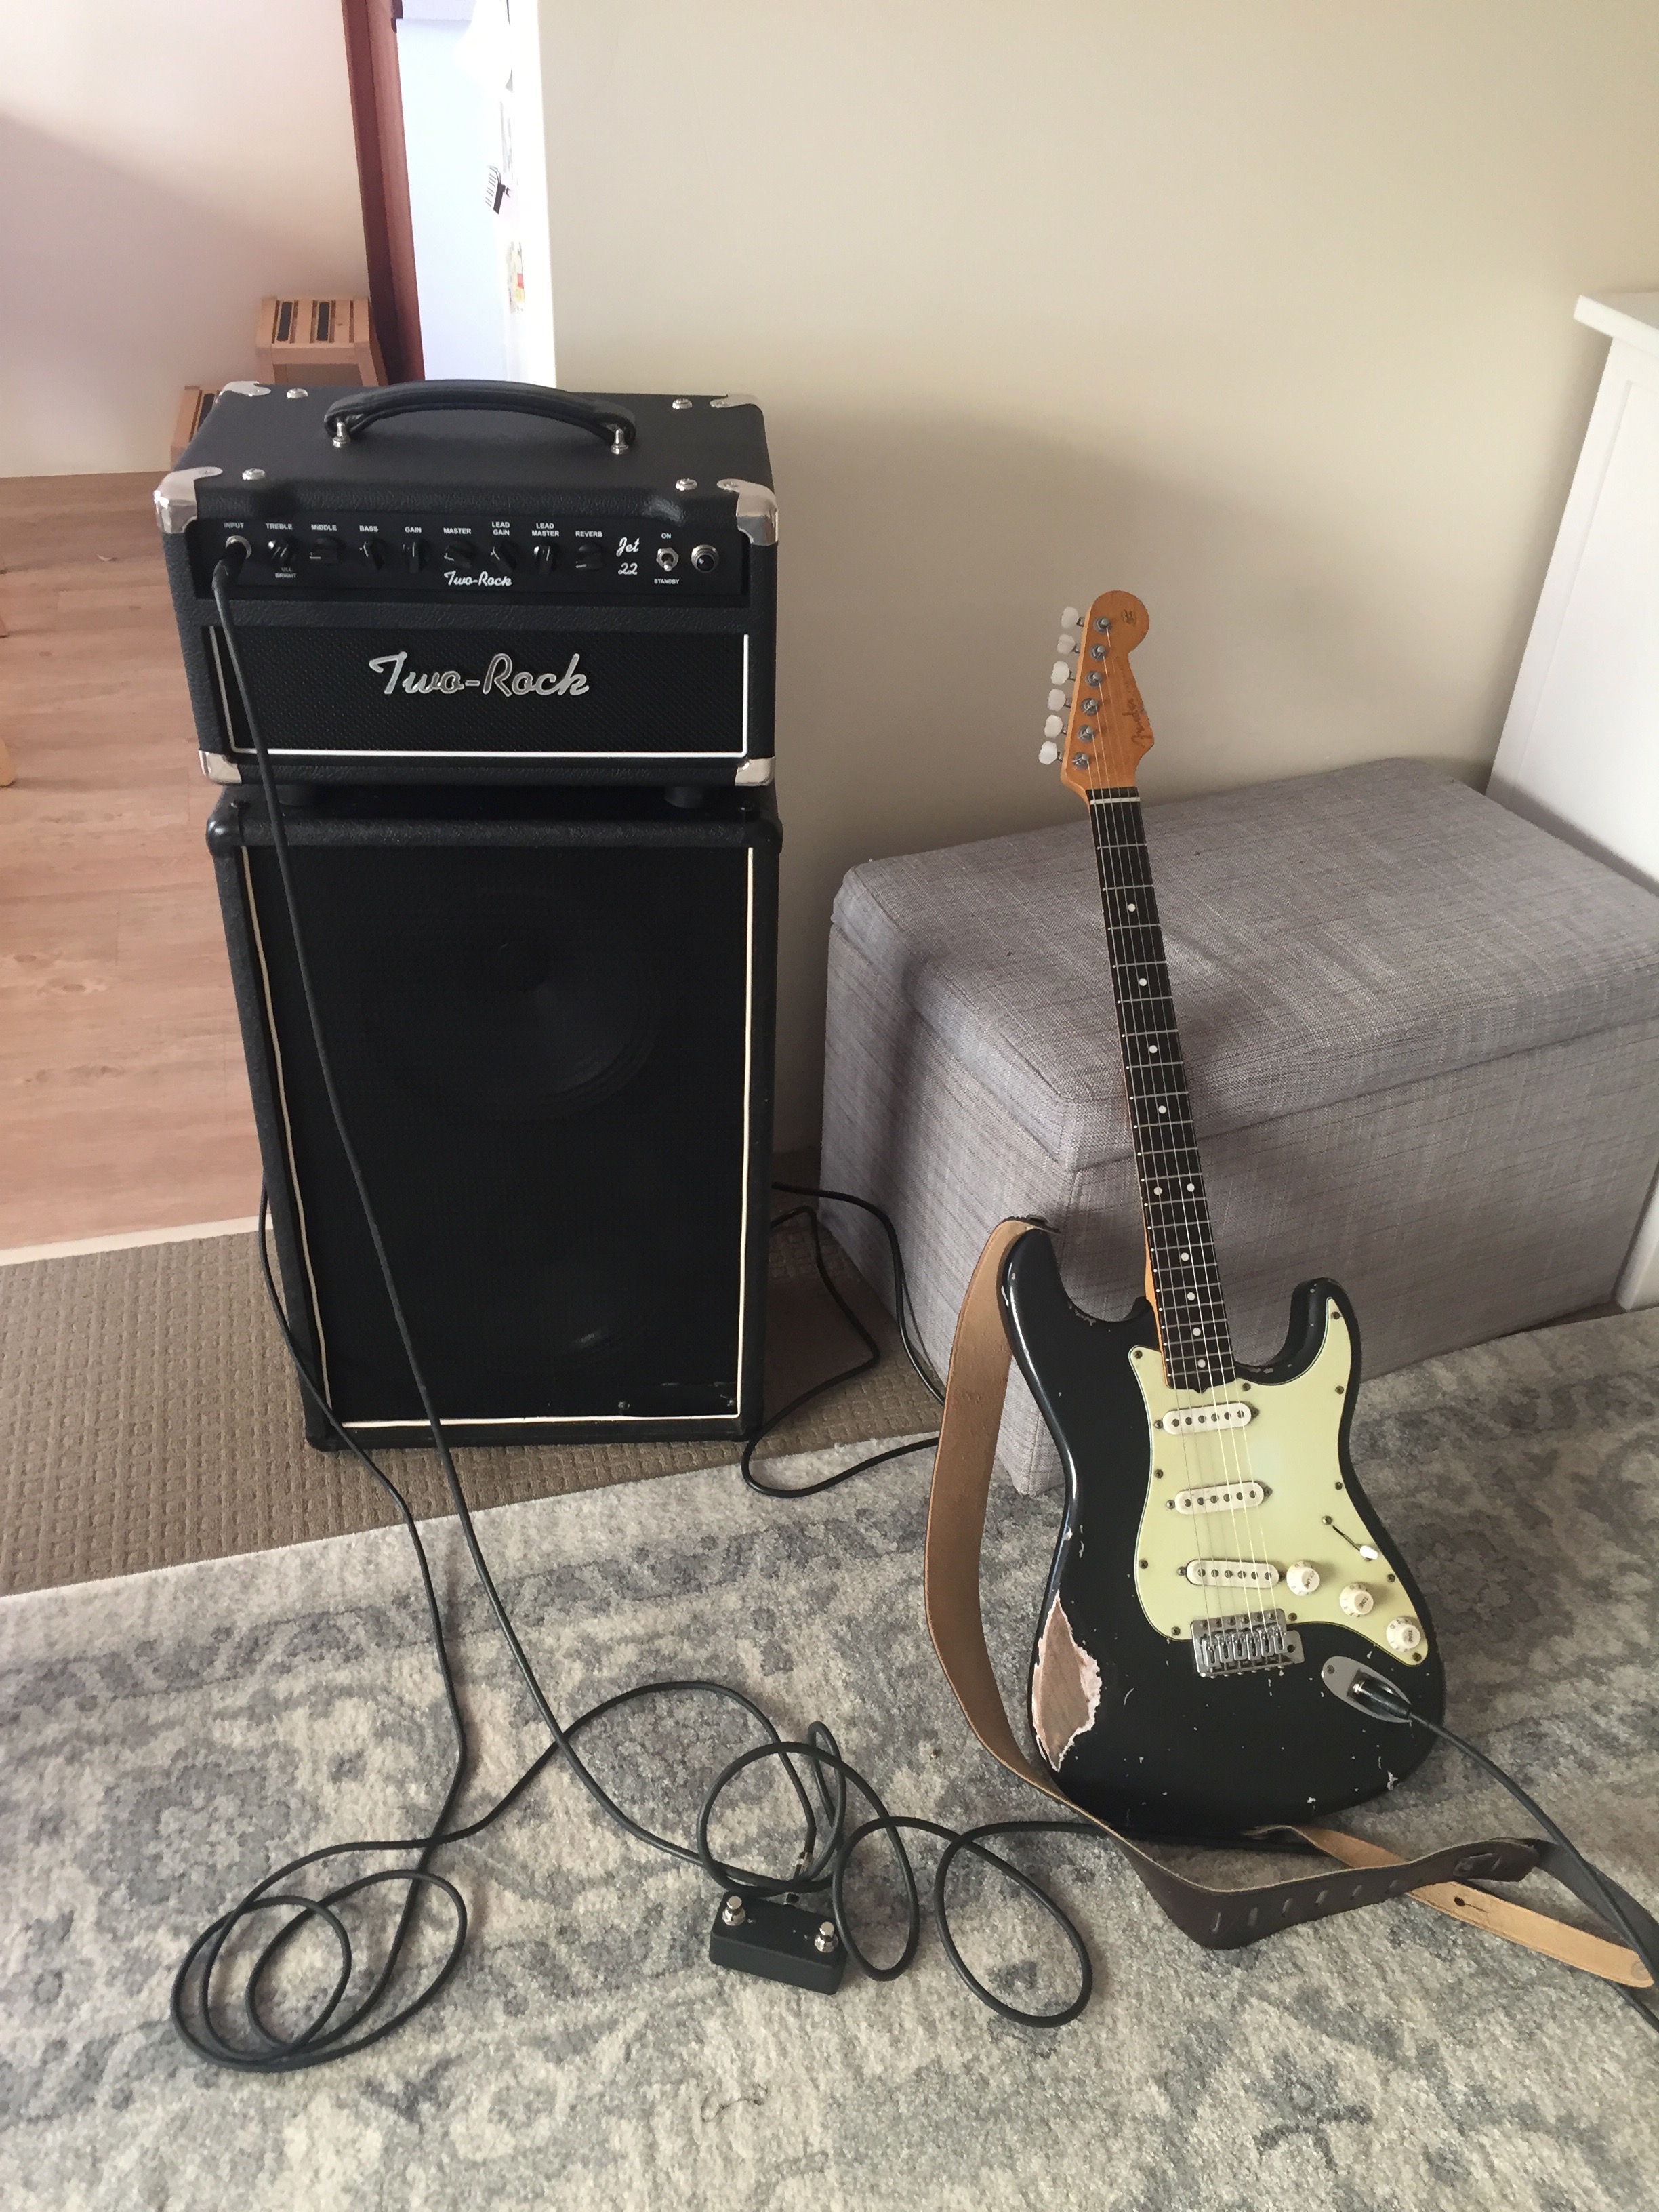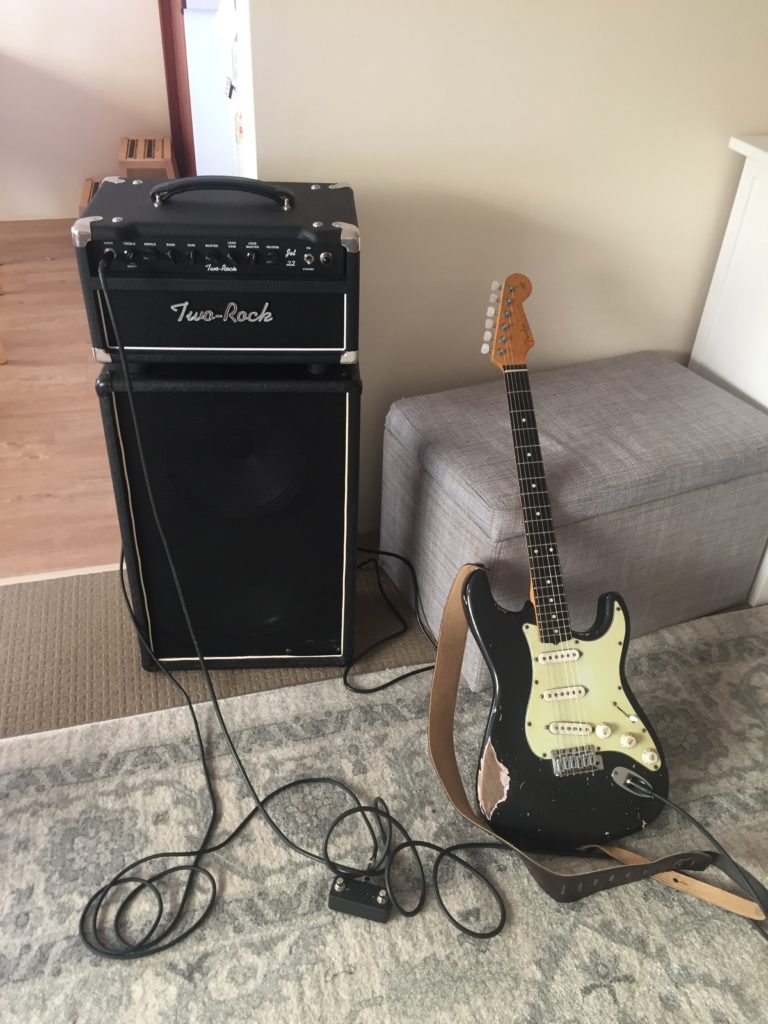
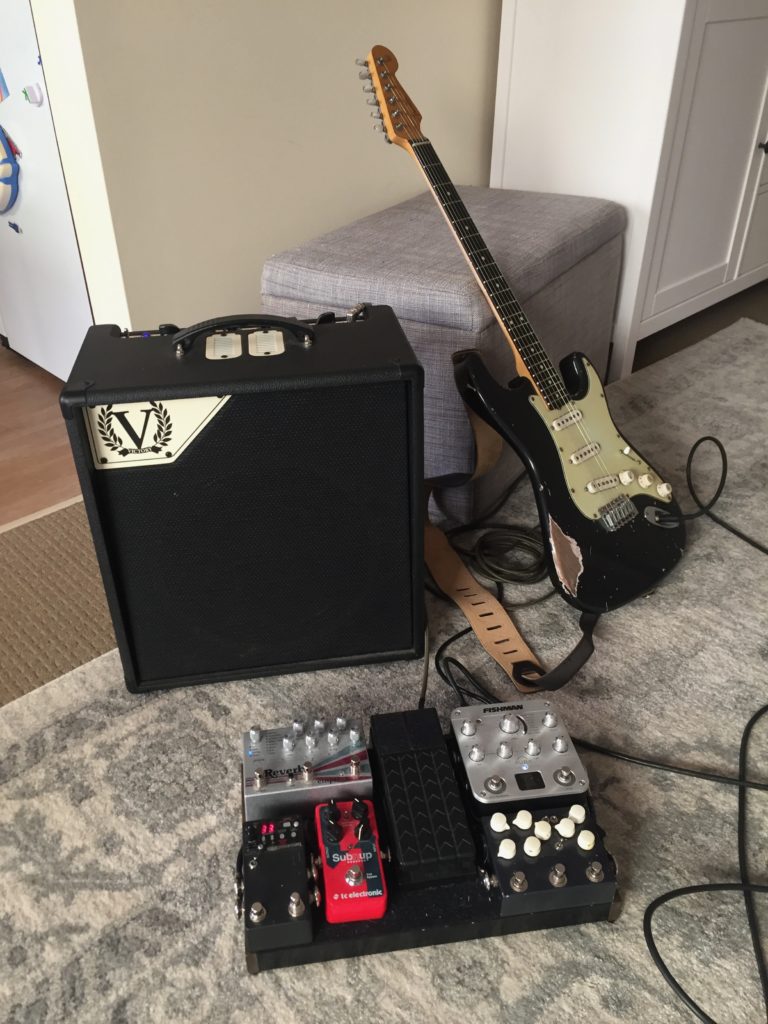
I always wanted a Dumble style amp, having discovered Robben Ford and Larry Carlton early in to learning guitar. I tried building one, bought pedals, tried modelling software. I was also looking for a two channel amp with Fender cleans and bluesey overdrive. I recently had the change to pick up a Two-Rock Jet 22 for a really good price, and so I pulled the trigger. I took a while to get the speakers for the cab, so I had it sitting around for a while before I got to play it. When I finally did it was probably one of the most disappointing experiences in trying gear. It just wasn’t the tone I hoped to hear.
I think the primary reason for that is that the Dumble Overdrive Special tone is a very mid pushed sound, the so-called Dumble “bloom”. The Two-Rock Jet had this in spades, on both the clean and the dirty channel. I’ve primarily been a Fender amp user, and this just wasn’t the type of sound I like, which is more mid scooped. This sound really needs to be run at higher volumes to sound good, so that the mid compress into a harmonically rich tone and aren’t so pronounced. It definitely didn’t sound that good at lower volumes.
I tried to give it more of a scooped clean, with the bright switch on mids turned right down. This was closer to the Fender tone, but still didn’t sound great, and it at too negative side effects. Firstly the overdrive sound was basically unusable, sounding really thin and brittle with all the mids taken out. Secondly, pedals, which already didn’t seem to work that well with this amp, started to sound all harsh and fizzy too.
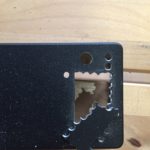
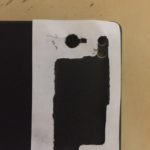
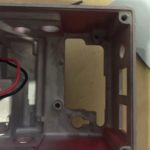
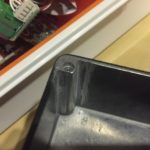
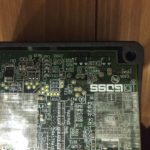
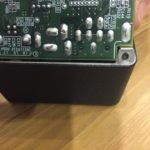
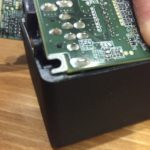
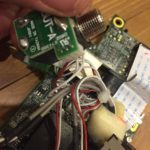
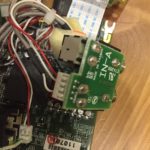
The amp also had some manufacturing issues. Firstly the Reverb tank was put in backwards, which caused it to hum really badly. After contacting Two-Rock I switched this around and it was much better. Even after that though, if you turned the Reverb up high the hum was quite noticeable, which Two-Rock said was down to the small size of the Two-Rock Jet head. However, it was probably the best sounding spring reverb I’ve ever tried. Really lush, yet not as “splashy” as the spring Reverb in Fender amps. The second issue was that the chassis still at the power supply marked as 100/110/230/240V, and had not been blanked out to only list the voltage it actually worked at. It was built during the Premier Builders Guild days, so I think standards have improved since that time.
Maybe in hindsight, I might have been happier with a Two-Rock Studio Pro, although others have said this isn’t really a Fender clean either having more mids and less high end. I think a lot of people got interested in Two-Rock after John Mayer started using them. This started the myth that the Dumble/Two-Rock clean is like his tone, which many people spout of on forums like The Gear Page. However, his signature amp (now the Two-Rock Crystal) is much more like a Fender, and probably more like the Dumble Steel String Singer, which is very different animal to the Dumble Overdrive Special, and what at least in the past was considered the Dumble tone.
Update June 2024:
I was reading a bit more about this recently, and I do wish I headed some of the comments here and here about the dumble/jet thing being darker and more compressed or that if you set the clean more like a Fender clean, the overdrive without separate eq is too bright. This is precisely what I found.
On to the Victory V40
I eventually managed to trade it all in for a Victory V40 Viscount combo which ticked all the boxes for me. Fender clean, takes pedals well, low power mode for great sound at lower home volumes. Here’s a rundown of what else I considered and why I eventually chose the Victory:
Two-Rock Onyx
This is the Two-Rock thing, but with separate eq for clean and overdrive, so I think I might find it able to get closer to the sound I want on both.
Two-Rock Studio Pro
As I said before, this still doesn’t really have a Fender style clean, and needs to be louder to sound good.
Two-Rock John Mayer/Crystal/Traditional Clean
Maybe more along the style I’m looking for, but it’s way more expensive than either the Jet or Studio Pro, and has a Celestion Gold speaker which might mean it’s less suited to pedals. People say it might be better to get the 50W over 20W or 40W for big clean sounds, even at lower volumes.
Mesa/Boogie Recto-verb 25
Some people say the clean can be Fendery on this, others say thtat it’s still stiff like Boogies are described to be. It was interesting because of the seperate eq and reverb for the two channels, and being able to to low and high gain on the drive channel. I eventually decided it was too expensive, too heavy and probably too loud.
Fender SuperSonic 22
While still looking at two channel amps, I did look at this offering from Fender. Maybe it’s again something I should have tried, but there weren’t that many around, it was still pretty expensive, and I wasn’t that sure about the drive channel
Fender Deluxe ’65/’68 Reissues
I owned a ’65 Deluxe before but didn’t know about the bright cap mod, so never found it worked great with overdrives. The ’68 seemed to address some of these problems and having tremolo sounded nice, but I always felt that vintage Fender amps with 2 channels were overly complicated and expensive to re-valve, when these days we tend to just want a single clean channel. Again for a mass produce amps, this seemed pretty expensive, maybe to loud, and I’ve recently come to see that Deluxes don’t really have the big deep bass associated with other blackface amps like the Super Reverb or even the Princeton.
Fender Princeton ’65 Reissue
Furthering the search I starting thing about a Princeton, because it does seem to have one of the deepest and sparkliest Fender cleans. But here there started to be the opposite problem, not enough clean headroom when playing live.
Fender Princeton II
Somehow in all of this I then started stumbling across discontinued amps. The Rivera era Princeton II seems to be the perfect amp between a Princeton and a Deluxe Reverb, however, there don’t seem to be many 240V models around, so trying or buying one seem unlikely.
Fender Super 60
A friend of mine had one of these, and the clean sounded amazing, but at 60W it seems a little impracticle for home use, and he said while the clean is amazing, it really didn’t take pedals. well.
Fender Blues Jr.
I owned one of these before, and when I was initially disappointed with the Two-Rock, I wish I hadn’t sold this amp. But I have always found Blues Jr. to sound boxy and small, and mid pushed as well, even after doing the Billm mods and putting an ET-65 speaker in it.
Fender Hot Rod Deluxe
I’ve always felt ok about the Hot Rod Deluxe clean channel, but these things are loud, and just like the Princeton and Deluxe, there seemed to be the need for something between the Hot Rod Deluxe and Blues Jr.
Fender Deluxe 112 Plus
Starting to get desperate I started looking at cheap solid state amps, hearing that maybe they aren’t that bad, and maybe it would be good not to have so much money tied up in an amp. But these were that available in Australia, although I could have got one cheap before I left the UK, doh!
BOSS Katana 50/100
Wondering if I should settle on something affordable I started to look at these too. But I did something similar after selling the ’65 Deluxe, buying a Superchamp XD, and wasn’t really happy in the long run.
Victory V45 The Count Combo
Finally, before I decided on the V40 I looked at the V45 (V30 in head form), which still had two channels. But I knew I wanted reverb, and the clean channel isn’t supposed to be as vintage or Fendery as the V40, which kind of was the whole point of looking for something in the first place.
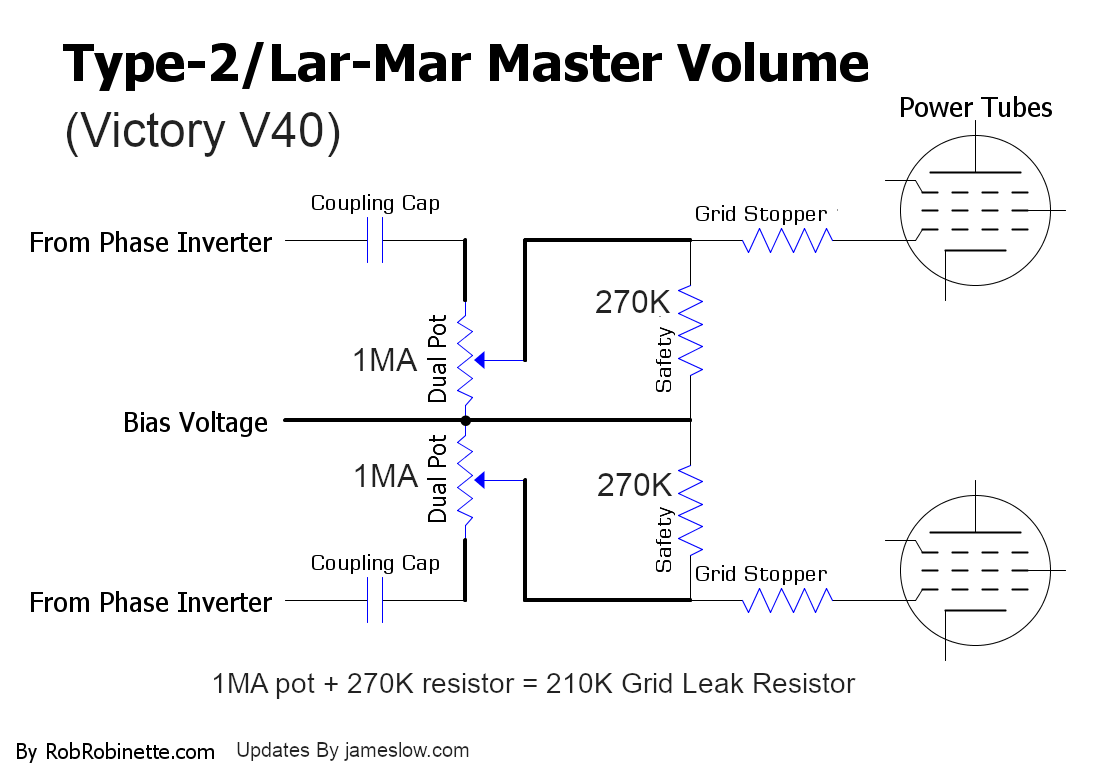
So finally I ended up with a Victory V40. I’ve always used combos, the Jet was my first head, and I think I like the all in one thing better. The clean is great, deep and sparkly, but still takes pedals well. It has vintage tone, but modern conveniences like low power mode, and a few switchable eq settings that give you something with more mids and a flatter eq response if that suits your needs at the time. I think the only thing I wish is that the reverb was either a digital or real spring reverb. The digital reverb is a plate reverb, which doesn’t splash quite as smoothly with the transients when you dig in, which means I feel like I have to keep the setting on the low side. I’m not entirely sure, but I think it also has a pre-delay, which makes it feel even drier, when players like me use the reverb to cover their sloppy chops! But having said all that it is still the best amp I’ve ever owned and the closest to the sound I would love to get. I love playing it more than any amp before, which makes me want to play more, and even my wife things it sounds better than either the Blues Jr. or Two Rock Jet!
