iPhone Powered Lightening USB Audio Interfaces
I was recently on the hunt for an audio interface that could be powered by the lightning interface on an iPhone without need for a battery or an external power supply.
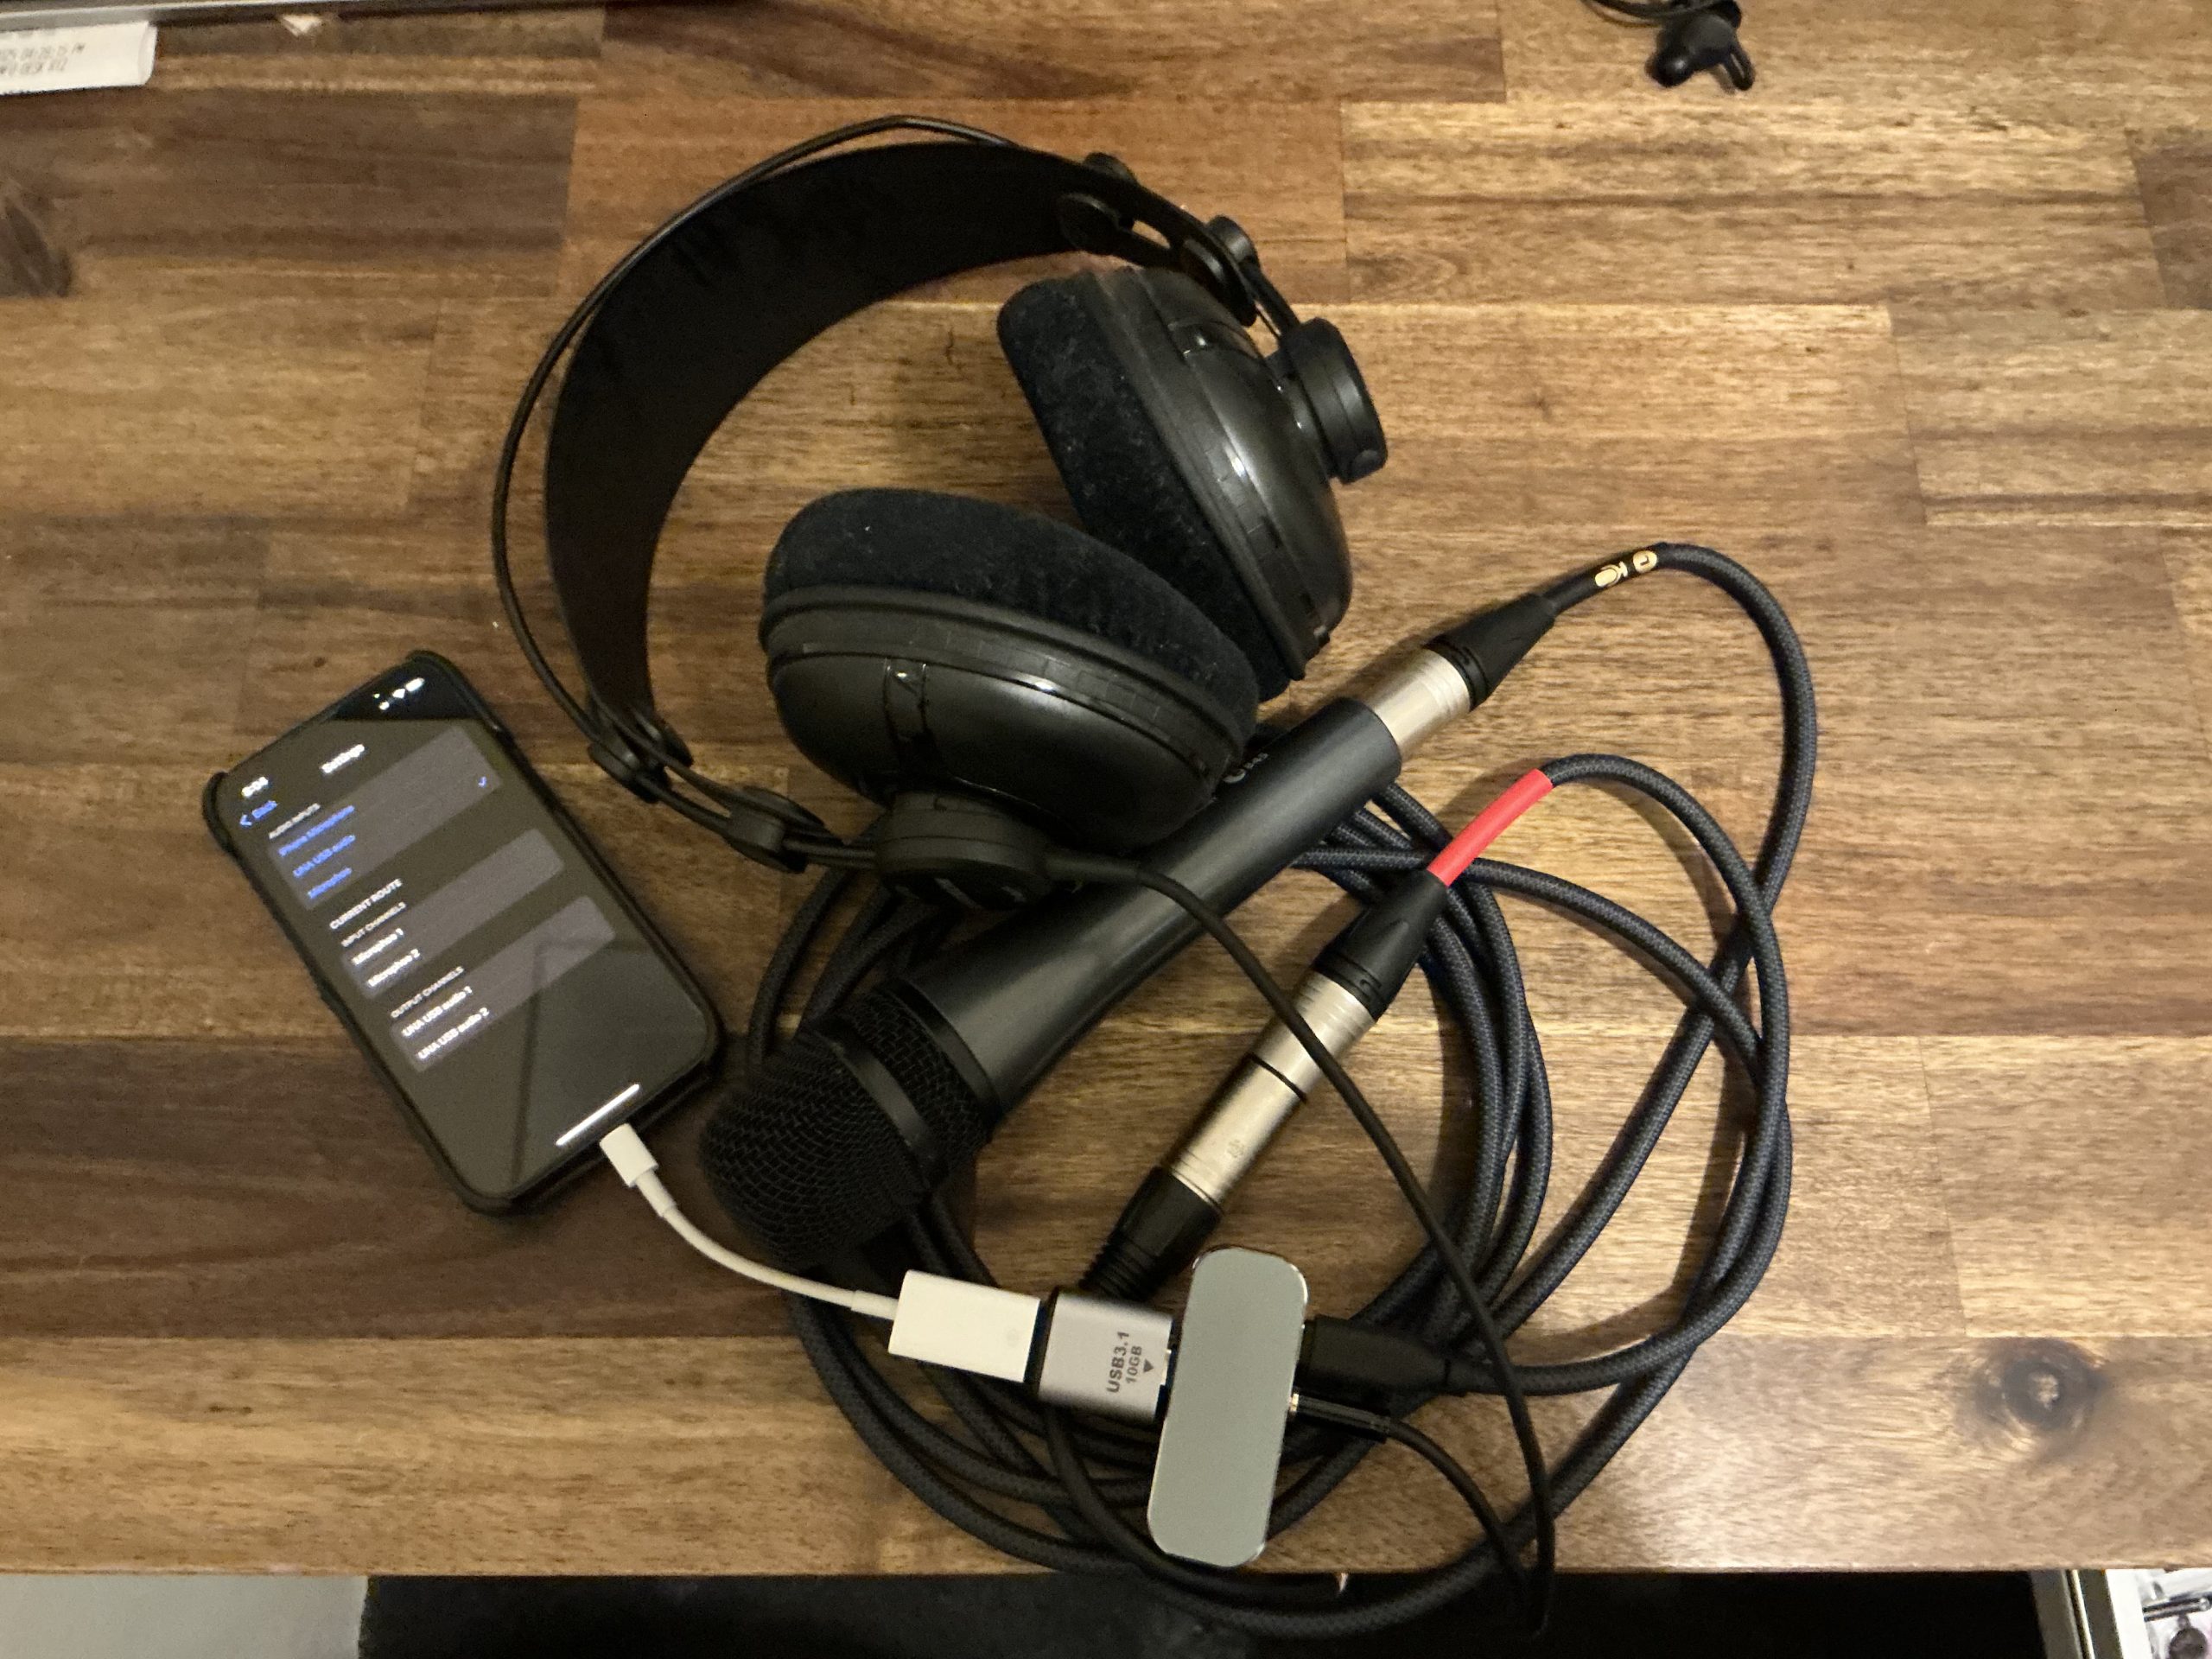
Here are a few photos of setups I got working:
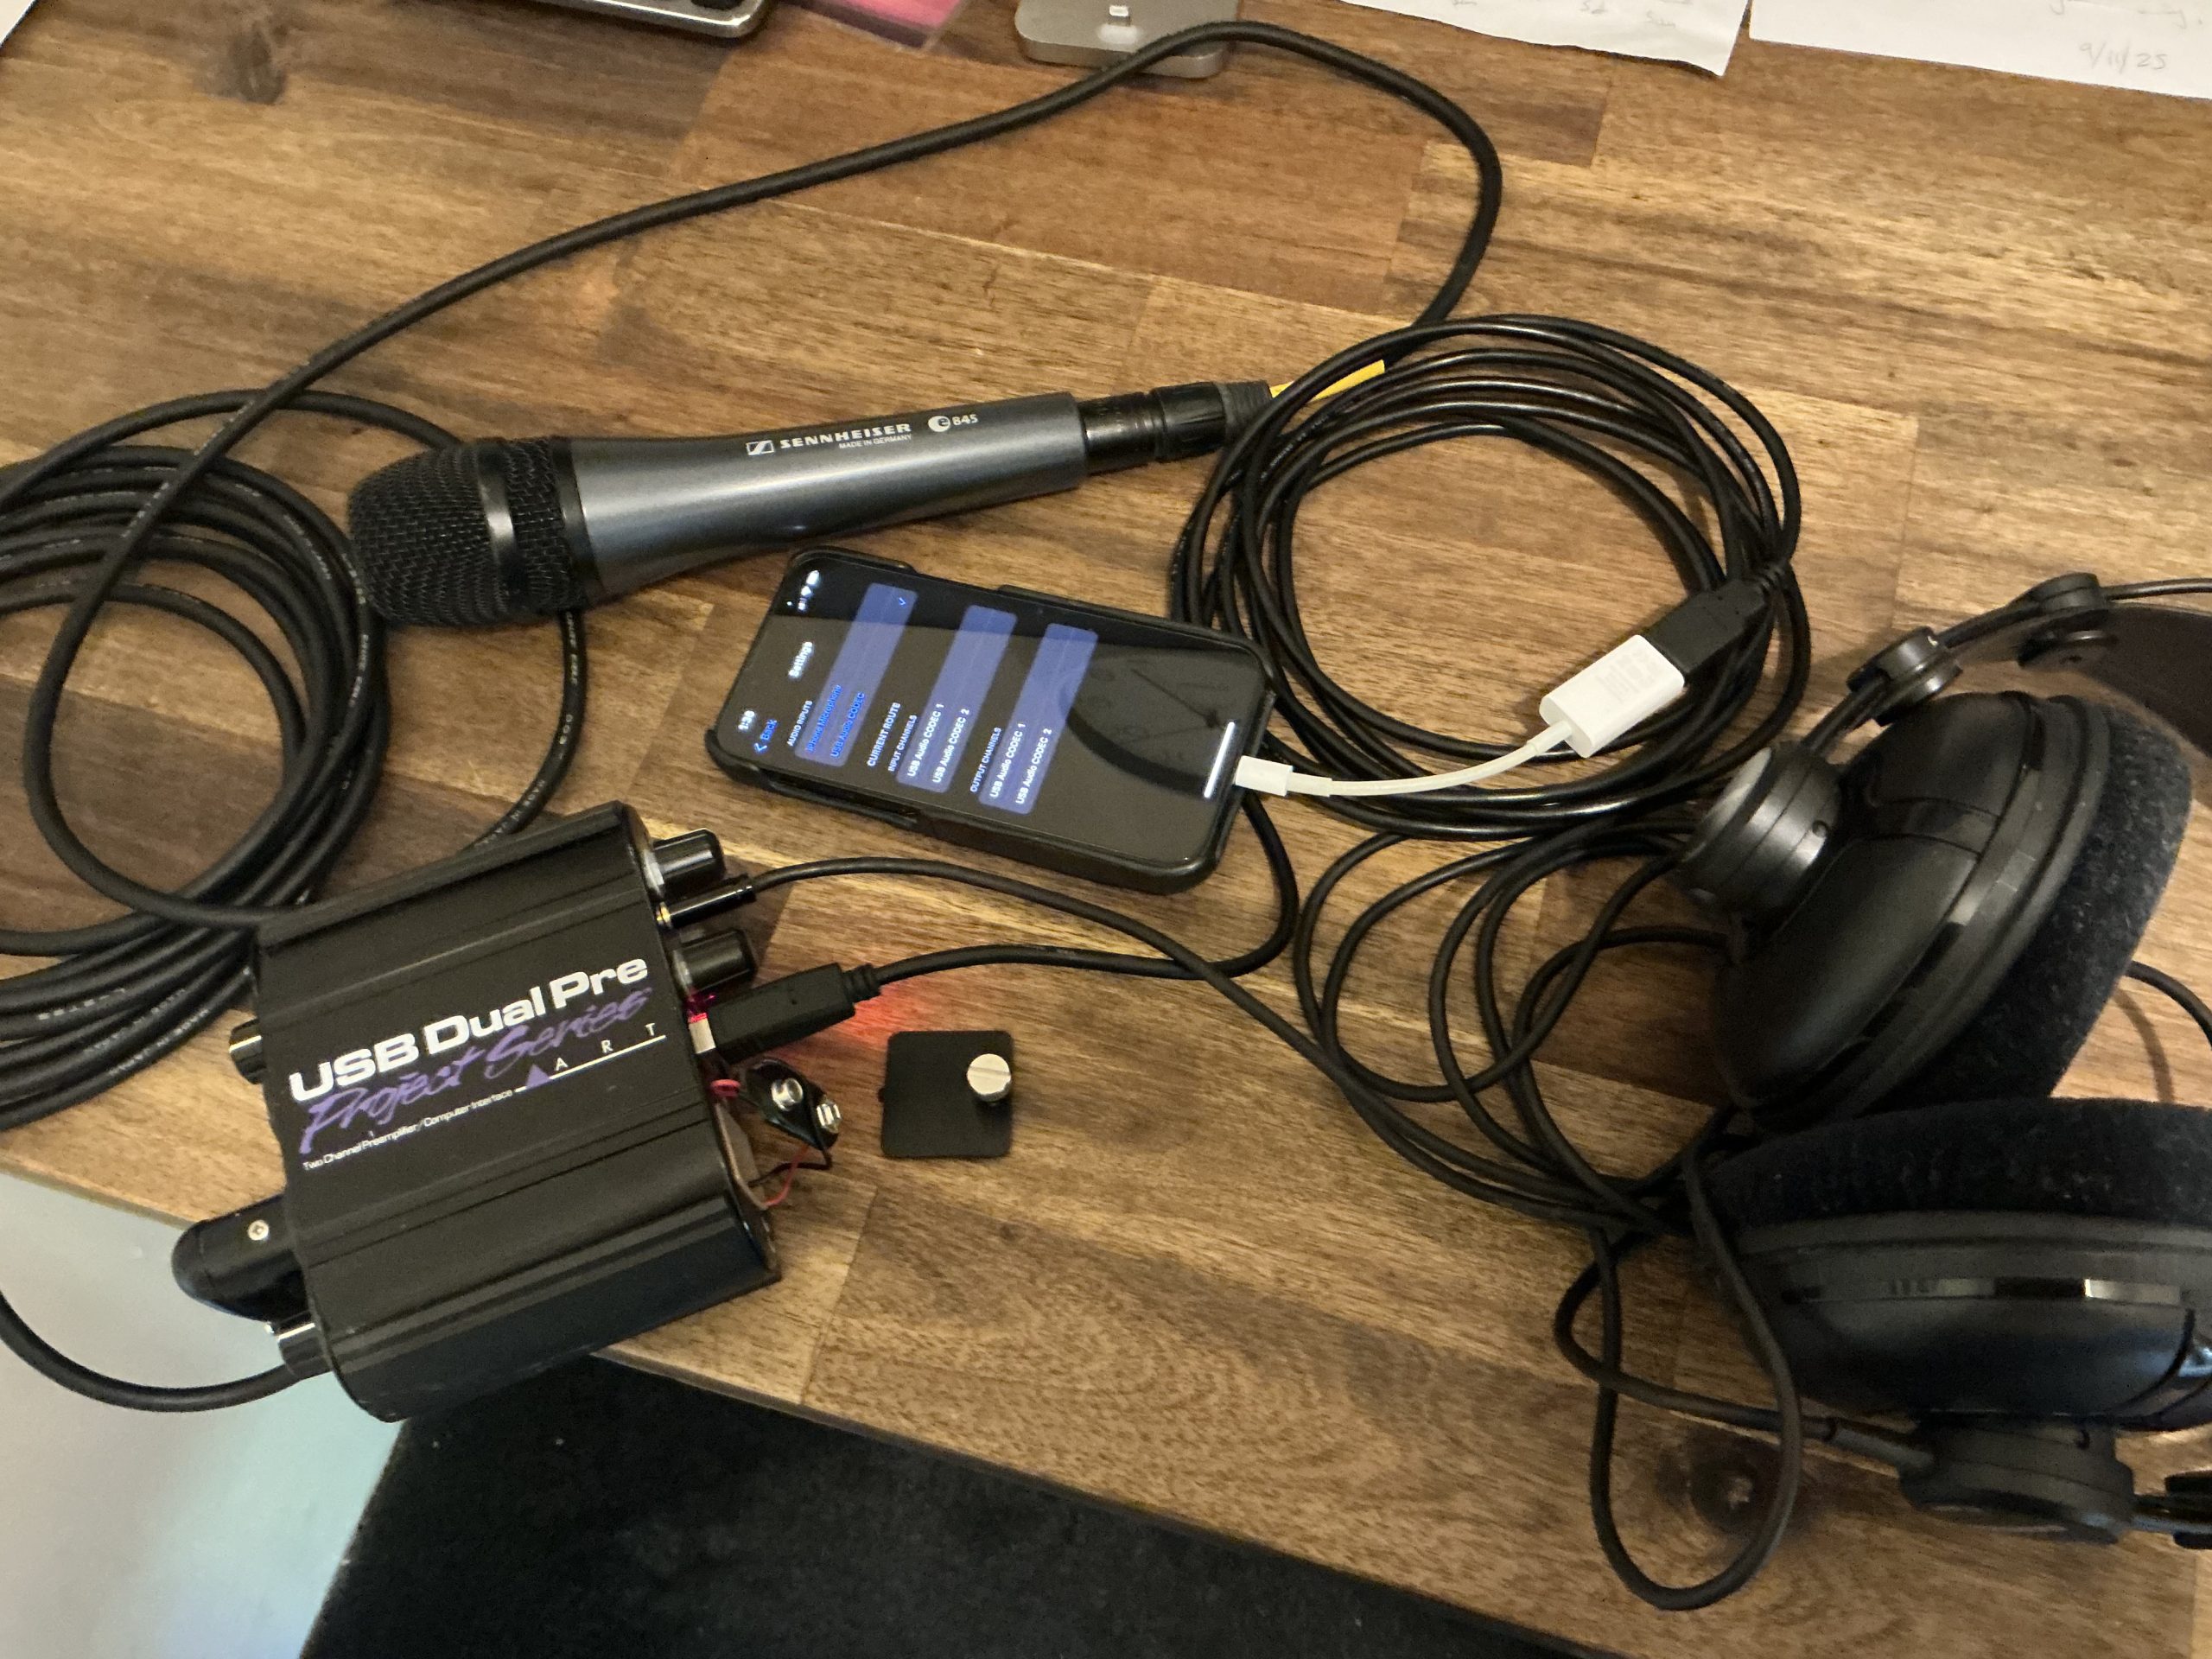
– ART Dual USB Pre with Apple USB Camera Adapter (with not battery, I’m not sure if phantom power would require battery)
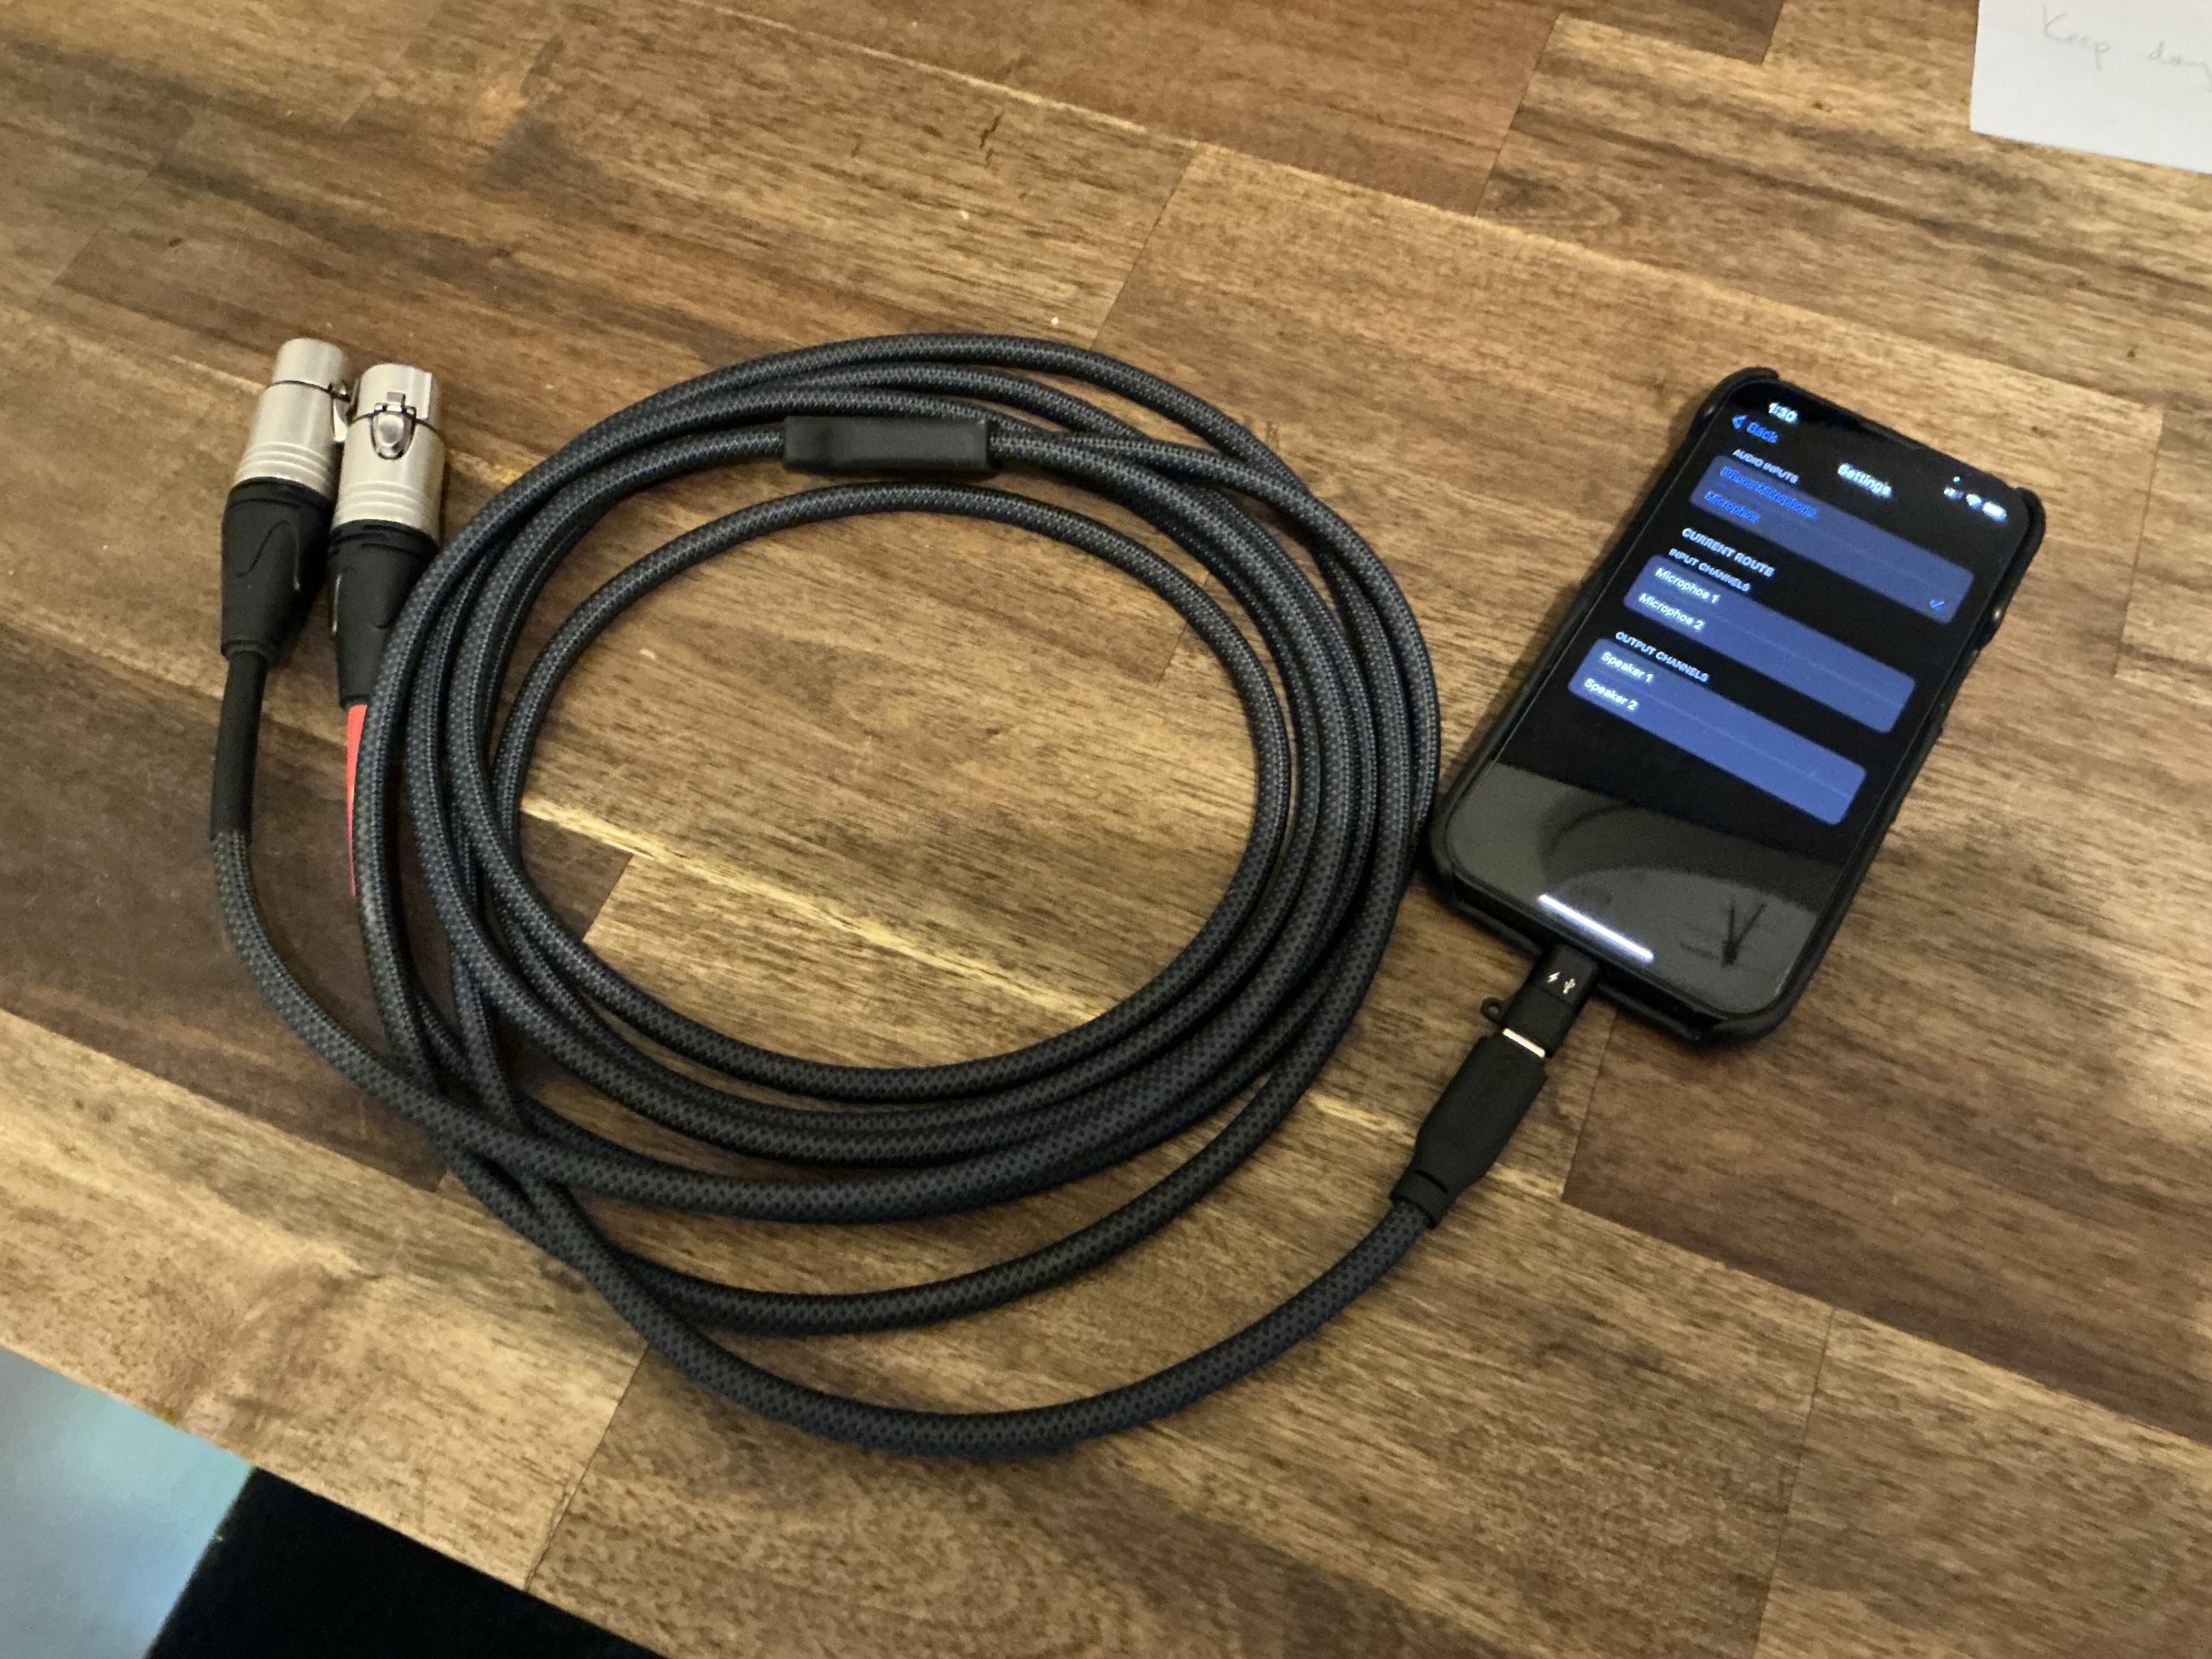
– USB-C Stereo XLR cable with third-party Lightning to USB-C OTG adapter
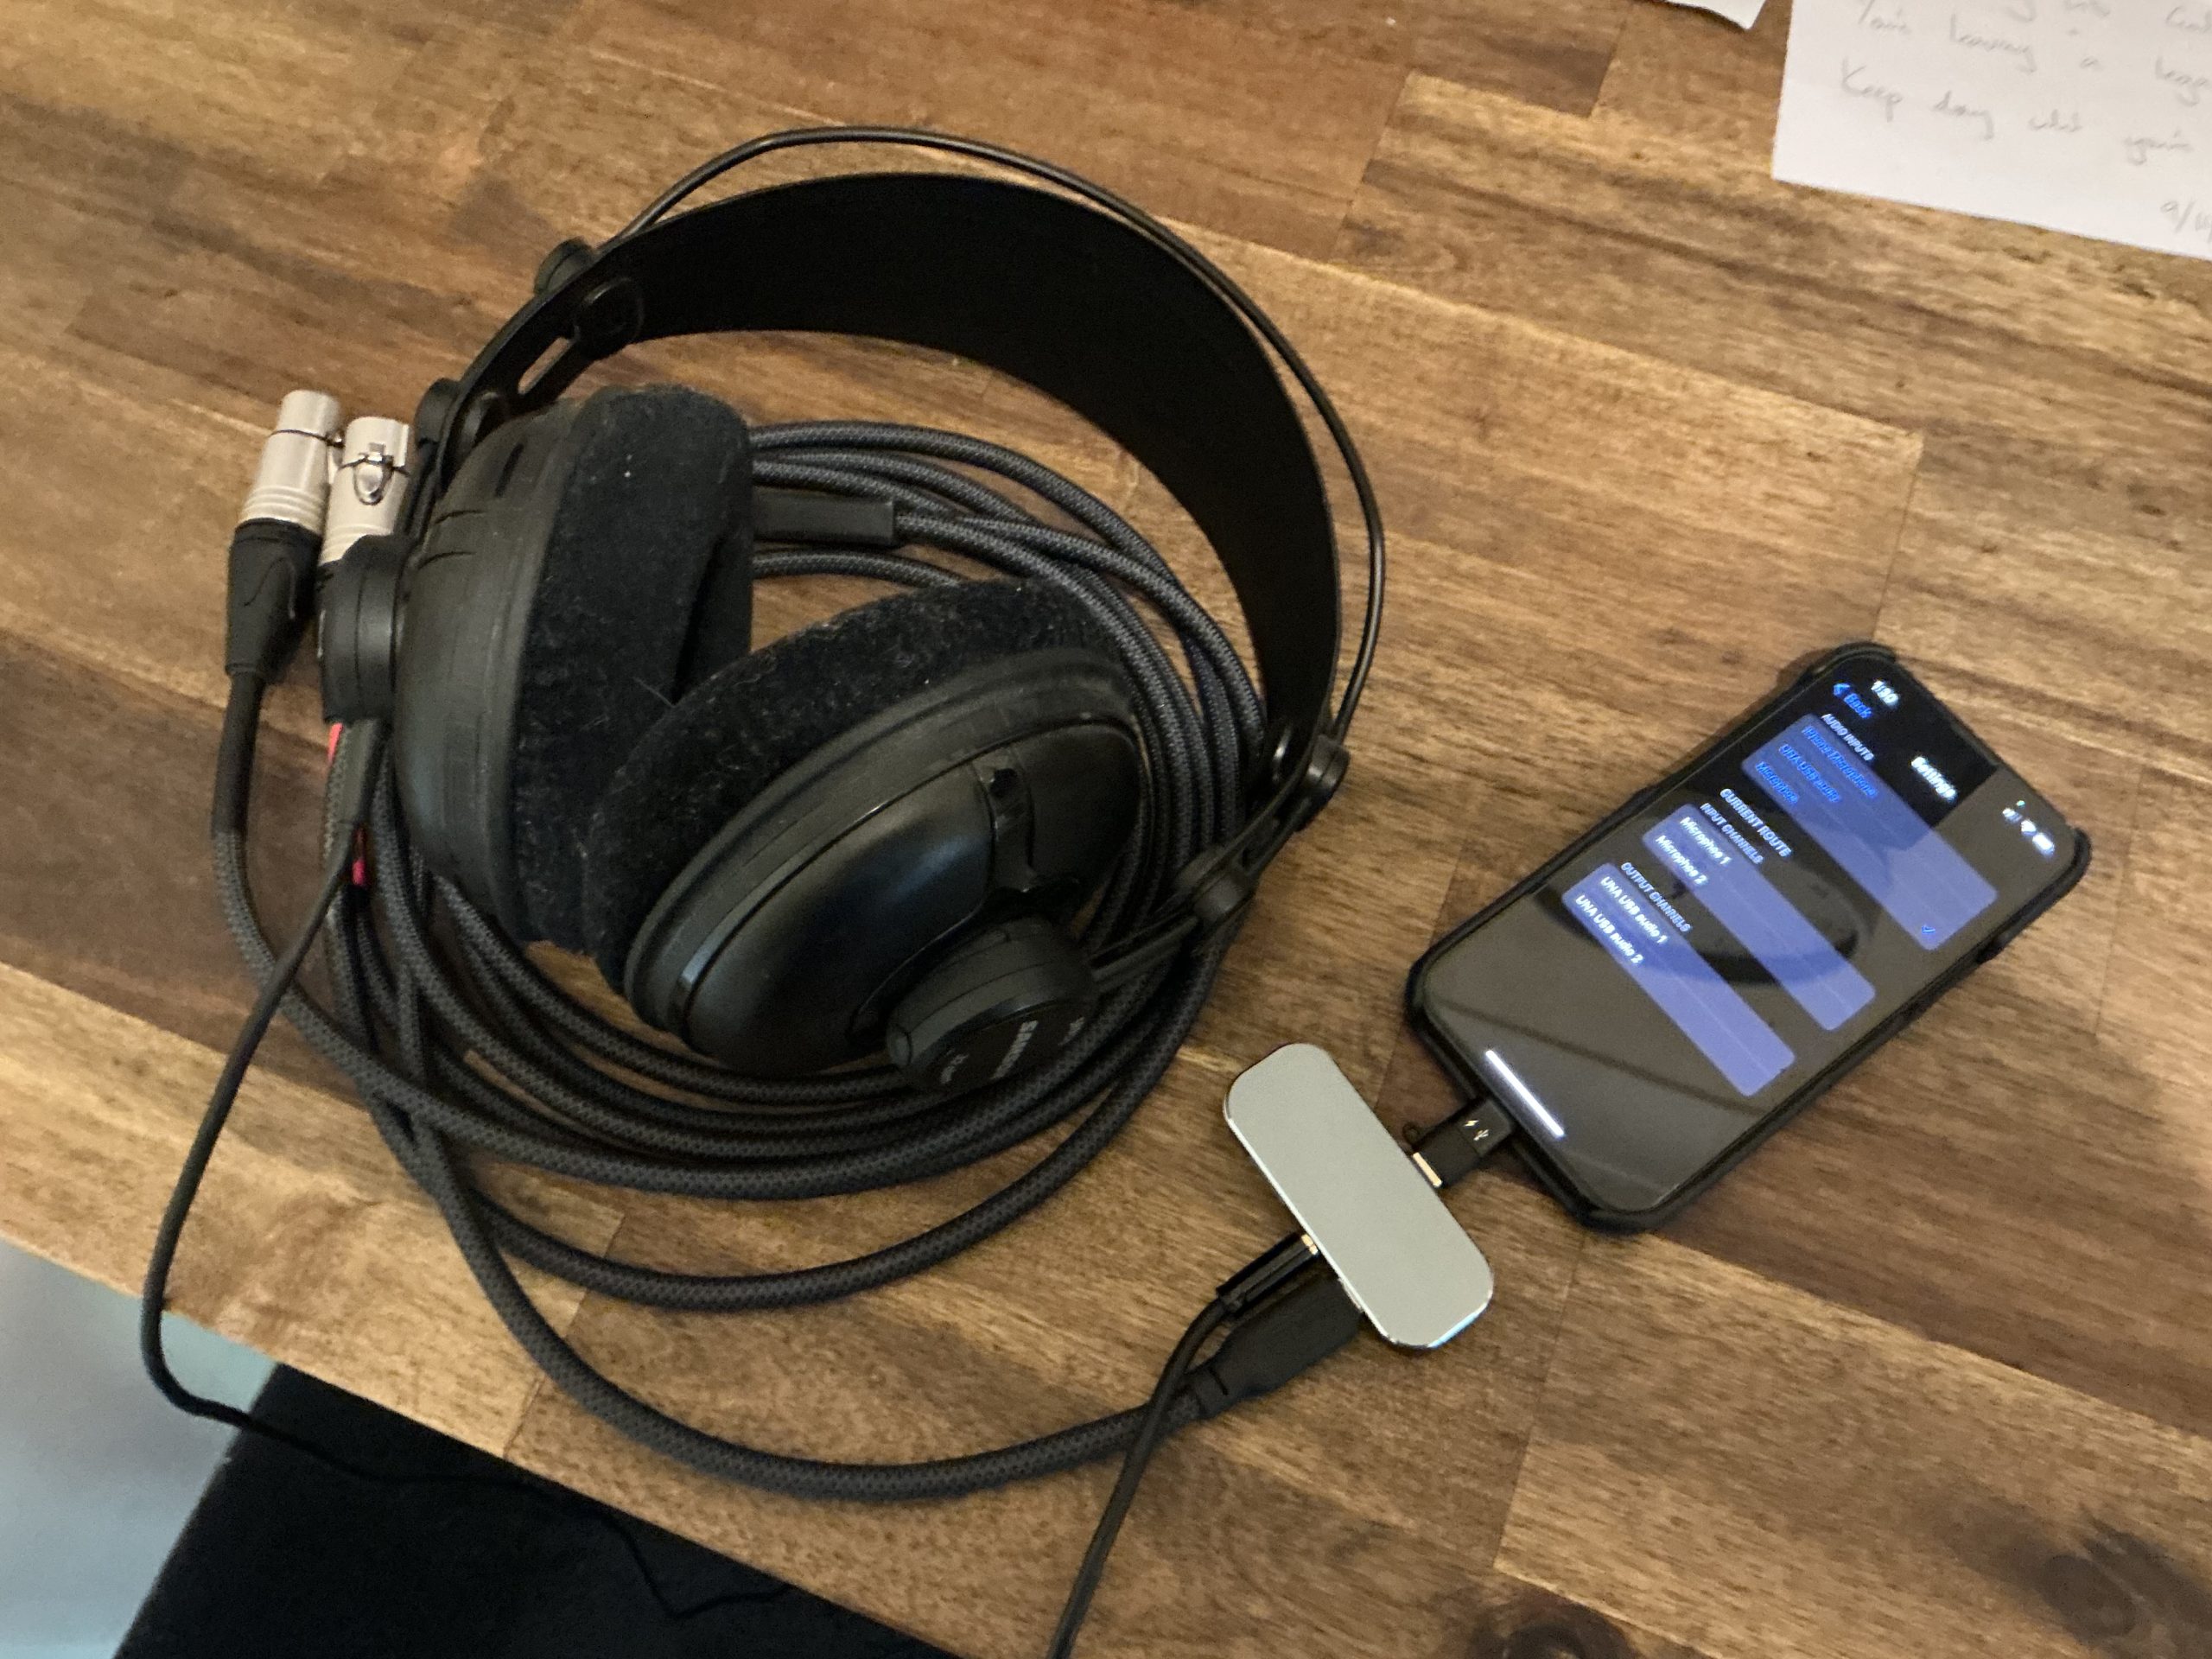
– USB-C Stereo CLR cable with third-party Lightning to USB-C OTG adapter and USB-C hub for headphones
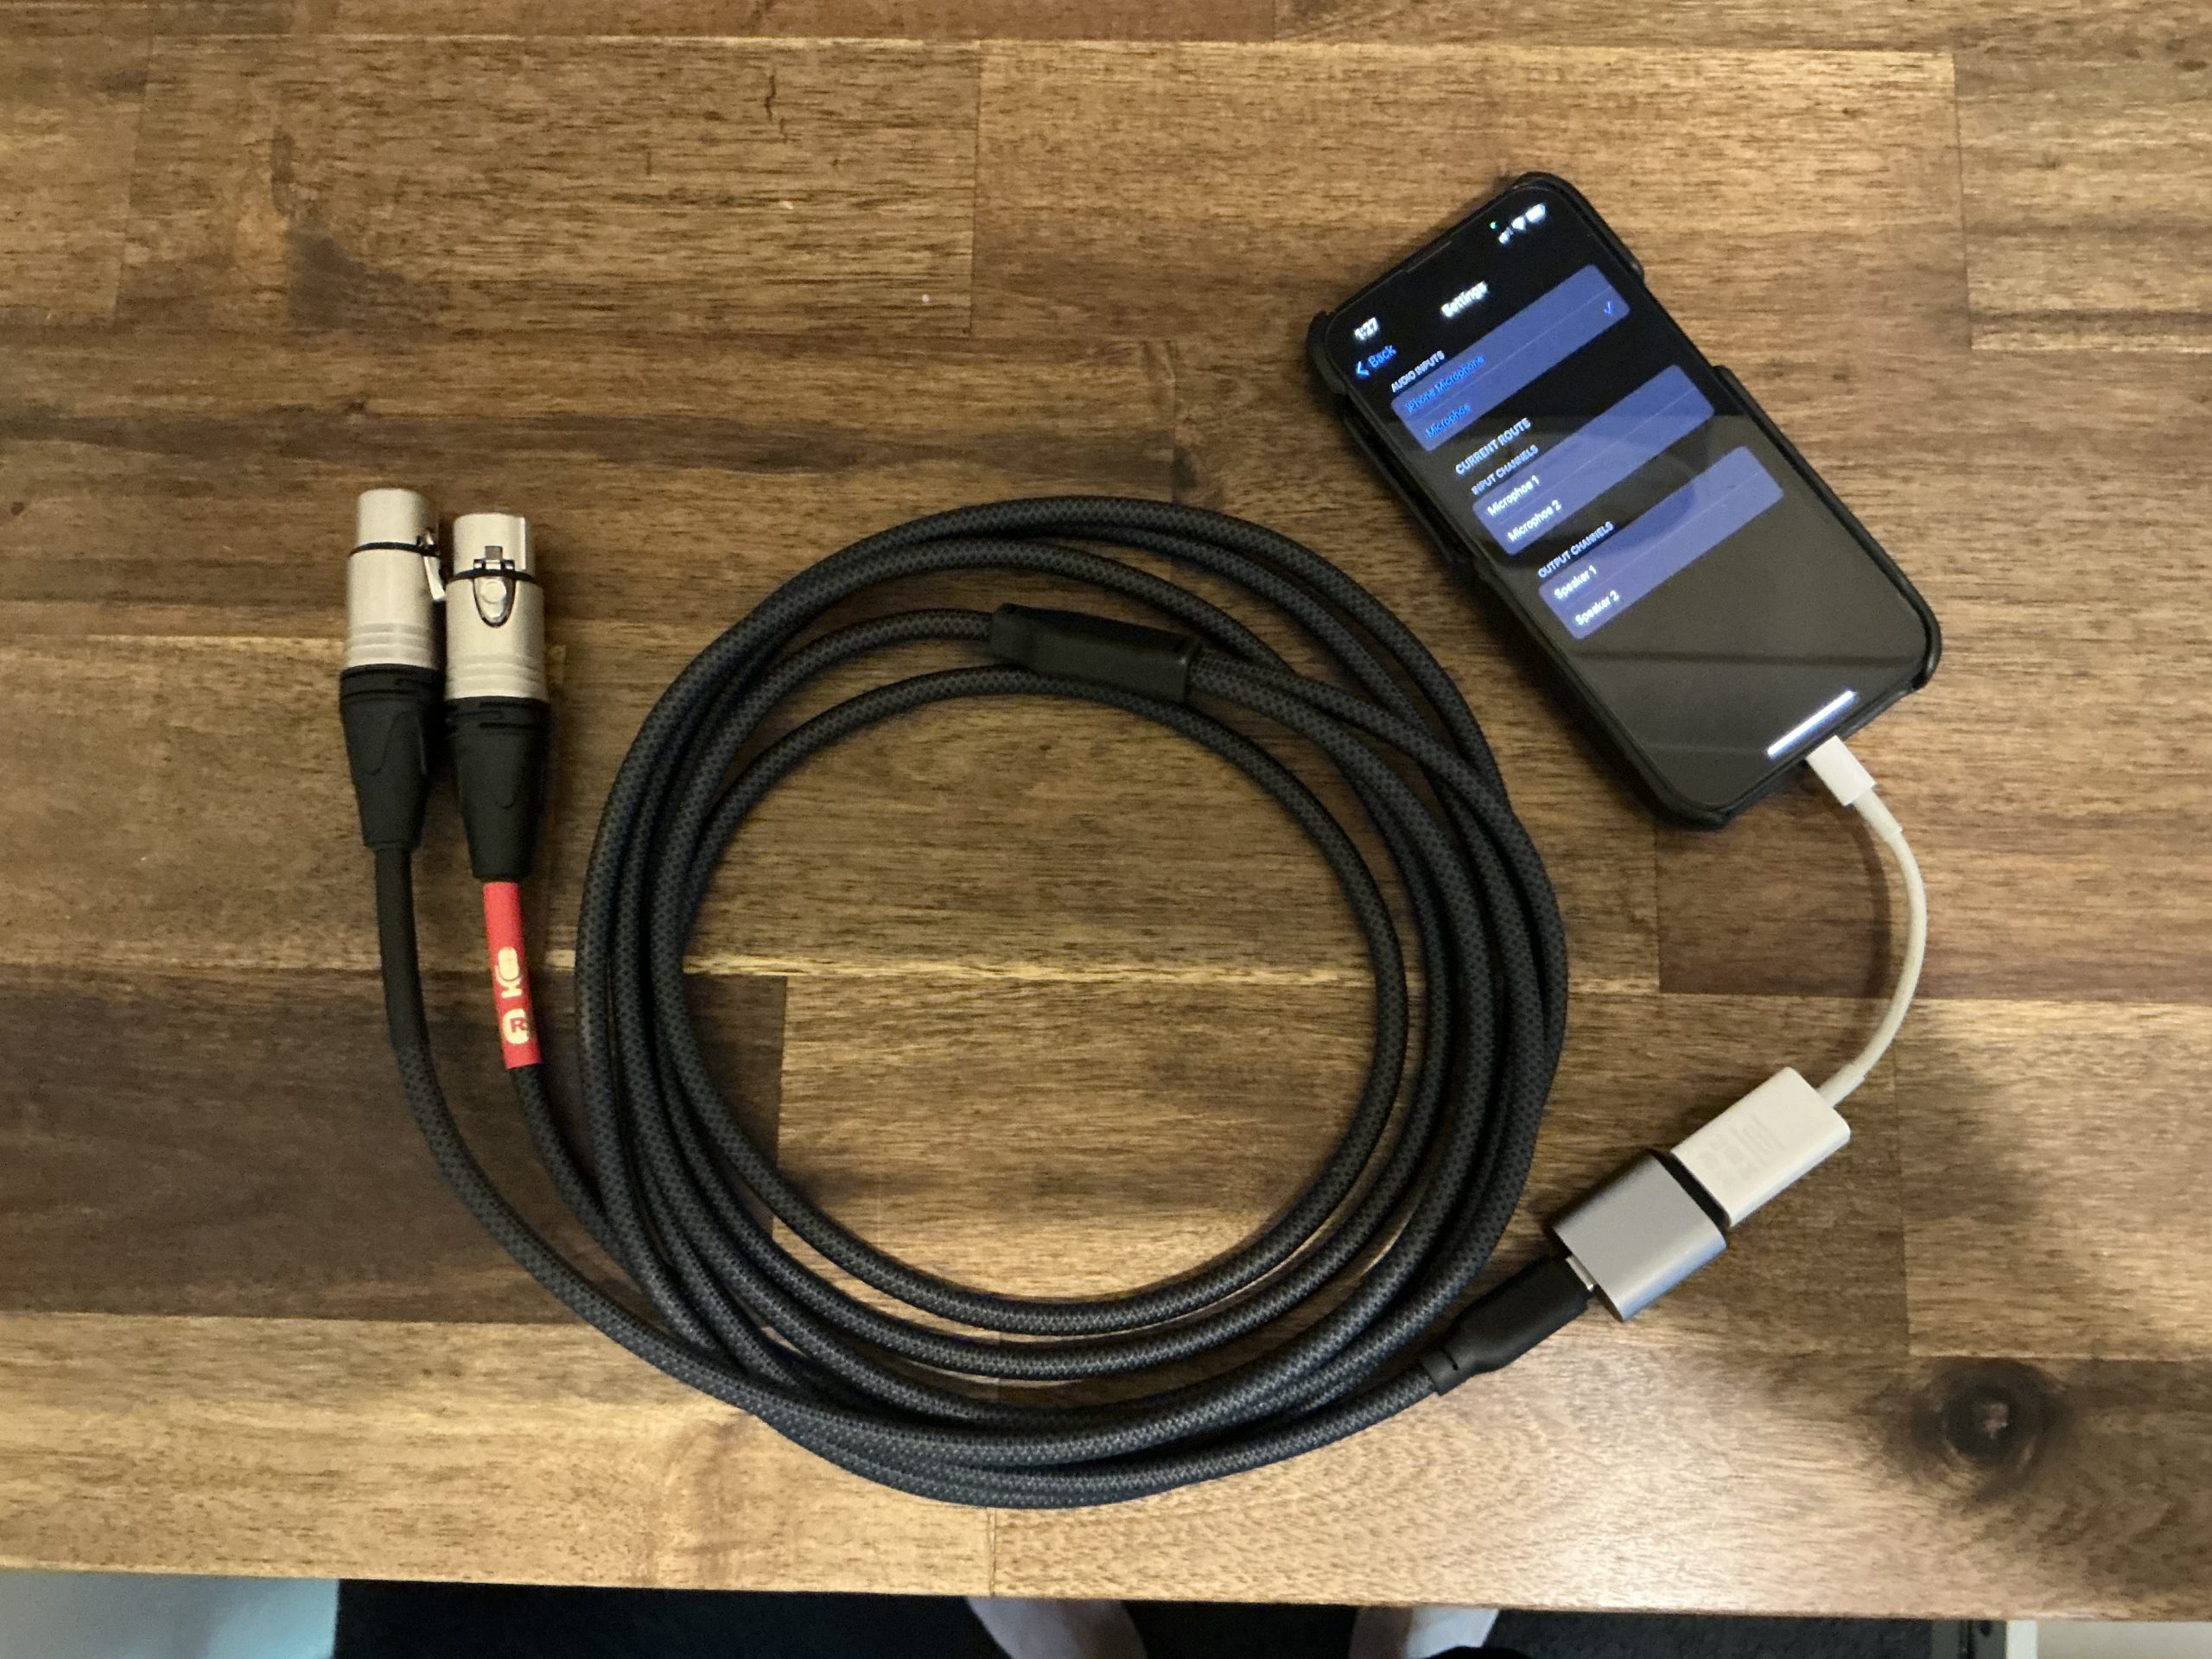
– USB-C Stereo CLR cable with Apple USB Camera Adapter and USB-A to USB-C adapter
– USB-C Stereo CLR cable with Apple USB Camera Adapter and USB-A to USB-C adapter and USB-C hub for headphones
A few notes about setups:
– I presume the Apple USB-C Camera Adapter would work as well, I bought the third-party OTG adapter because it was much smaller and neater
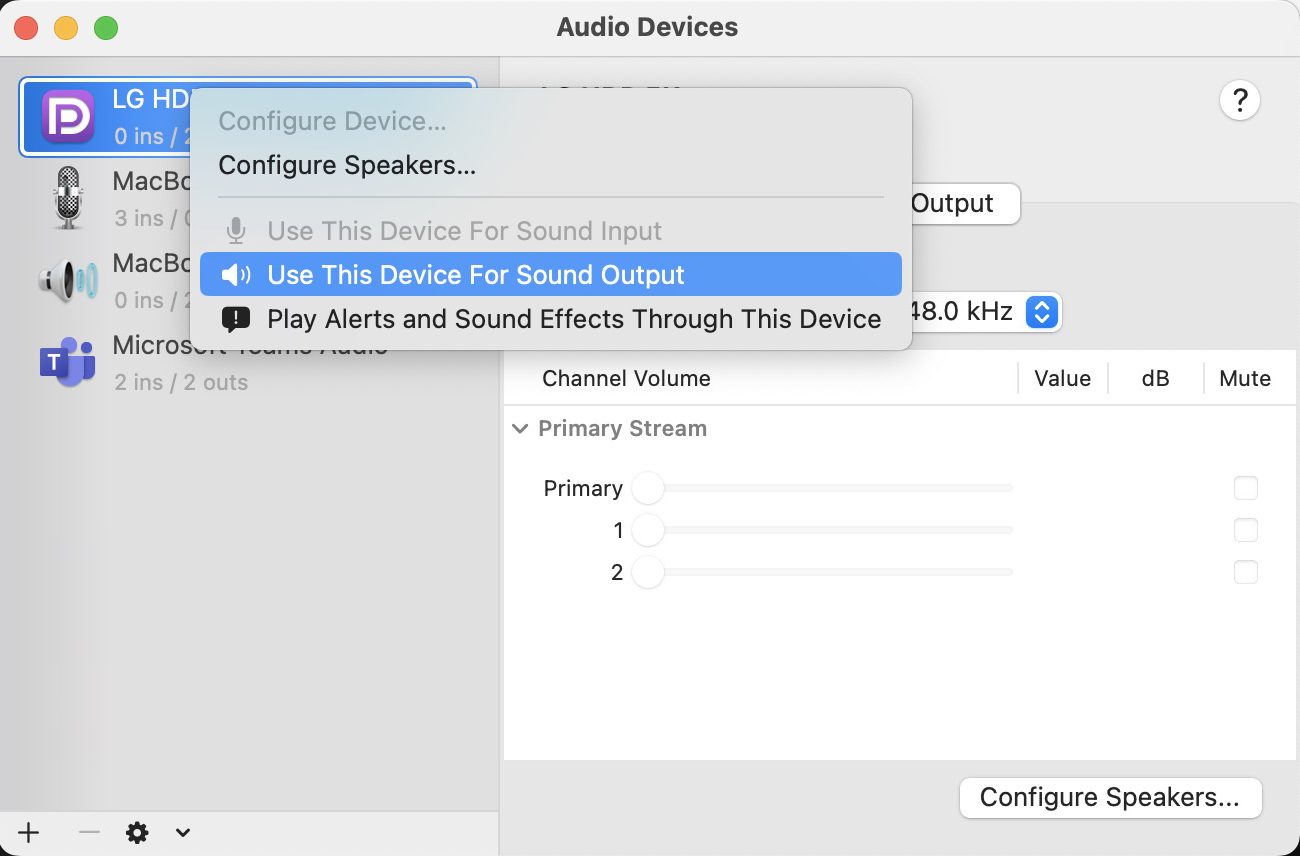
– The headphone playback through the USB-C hub is determined if the iPhone app you’re using has software playback. There is some lag.
– The ART Dual USB Pre has analog headphone monitoring, but does not support an mono signal, so one input will be in the left ear, the other in the right ear
– I didn’t take a photo, but I also bought a third-party Lightning to USB-B OTG adapter to plug straight into the ART USB Dual Pre, and that worked too!