Ok, so not quite, it’s actually an EHX Soul Food/Wampler Euphoria Clone/JOYO Sweet Baby, so take it with a pinch of salt. I wanted something to pair with my Lovepedal Eternity Clone (tube screamer, with more gain and high end). I didn’t have time to do a comparison video, and it was more I just wanted to write down my thoughts on these much hyped pedals for myself as much as anybody else.
EHX Soul Food
This is the Electro Harmonix’s affordable version of the Klon Centaur, one of the pedals to start the “transparent” overdrive craze. I’ve never played a Klon, but from the Soul Food, I see why people say it’s transparent. It feels transparent, which is hard to explain, but some pedals feel “in the way”, maybe its too much compression or too much mids and high end roll off, but the Soul Food doesn’t have that feel. EQ wise though it’s not that transparent. The high end is transparent, the mids have a slight emphasis that gives it a vocal quality and sings on the high B/E strings, and has quite a bit of bass roll off. Gain wise, low gain is definitely where this really shines, but because of the mid range I liked it better with front single coils than front humbucker, and the bass roll off made my bridge humbucker sound thin. I see why people like it, it does a similar job to a tube screamer pushing a overdriven amp, though different and more refined. On my limited size board though, it wasn’t versatile enough for me.
Wampler Euphoria Clone
I built my clone using a high quality kit from Fuzz Dog Pedal Parts. Yes it’s a clone, but despite being a clone it’s one of the pedals that I’ve owned that has sounded most like the demos when I played it person. In my opinion, this pedal is much more transparent EQ wise than the clone, it really has a very flat frequency response. The clipping options and large usable gain range give a wide range of tones, though they are all grittier than the Soul Food. The bass control I found didn’t really cut any bass, but can boost as well as add fuzz, making this one of the most versatile overdrive pedals around. The transparency makes it work well with humbuckers and single coils, although some more mids would help for single coil solos. This is what I’m sticking with along with my Lovepedal Eternity clone.
JOYO Sweet Baby
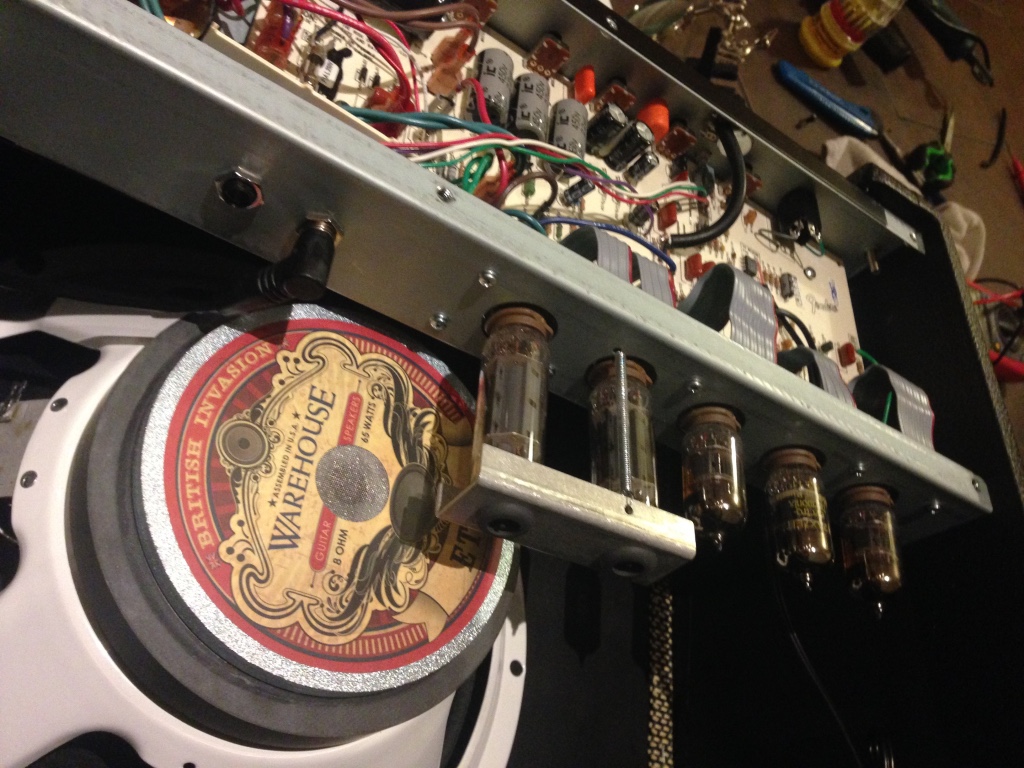
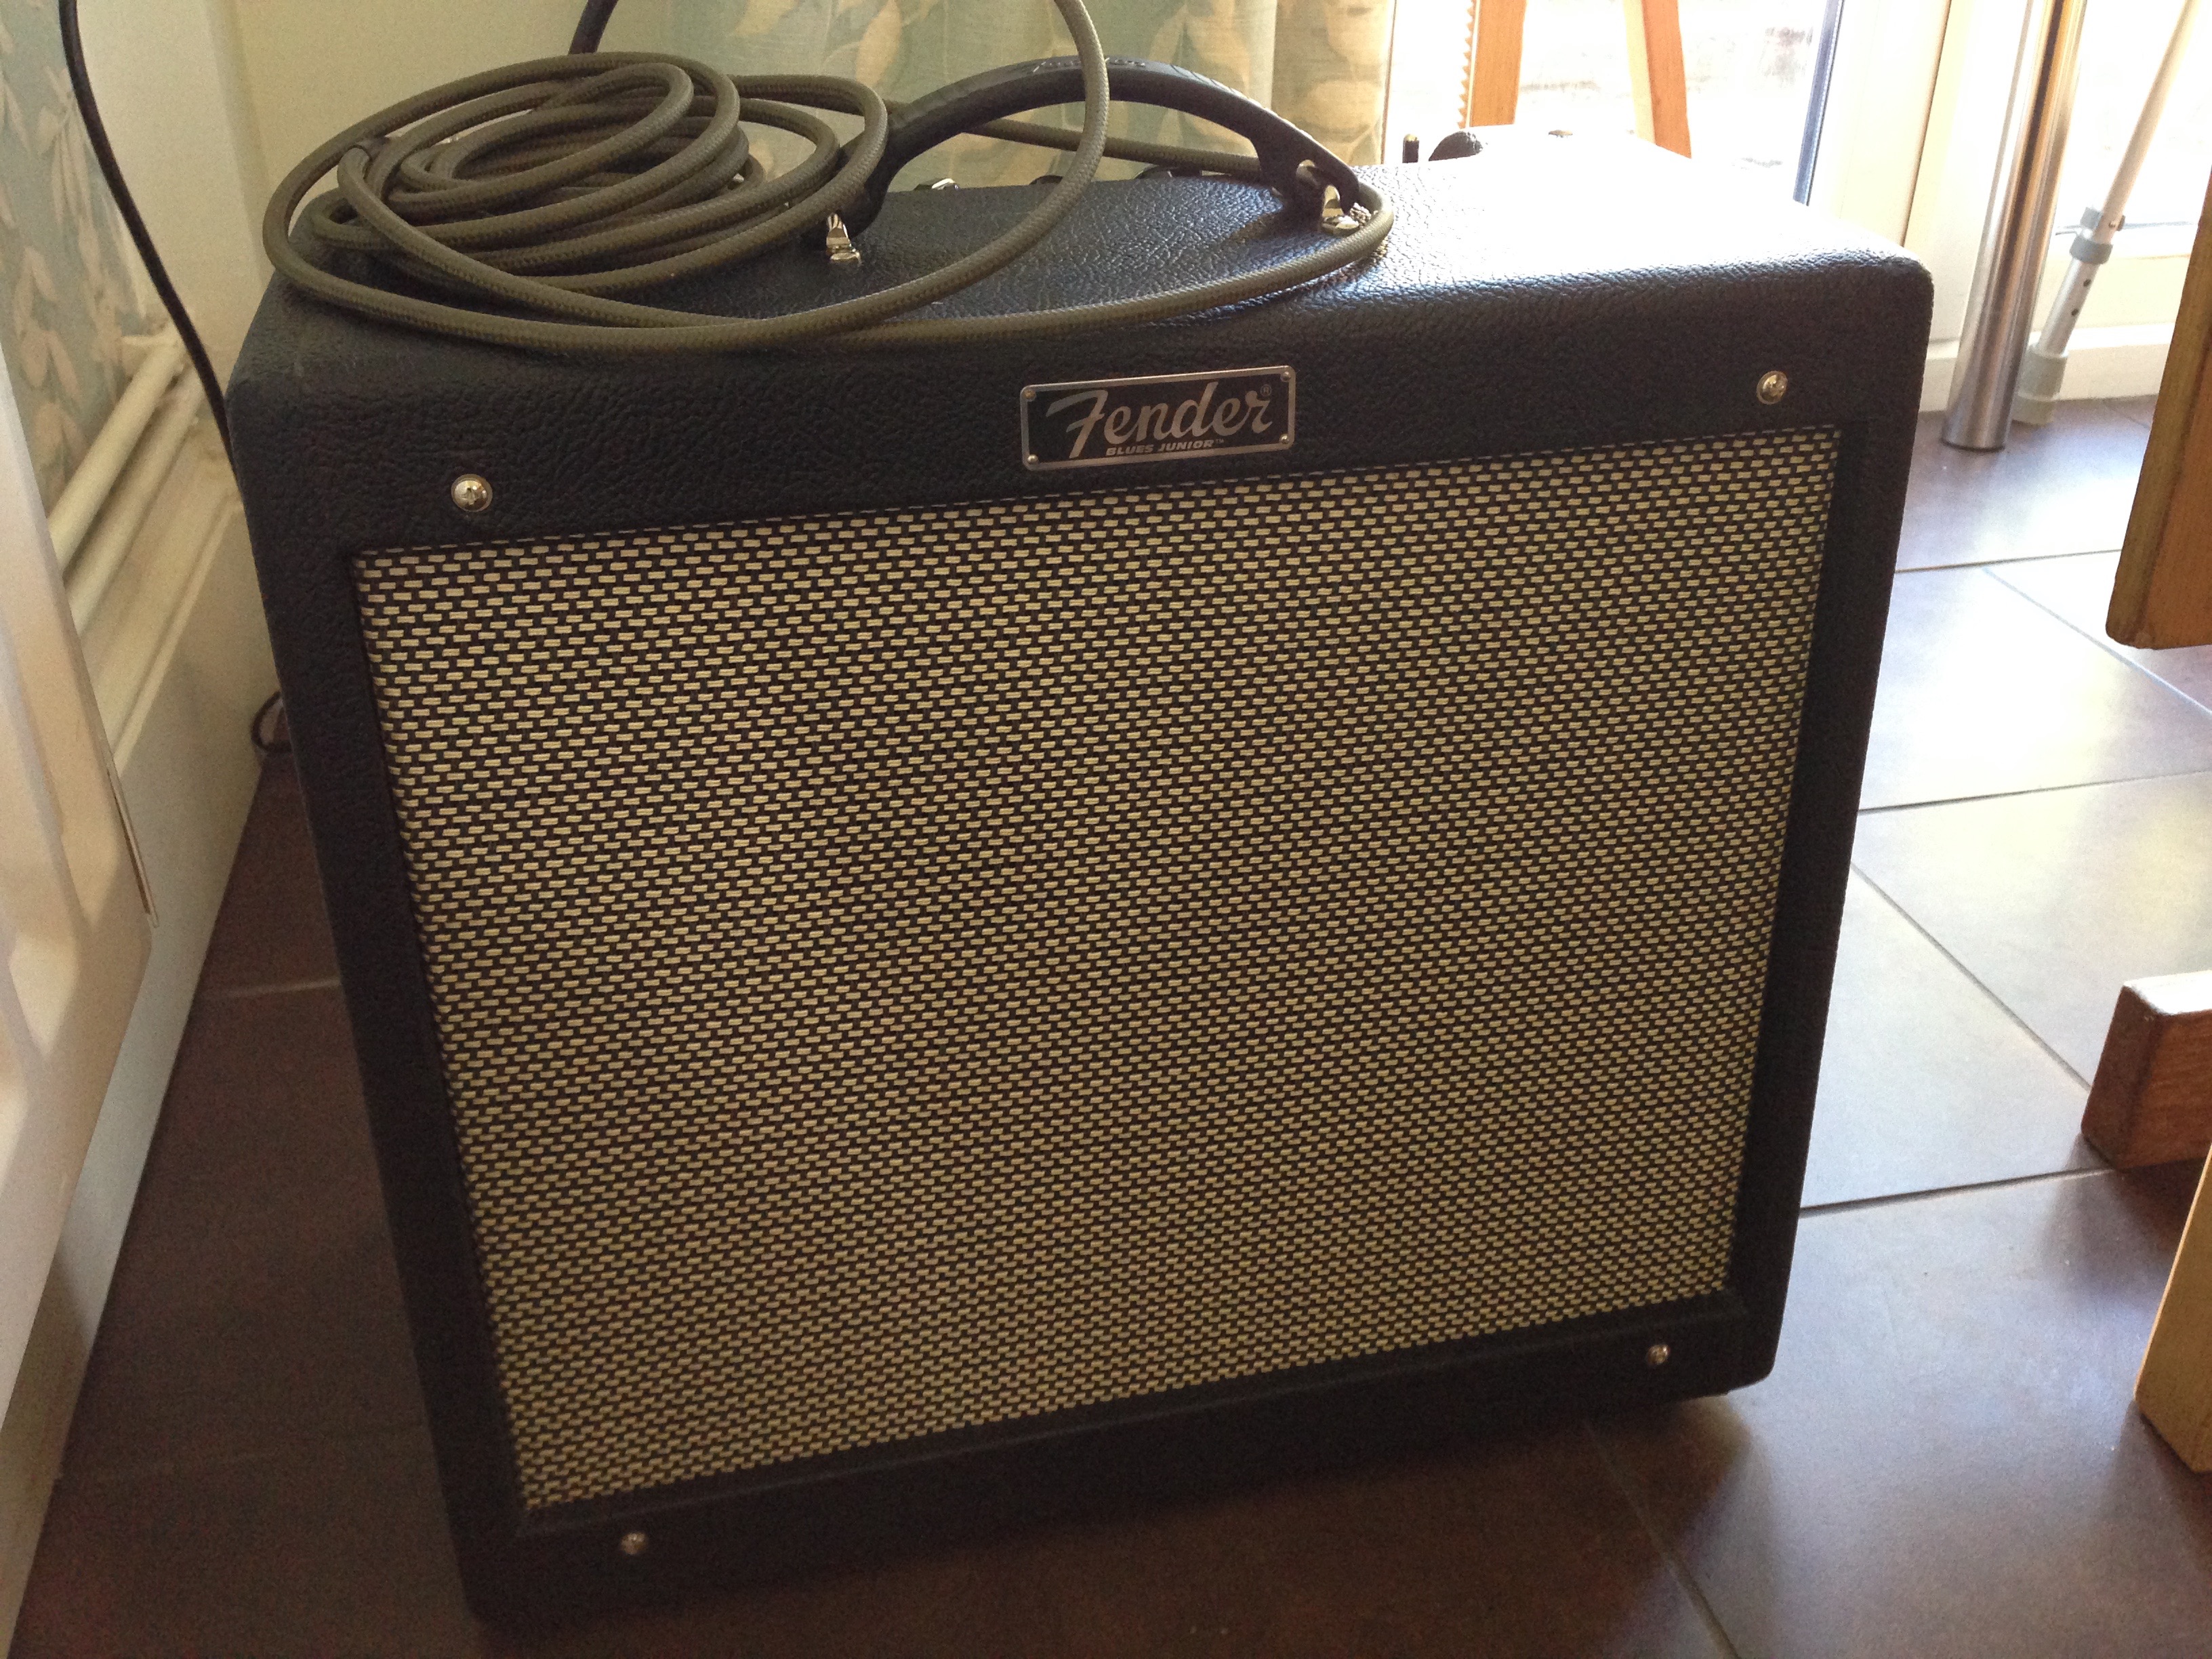
Like the Soul Food, this is supposed to be pretty close to it’s original, The Mad Professor Sweet Honey. It really does have a sweet high end and was very dynamic in response to picking. It didn’t have enough gain for me though, and with the dynamics I had to go rear humbucker and hit pretty hard to get much dirt. It had more bass but less high end compared to the Klon. The sweet attack worked better at taming single coils. I could see how it would work really well for certain situations, but similar tones can be achieved rolling off the tone (or even volume knob) or a mellow front humbucker, and I found it not as versatile for more aggressive tones. I also installed a WGS ET-65 speaker in my Blues Jr, which gave it a sweeter high end, so having an overdrive leaning that way as well was overkill.
Lovepedal Eternity Clone
I like a tube screamer-like pedal for basic drive and a slight mid range hump. I chose the Eternity clone for more gain and it seems to have more complex sounding harmonics than a standard tube screamer. It has too a lot of gain though and is very bright, so I changed the tone control value. I also added a bass boost switch, great for low volume practice or fatter power chords. I also added an asymmetric/symmetric clipping switch to switch between Eternity and Eternity Boost circuits. The Eternity drive does have a mid boost, but not as much and at a different frequency than a tube screamer.